Easy sewing tutorial of pocketed face mask for beginners
Looks like Coronavirus is everywhere, and is here to stay. With everything that is going on around, looks like people are in need for face masks I thought to myself, why not trying to learn how to make a face mask by myself? I know how to sew a straight-ish line, therefore I think I can mange! They don’t take too long to make and the process is fairly easy, this is why i decided to help you guys and show you that if i can sew a face mask, anyone can sew a face mask!
Sewing masks is my way of staying sane in this weird situation, as it helps me with keeping my mind off things. It makes me feel like I am doing something to fight this thing back. It helps reduce my anxiety. I have heard that in the US people are sewing for their health care providers which i think is awesome! here we don’t have a request to it, so i am selling them. And since we can’t go out – it is currently only to the locals in my area.
The main concern these days is to stay home – and we do. But one needs to walk the dog, and go to the supermarket, and walk outside for just a little bit…
Do I really need an excuse to try some new project like a face mask?
Currently I am working from home, I try to spend every free minute with the kids. when i am not doing that there a a lot more things to do, for example: cooking, cleaning, helping my husband with the chores. This is why I have very less time for my crafting. Like everybody else – I don’t go out. Hence I don’t really need one. But it is something to do in the absence of regular things i used to do (crocheting? i can still do that as well…). Besides, my husband is going out to buy groceries so i better have some ready for him just in case, right? right!
When I was looking for an easy face mask to do I stumbled upon lot’s of them. In most of them I needed to print the pattern. Since I don’t have a printer it’s kind of a problem. Problem solved when i found this tutorial of a face mask – good news – you don’t need a printer! I believe that if you are a sewer, you don’t need to go out for anything from the list below…
To make your face mask you will need:
- 2 plane white papers or not white – even magazine paper (A4 size preferably).
- a ruller.
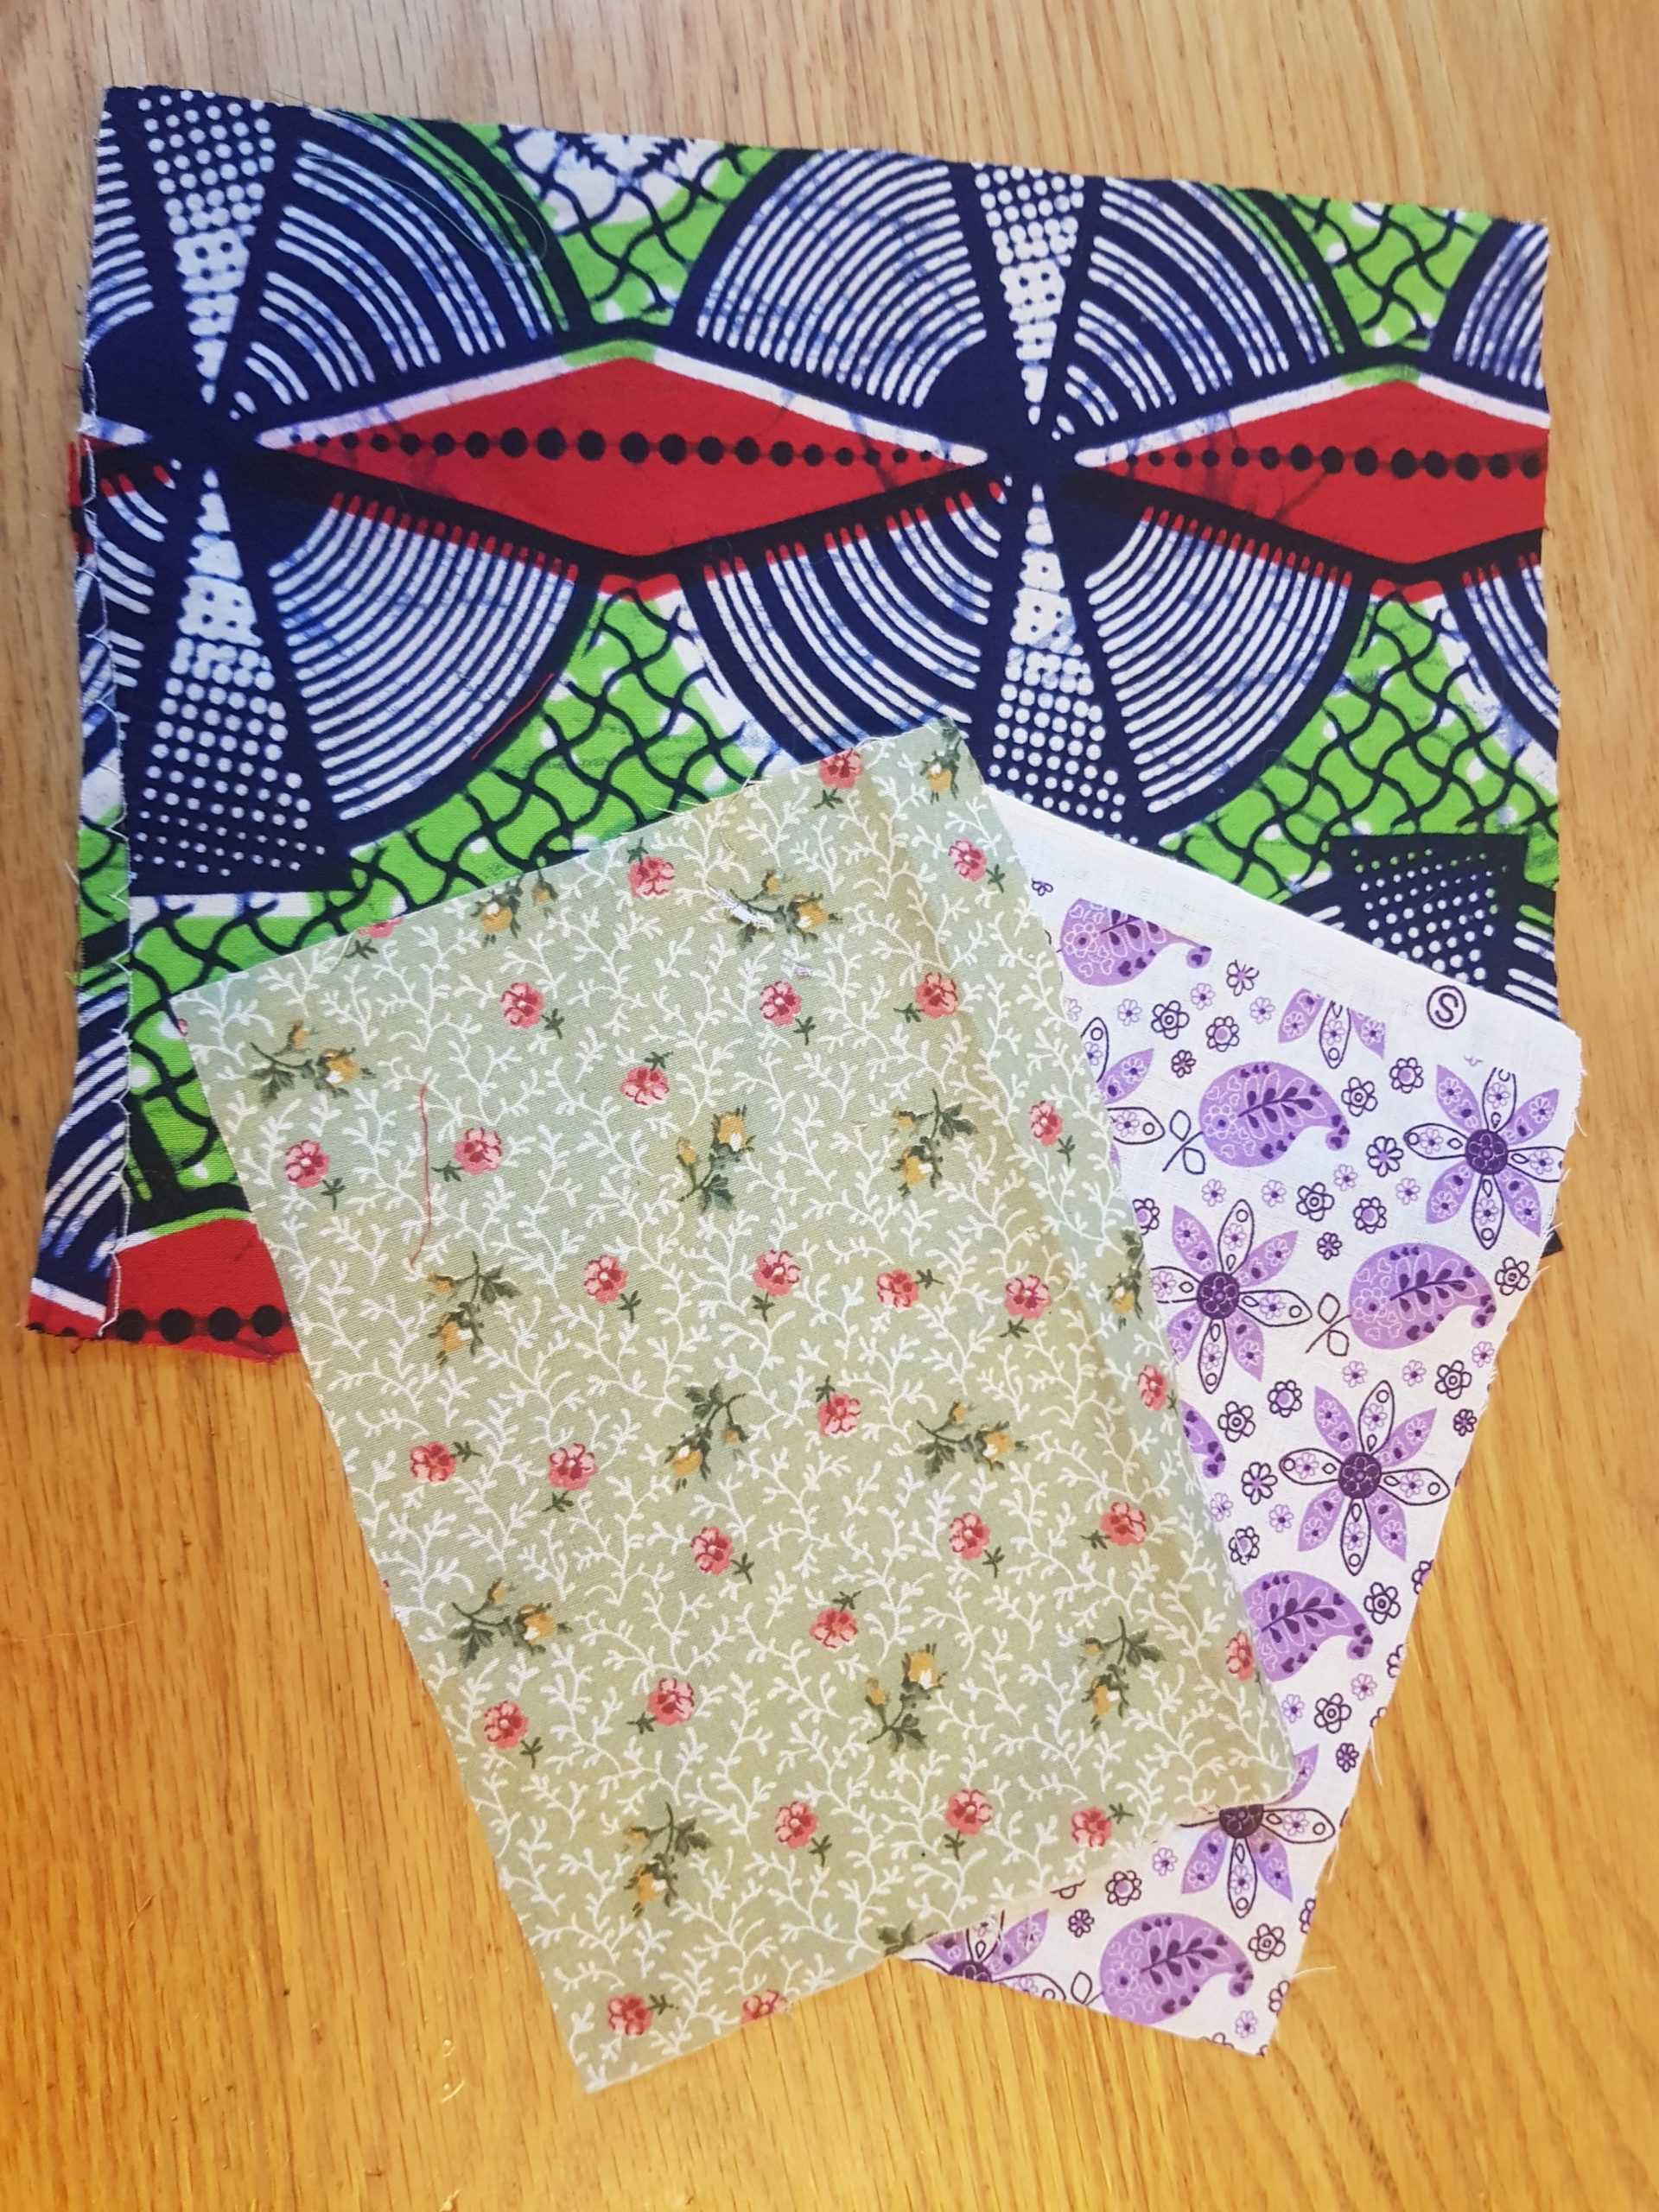
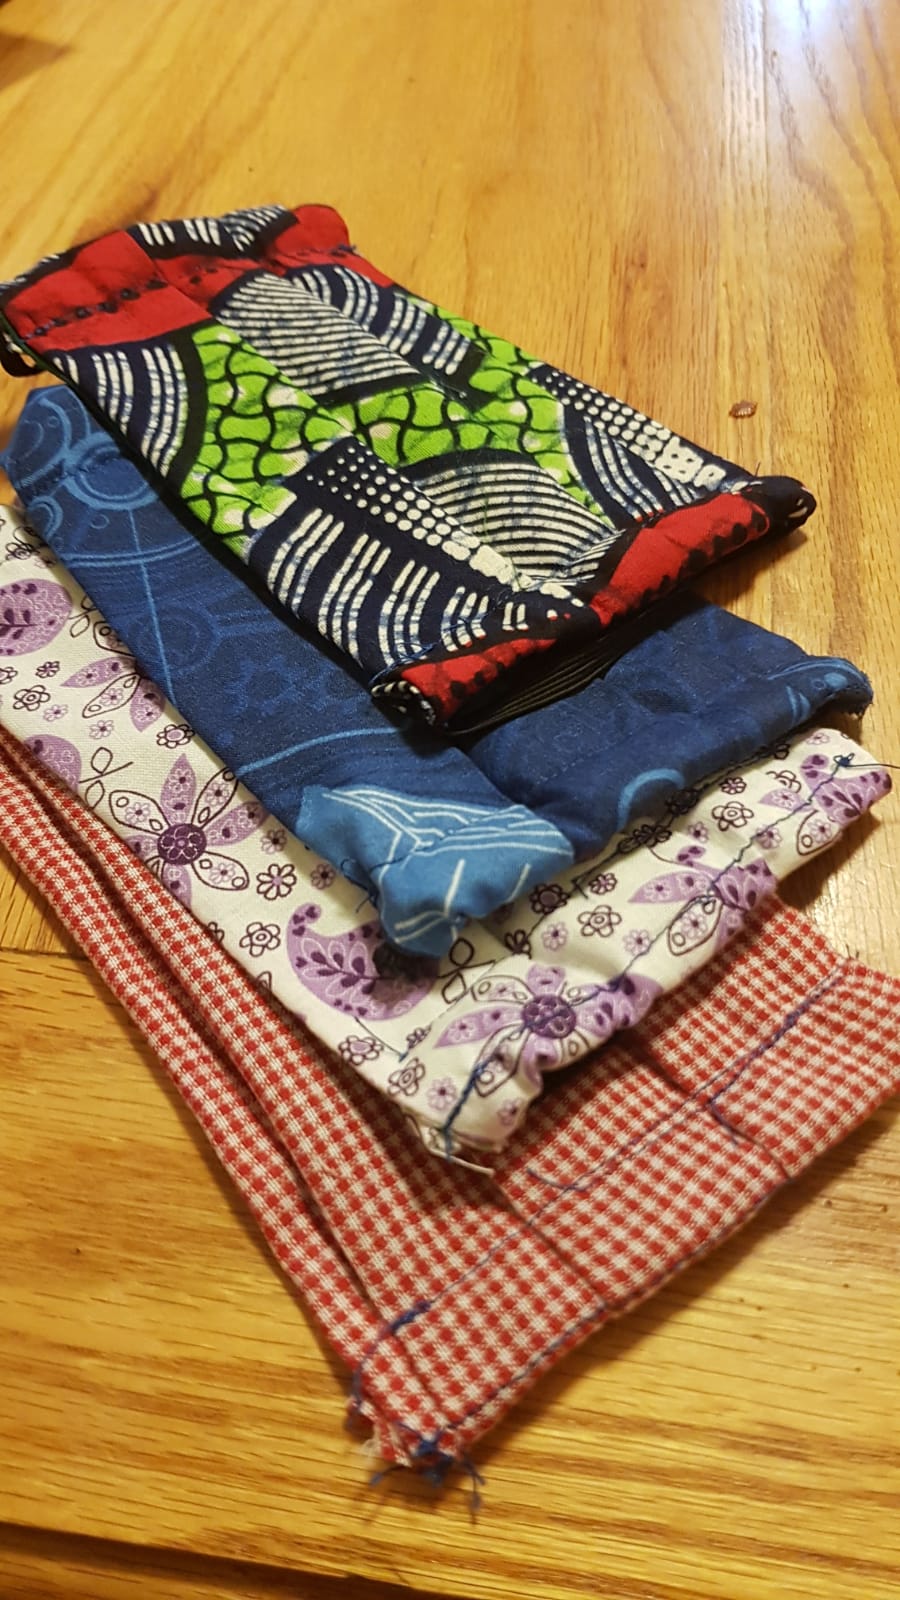
- fabric – it can be a sheet, cotton scraps (big enough for our measurement), bed linens what ever! 100% cotton only!
- nonwoven fabric – for a filter (can also be pantyliner (yes!))
- Safety pin.

Step 1:
make your pattern:
cut a rectangle of 24*19 (Big) , and another one of 18cm * 13 (small).
Step 2:
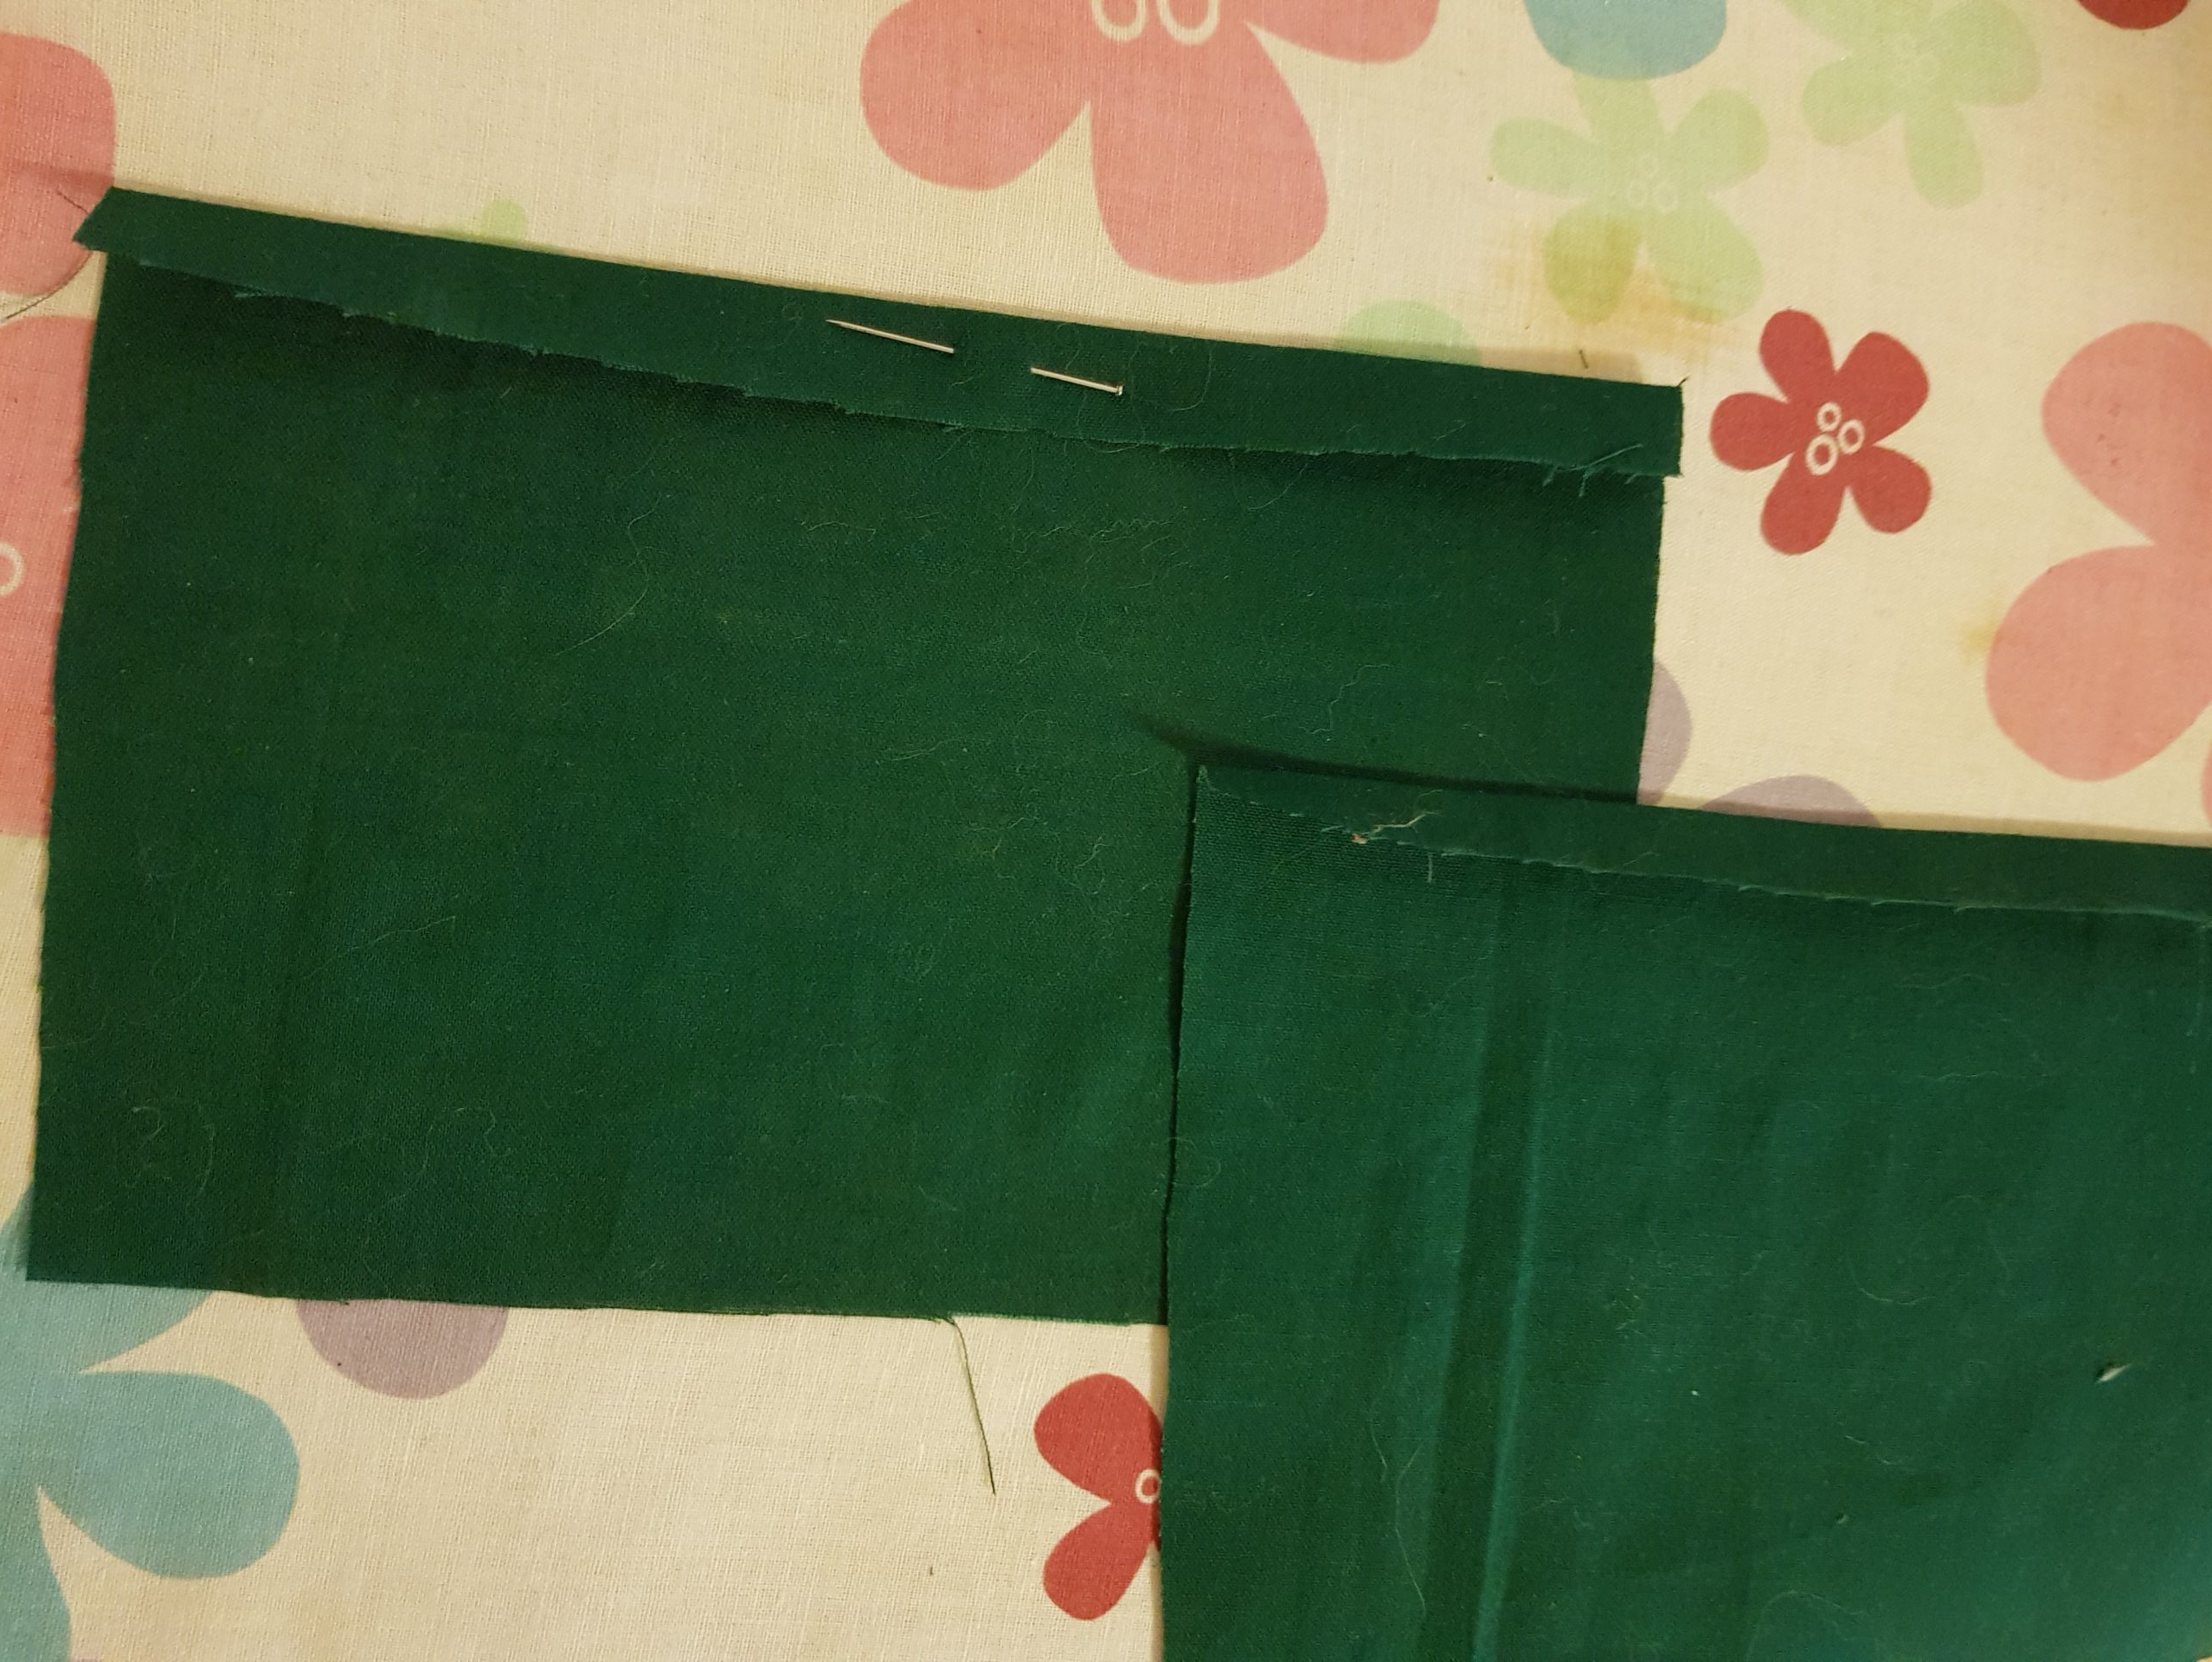
Cut your fabric – 1 big and 2 small for each mask.
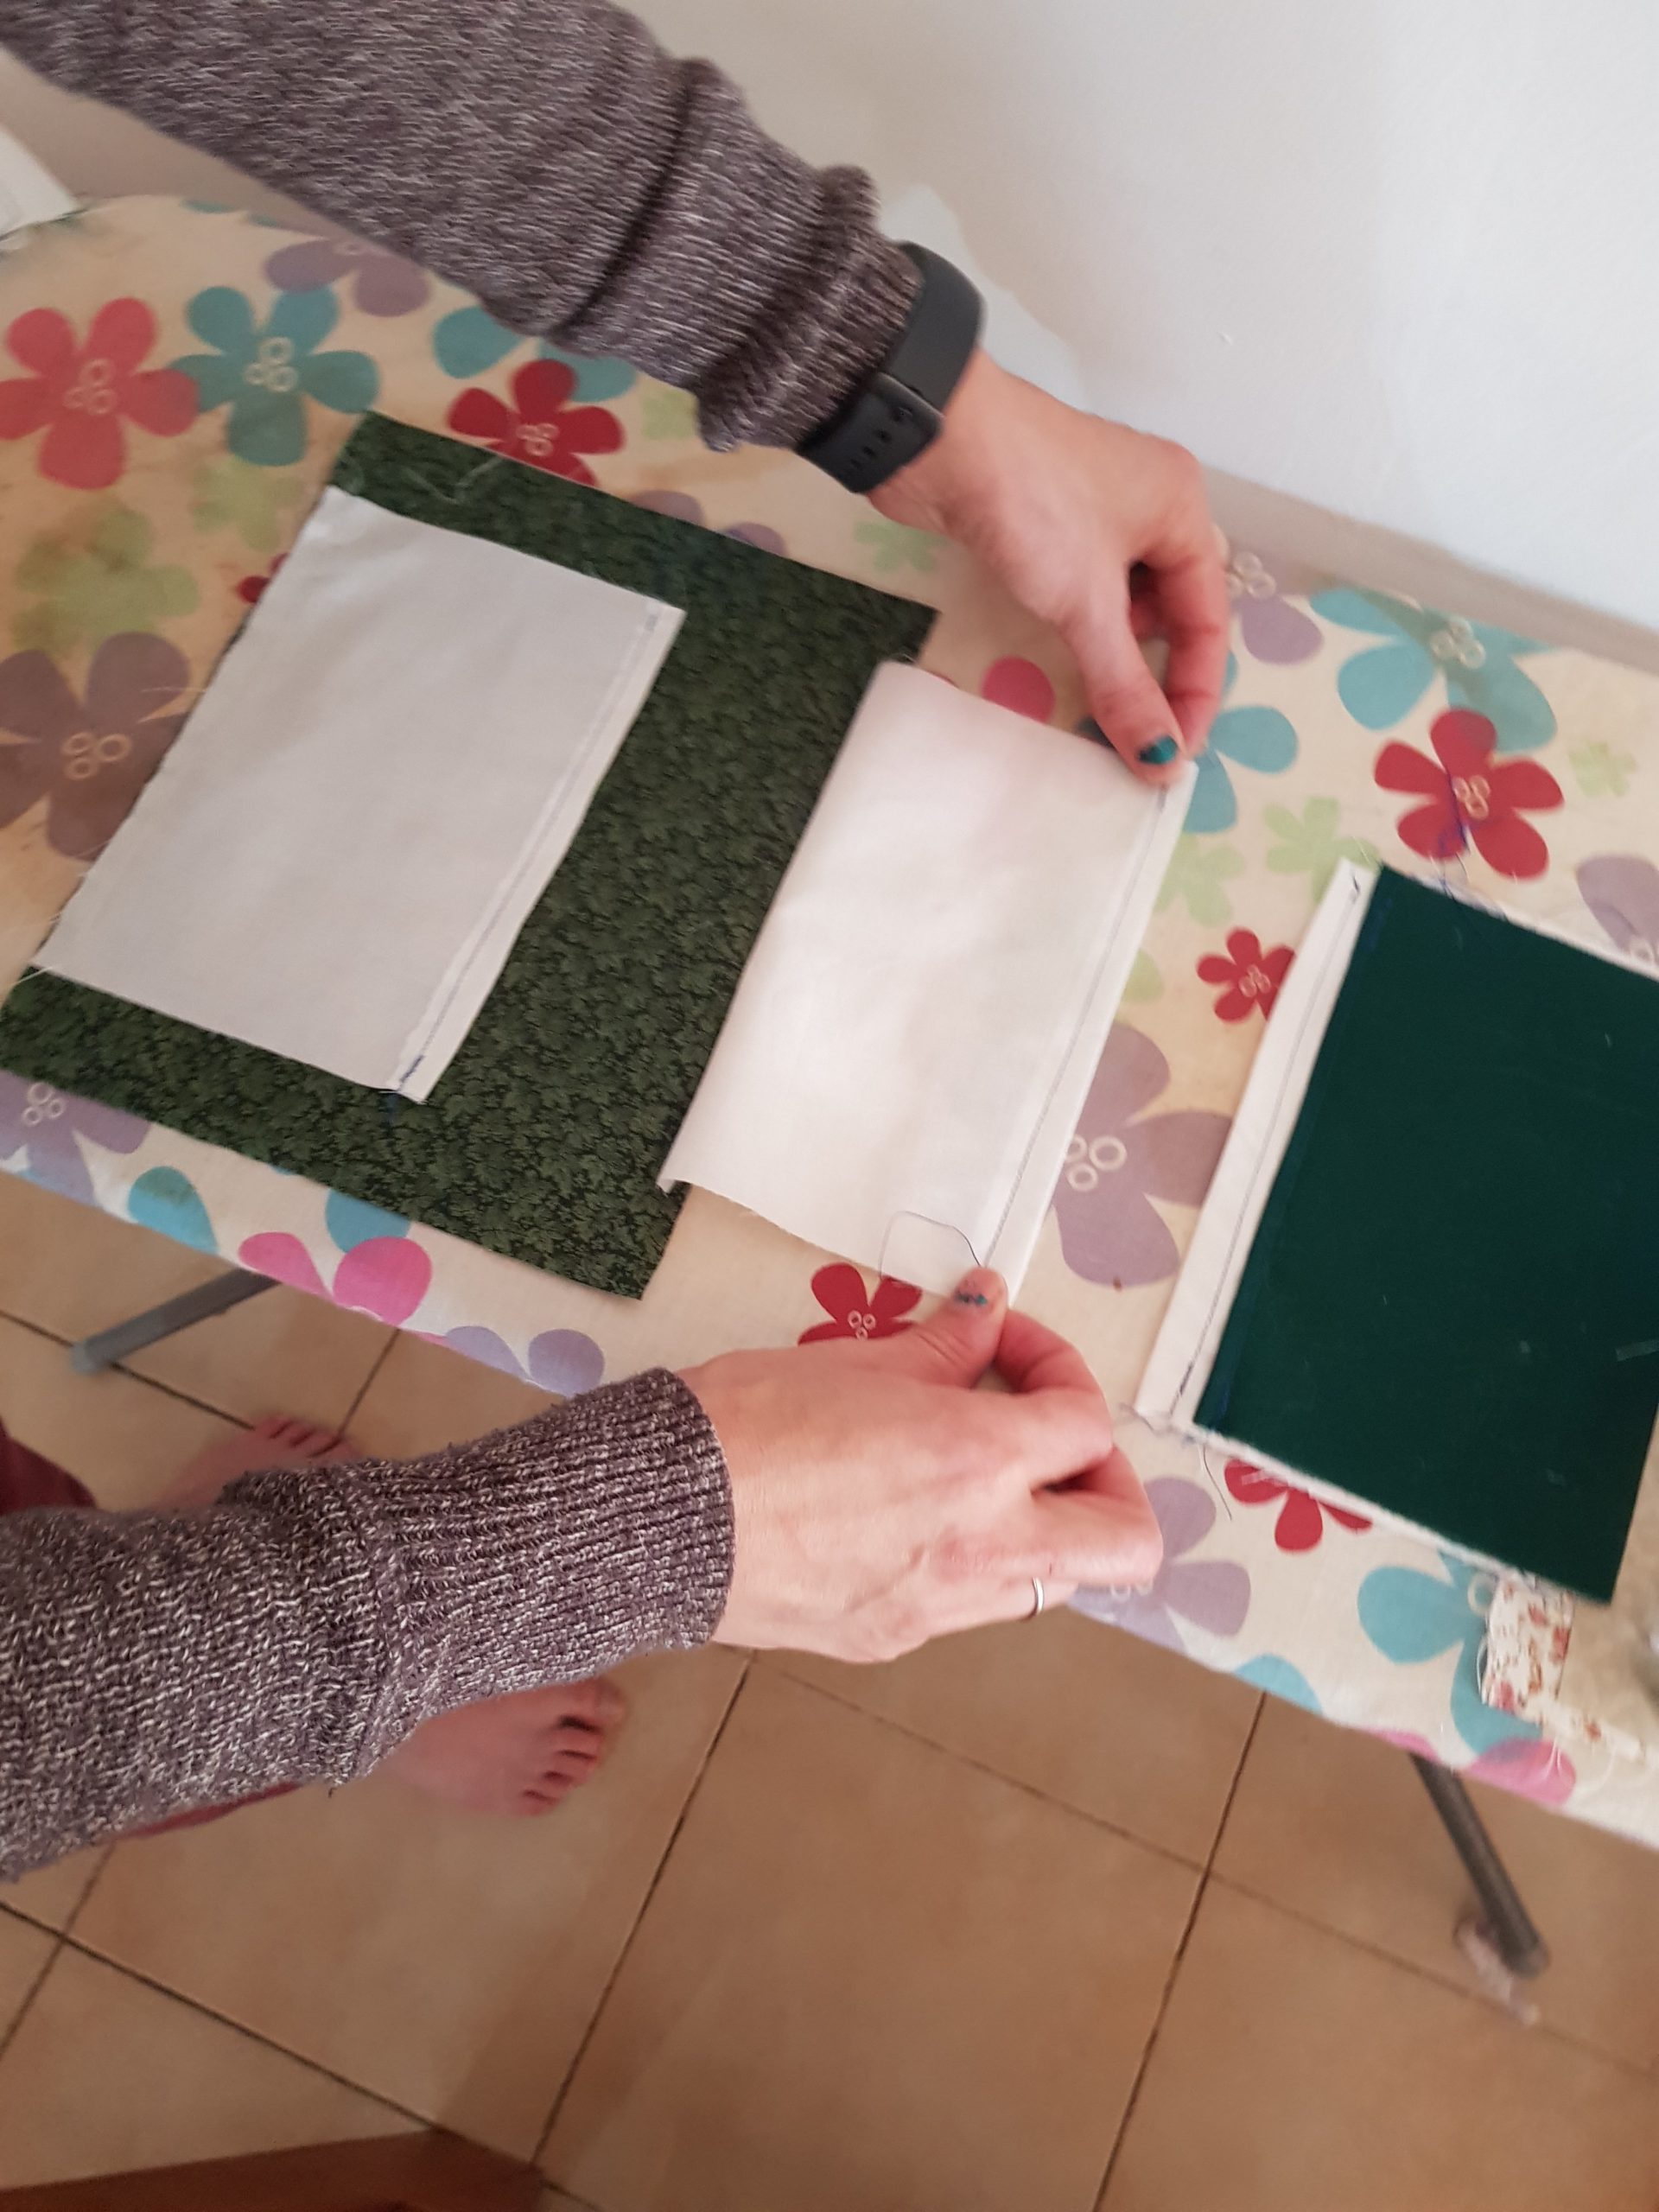
Step 3:
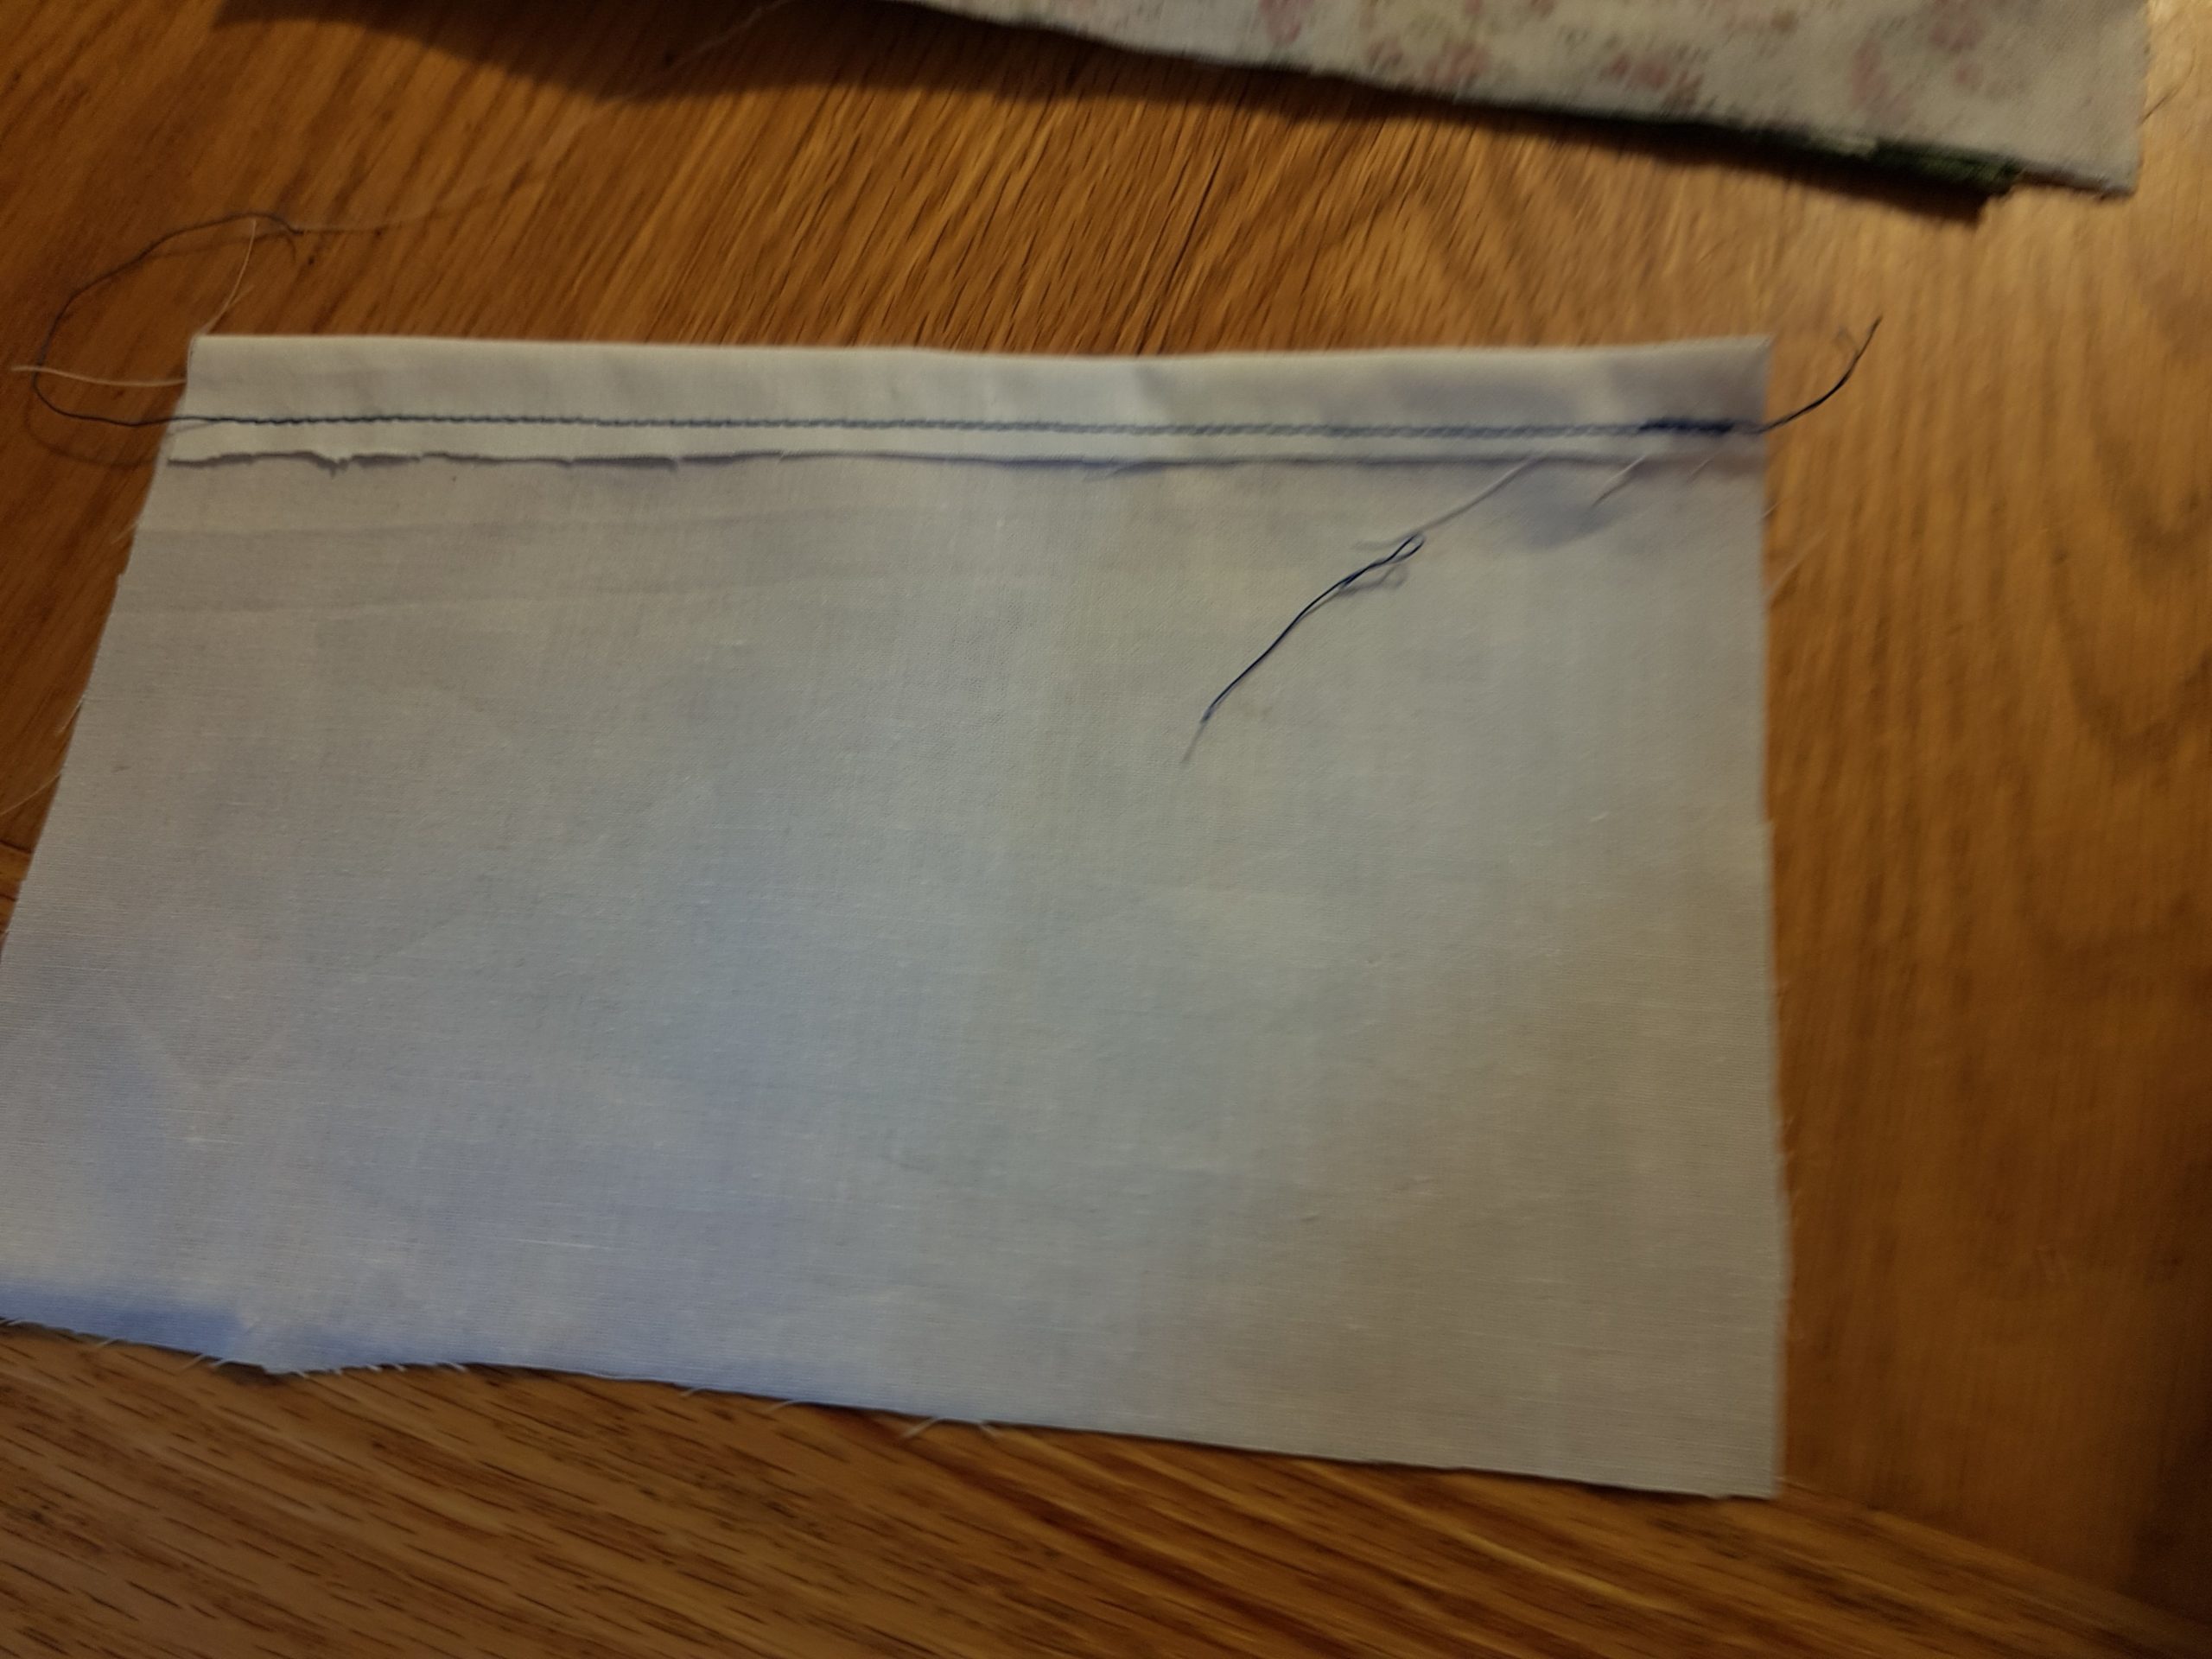
Sew the edge for the small pieces: only the wide edge only from one side. Folding it 1 cm from right side to the wrong side:
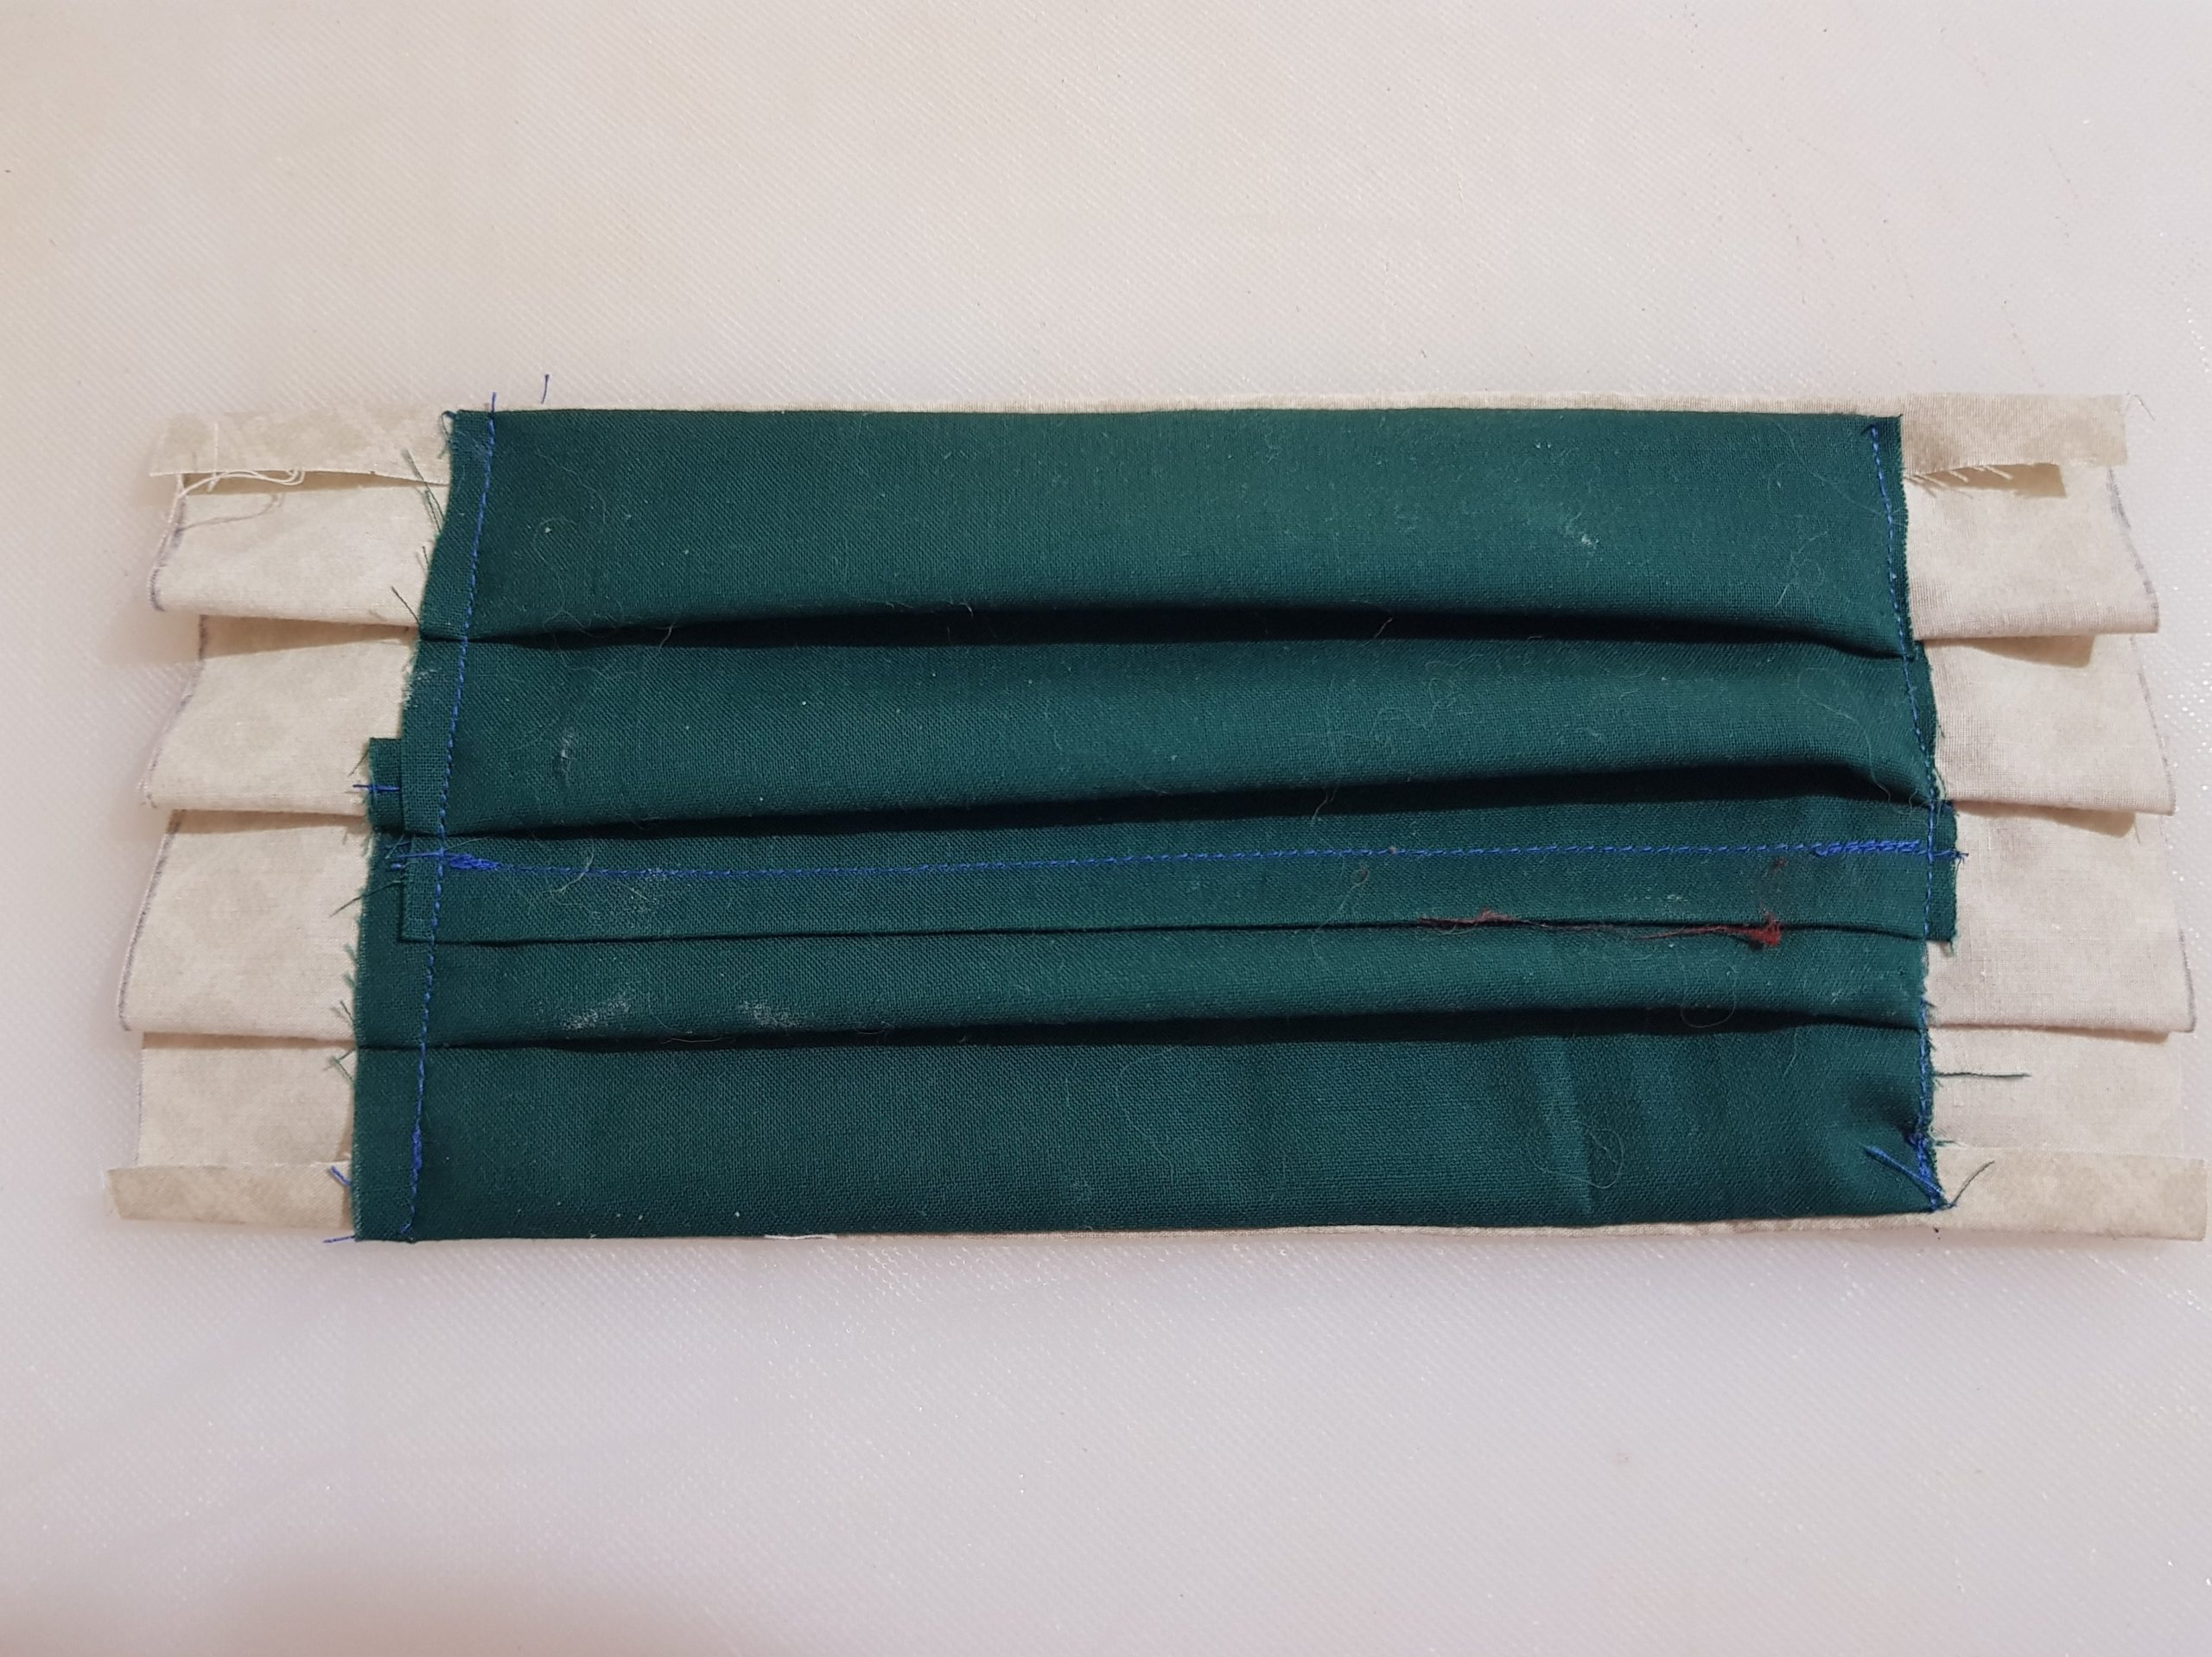
Step 4
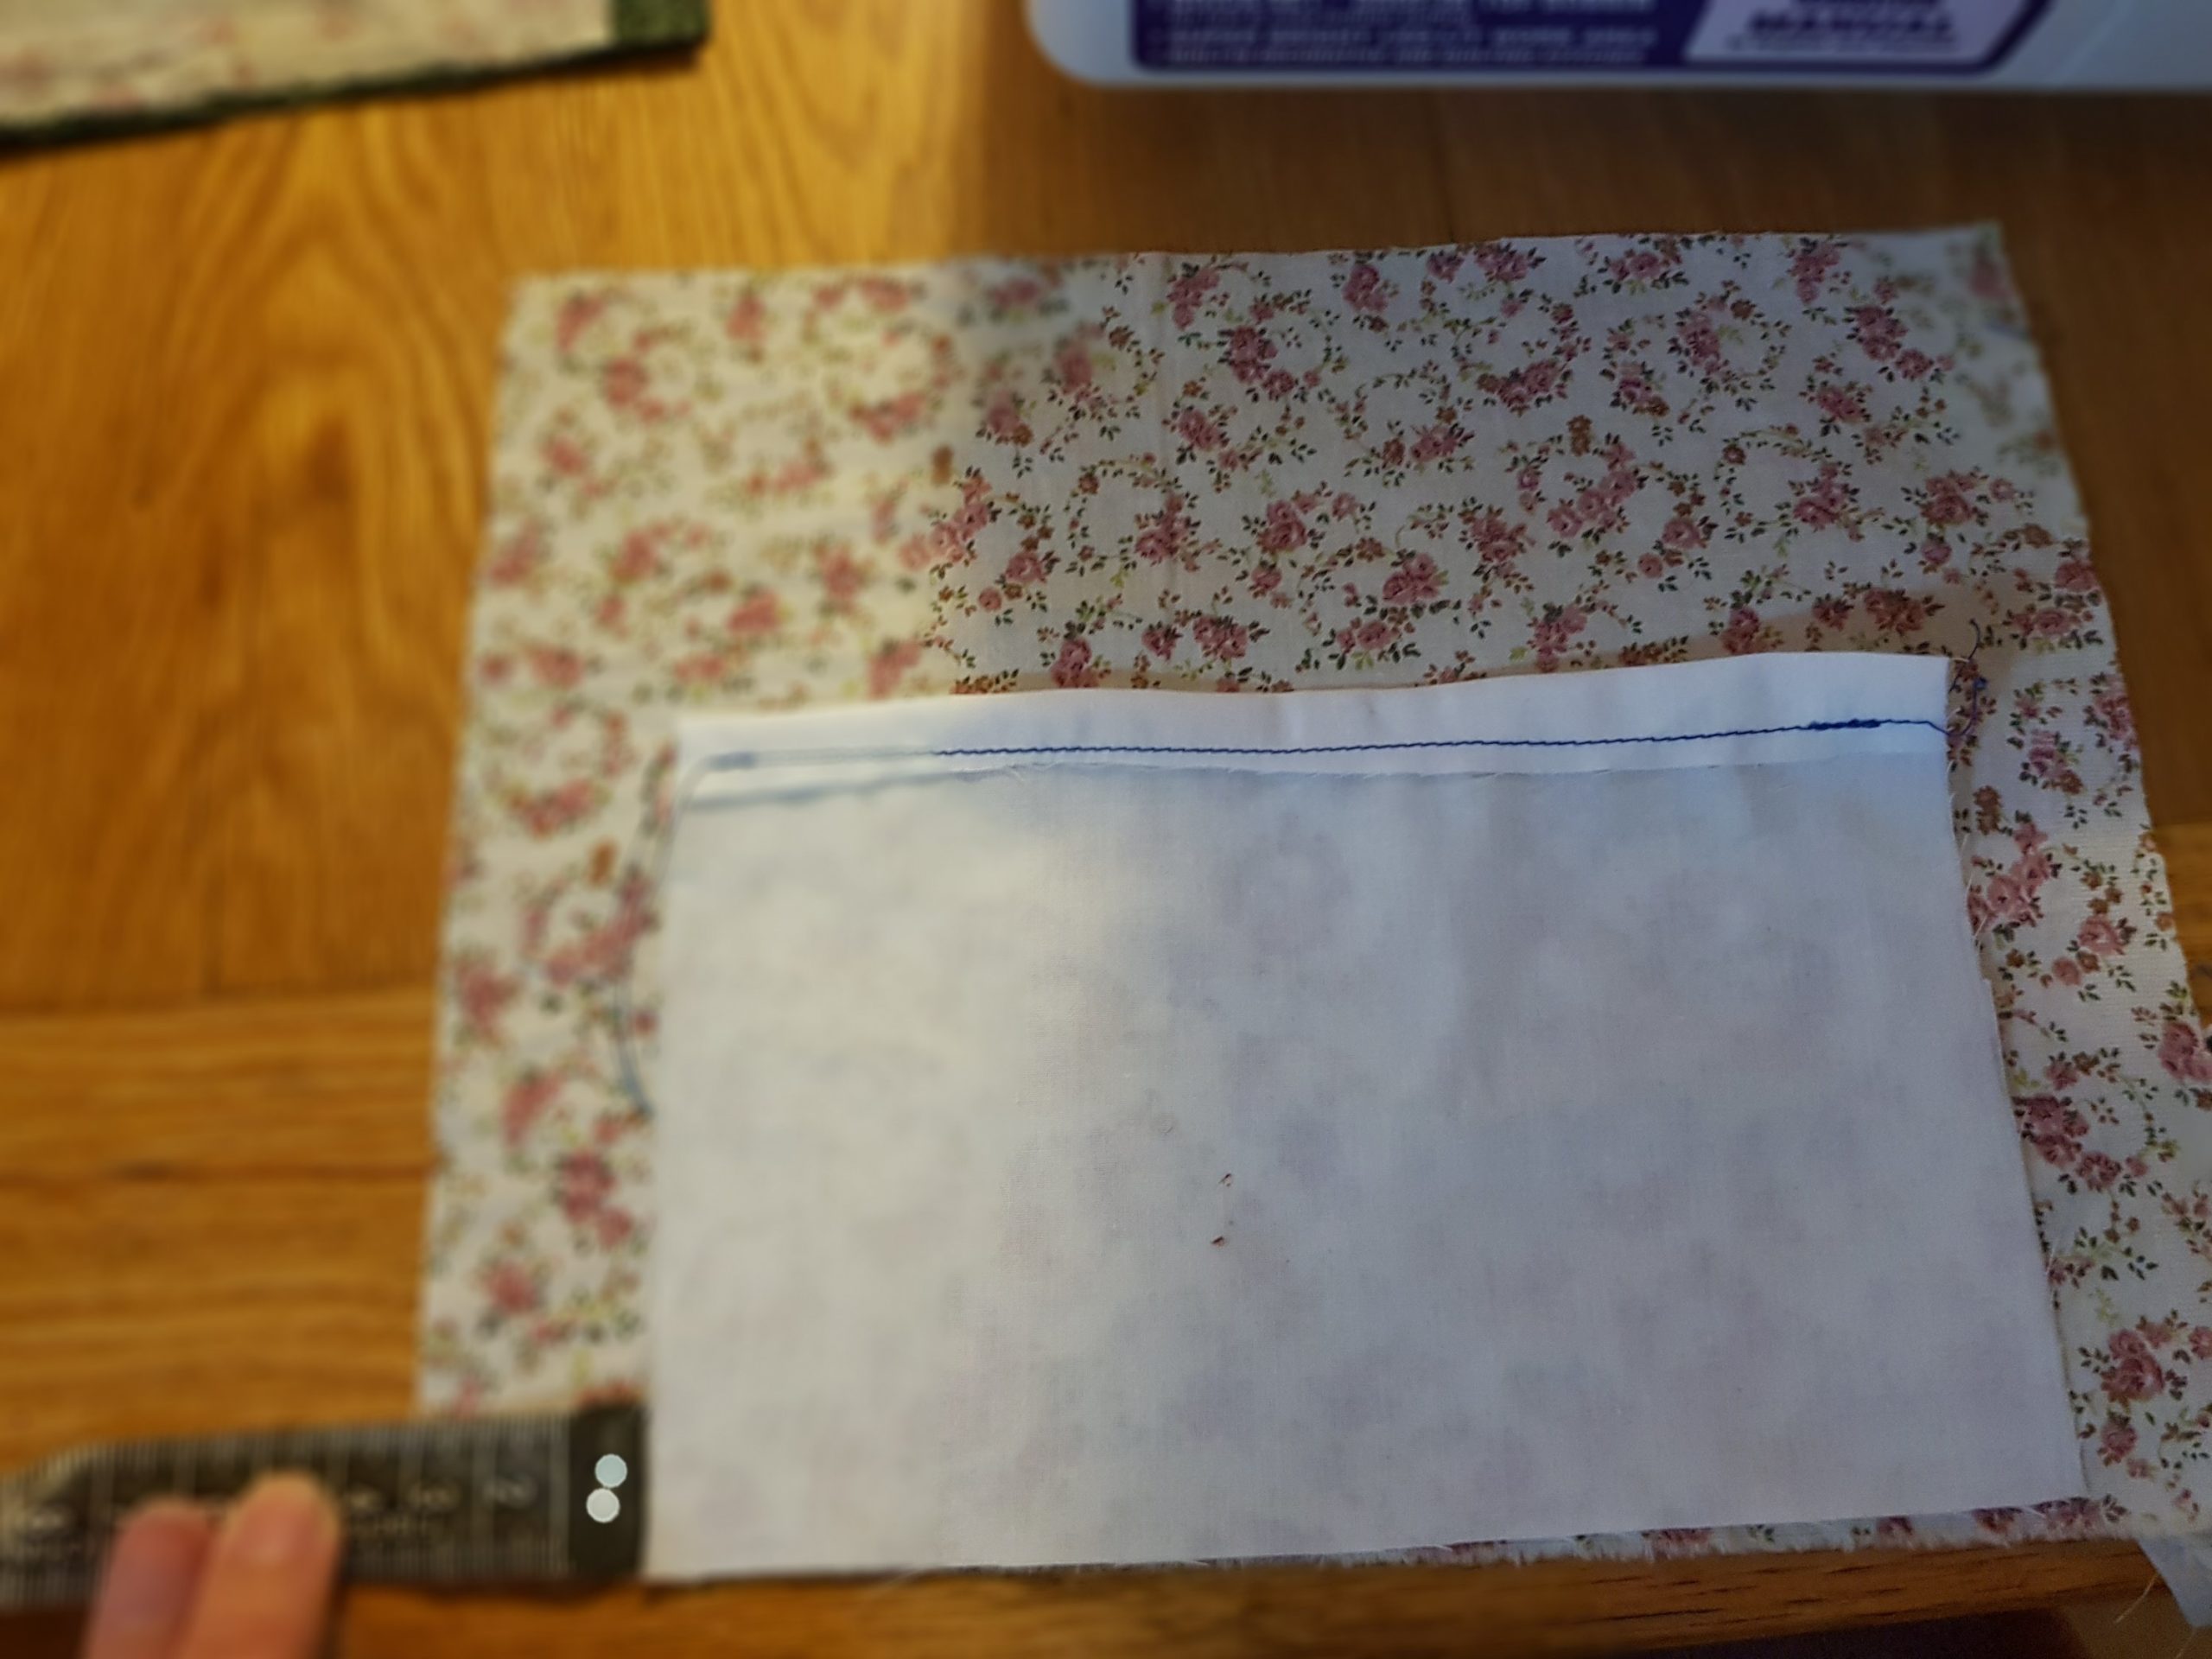
Sew the small pieces to the top and bottom of the big piece, right in the middle, 3 cm from each side:
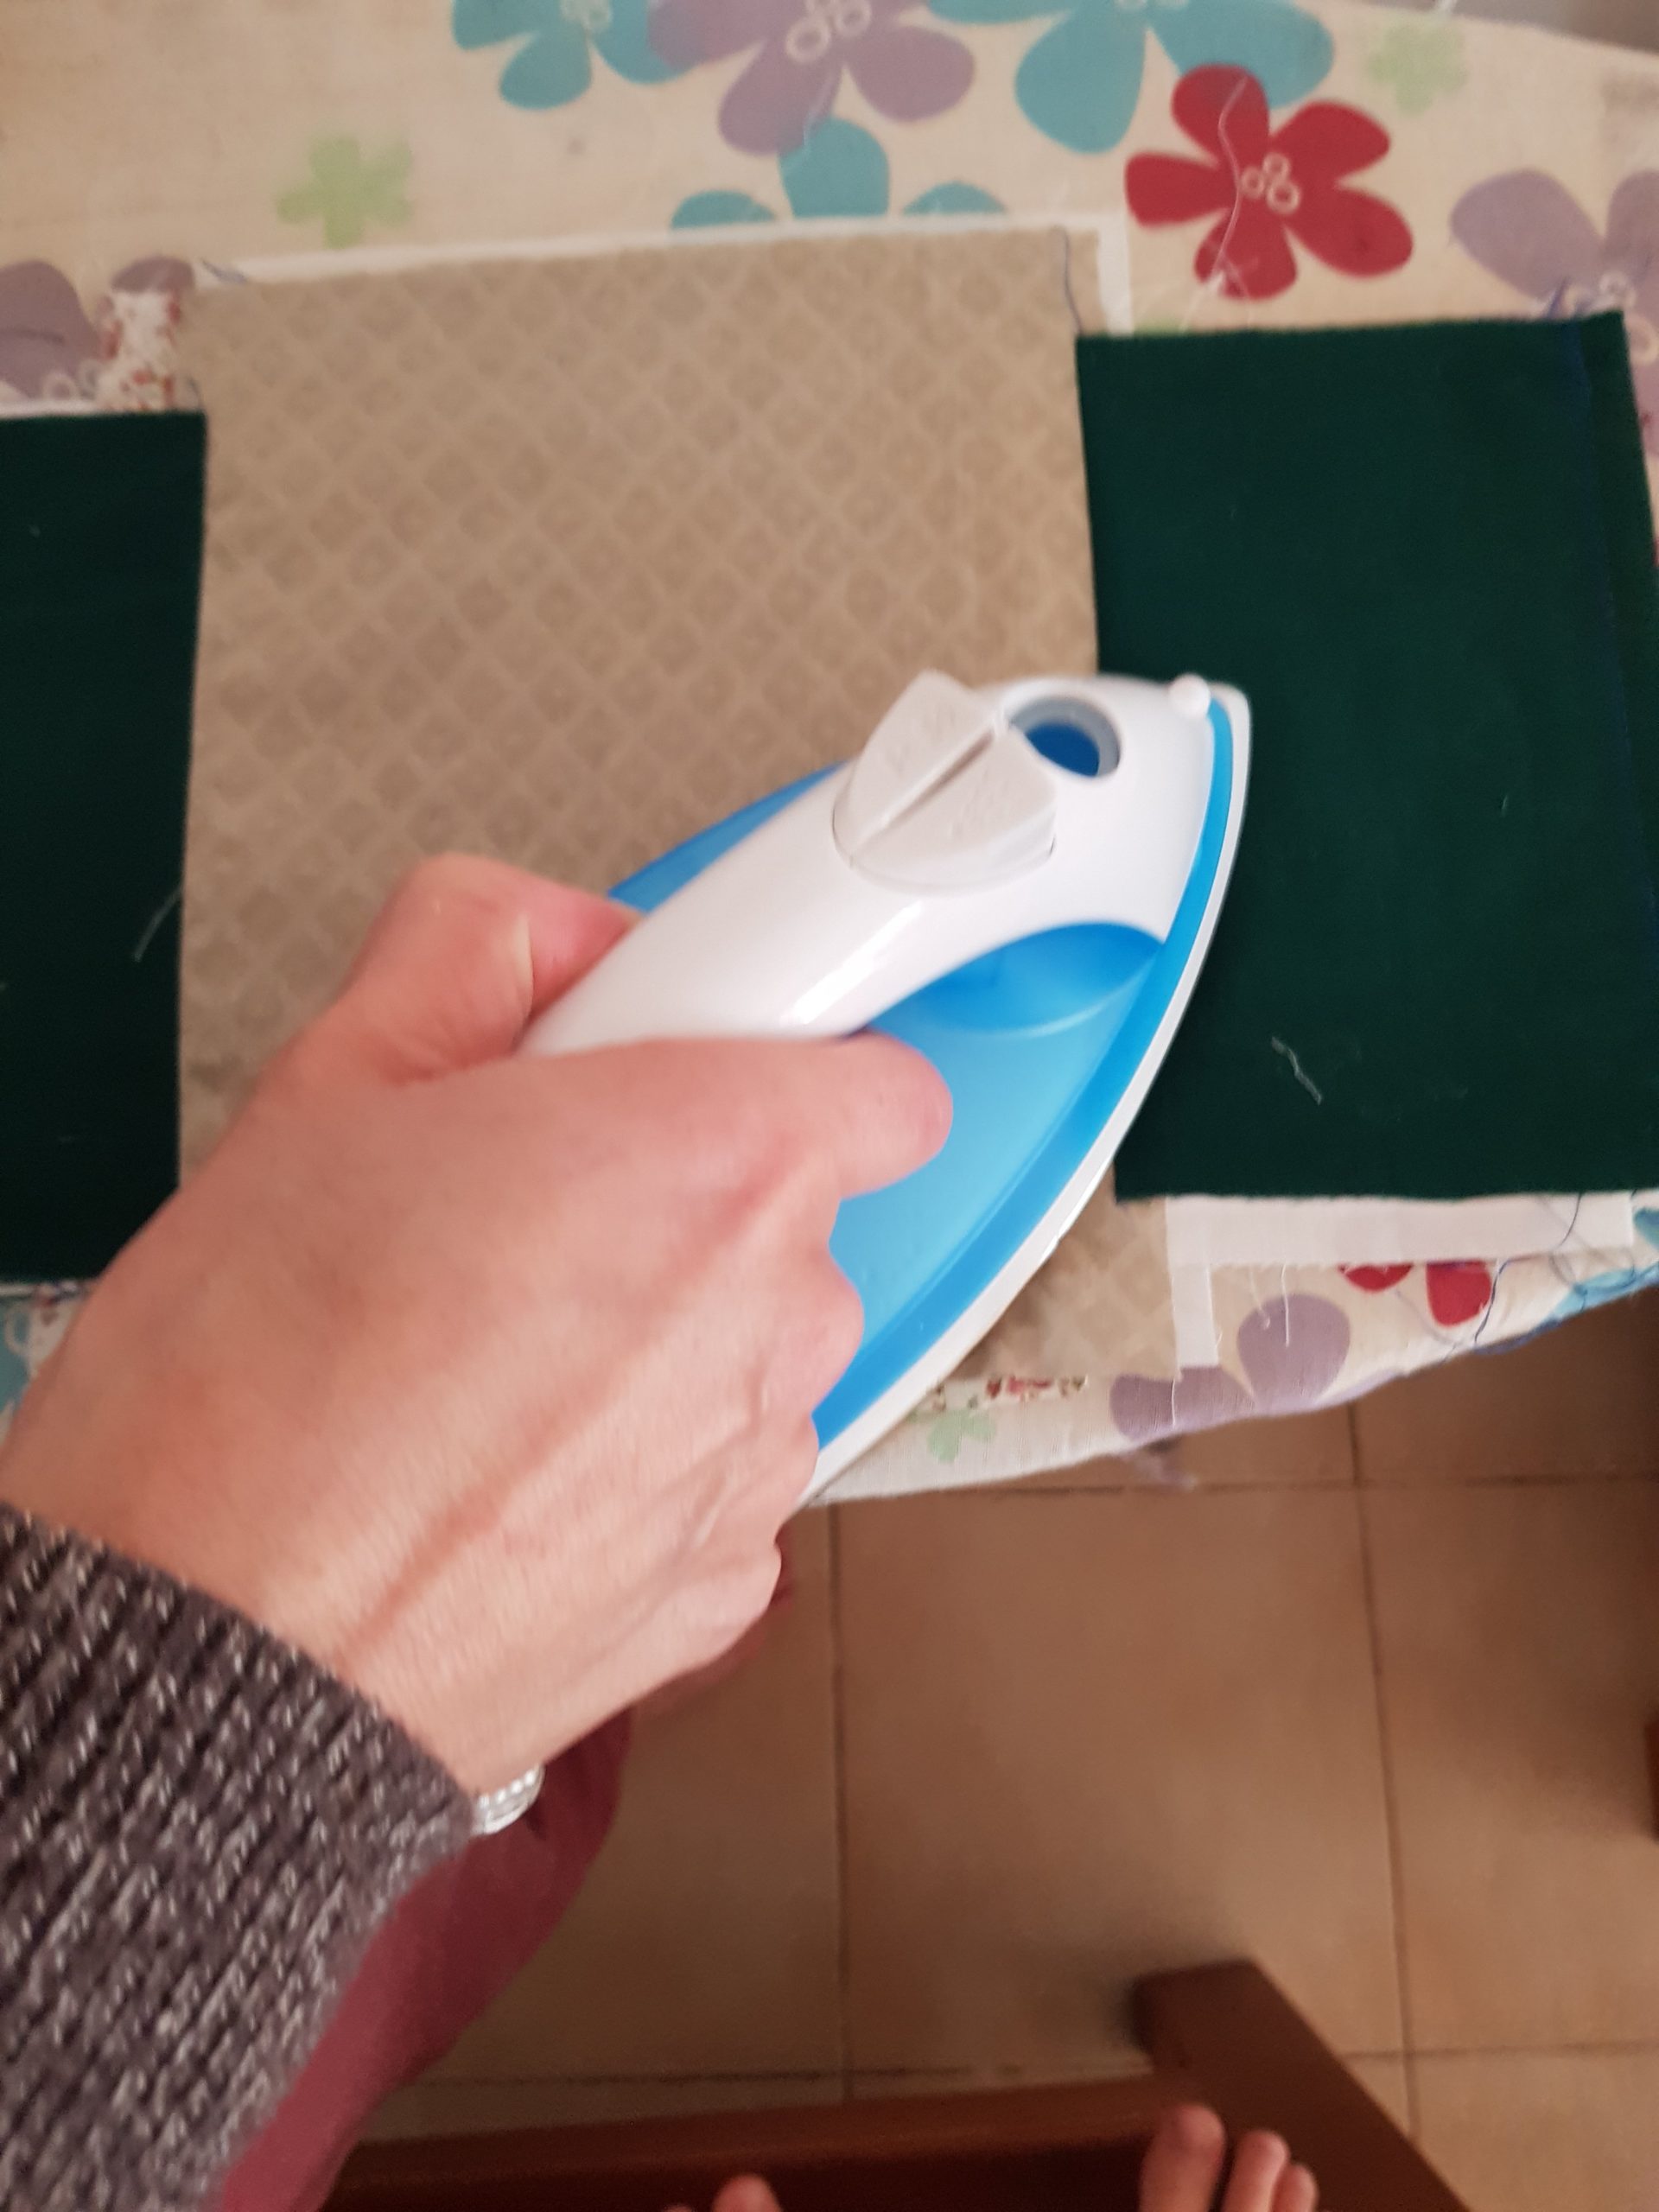
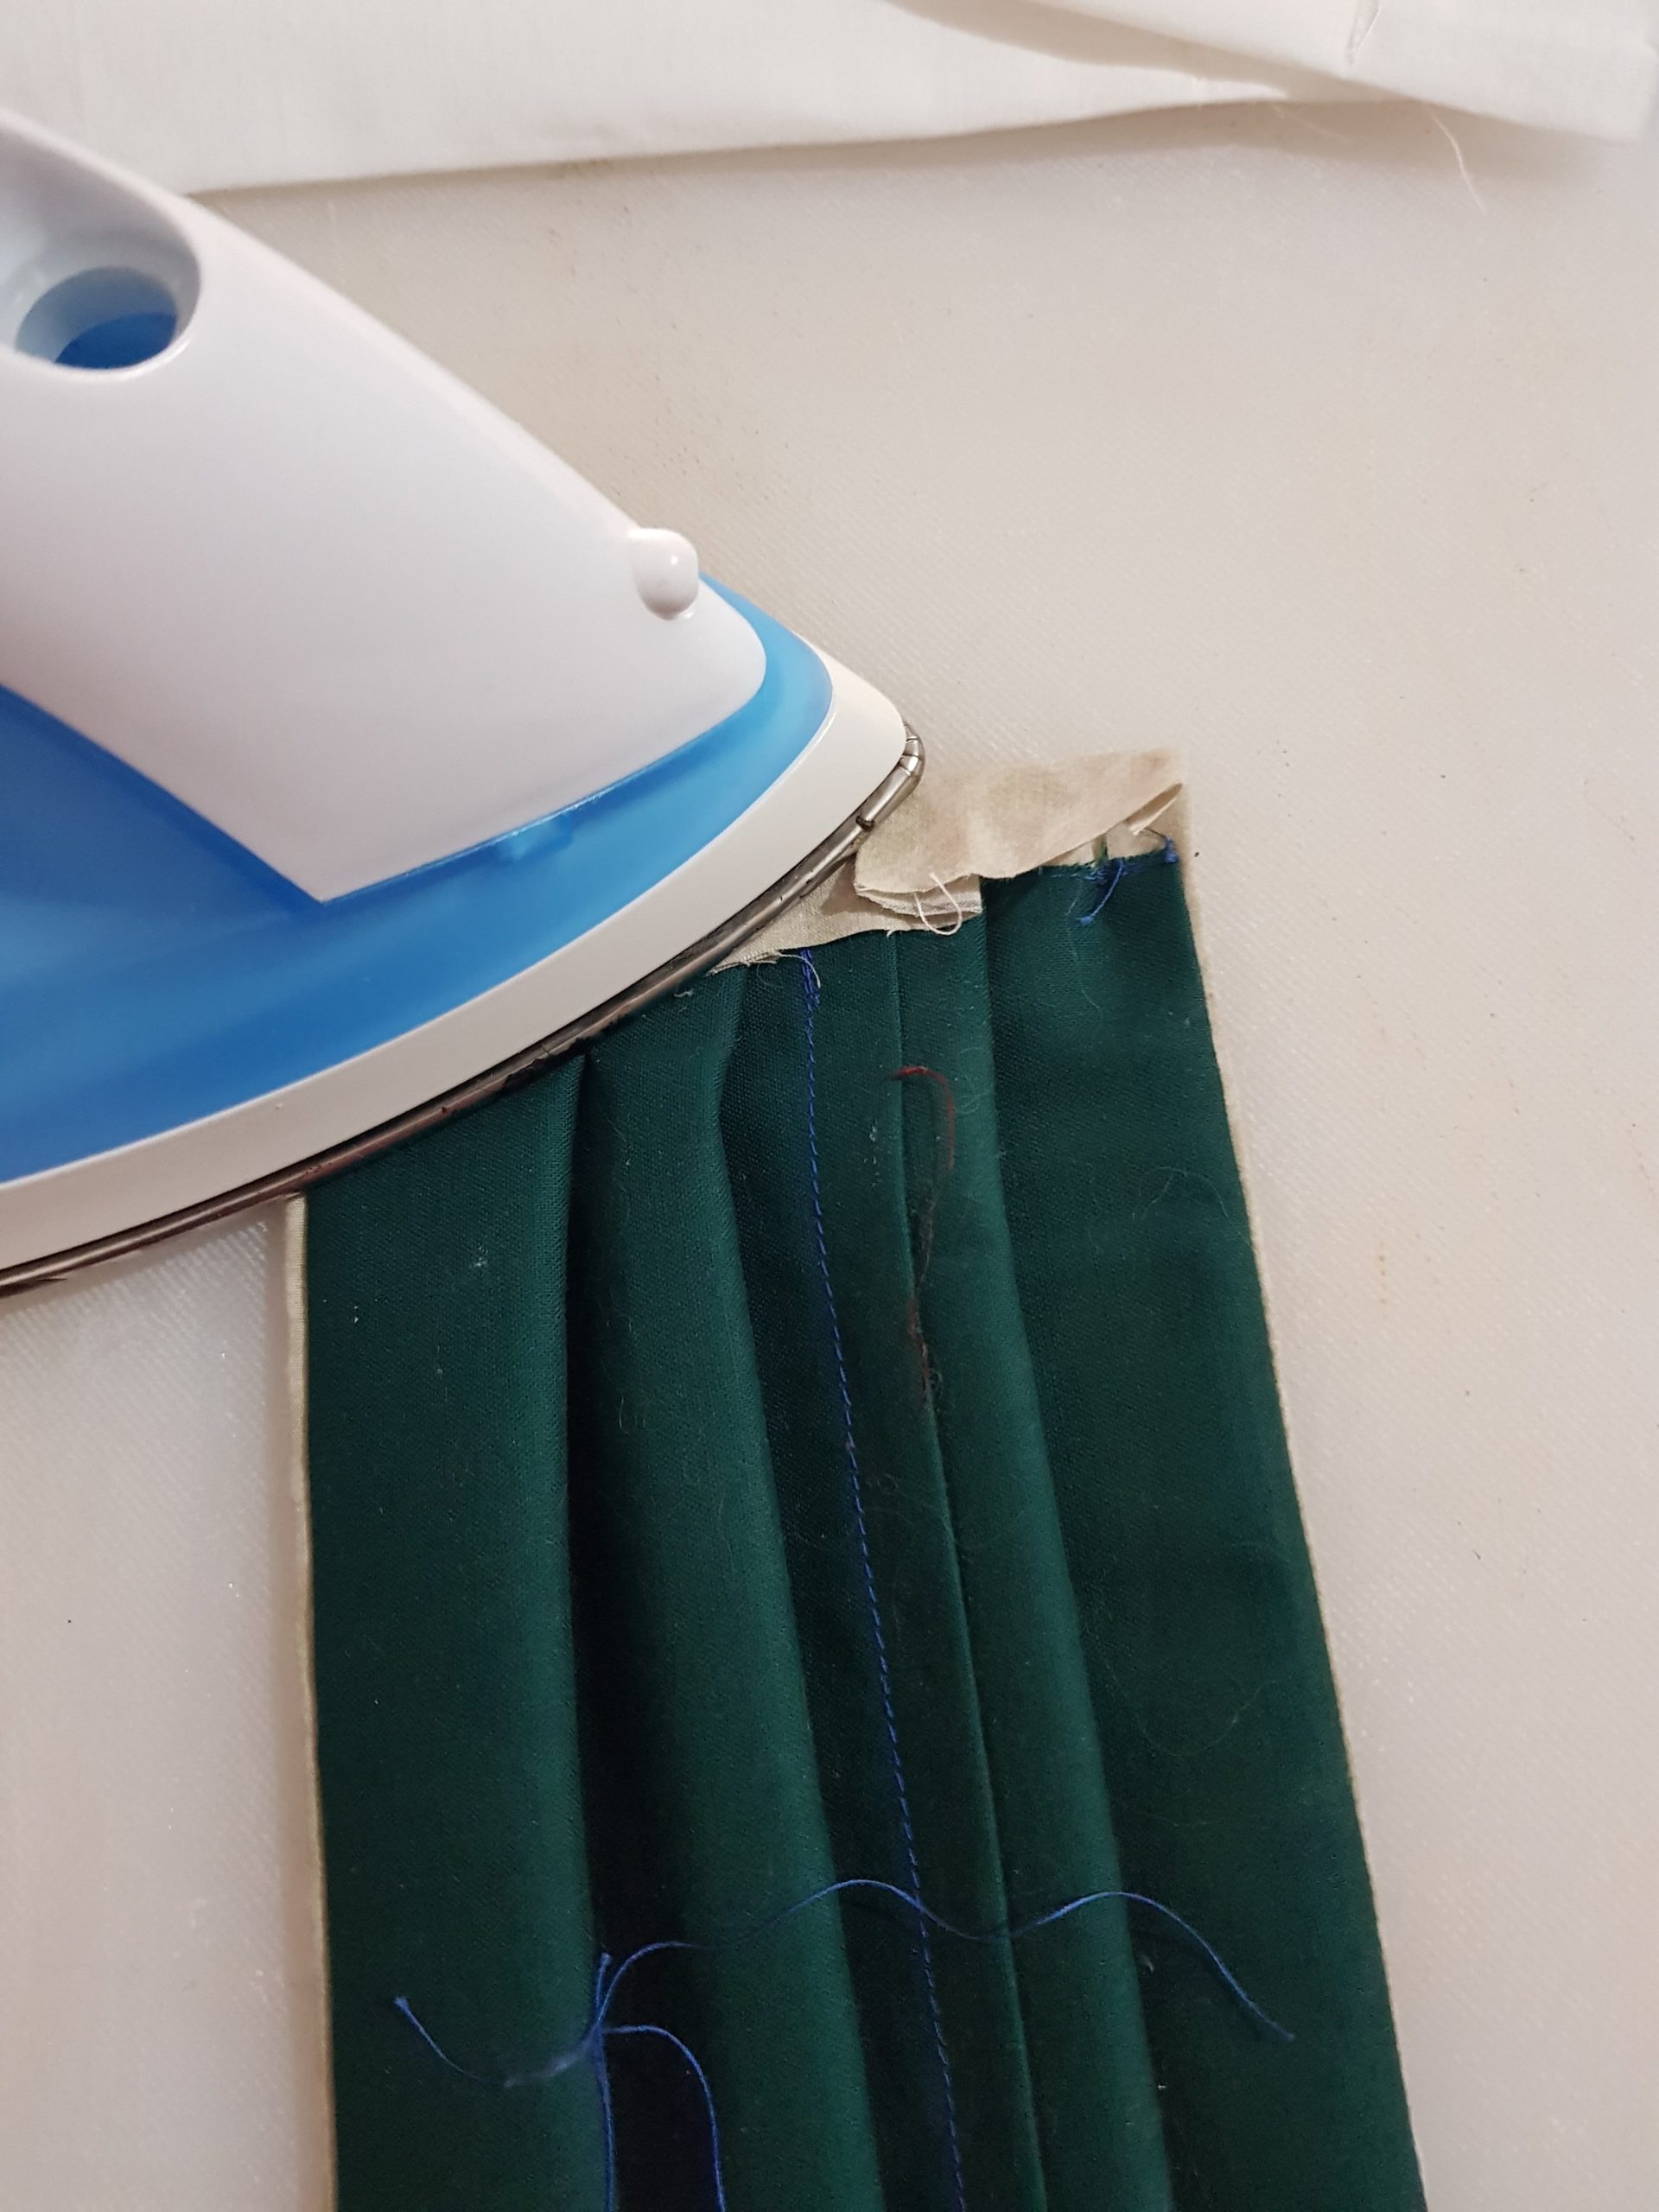
Step 5
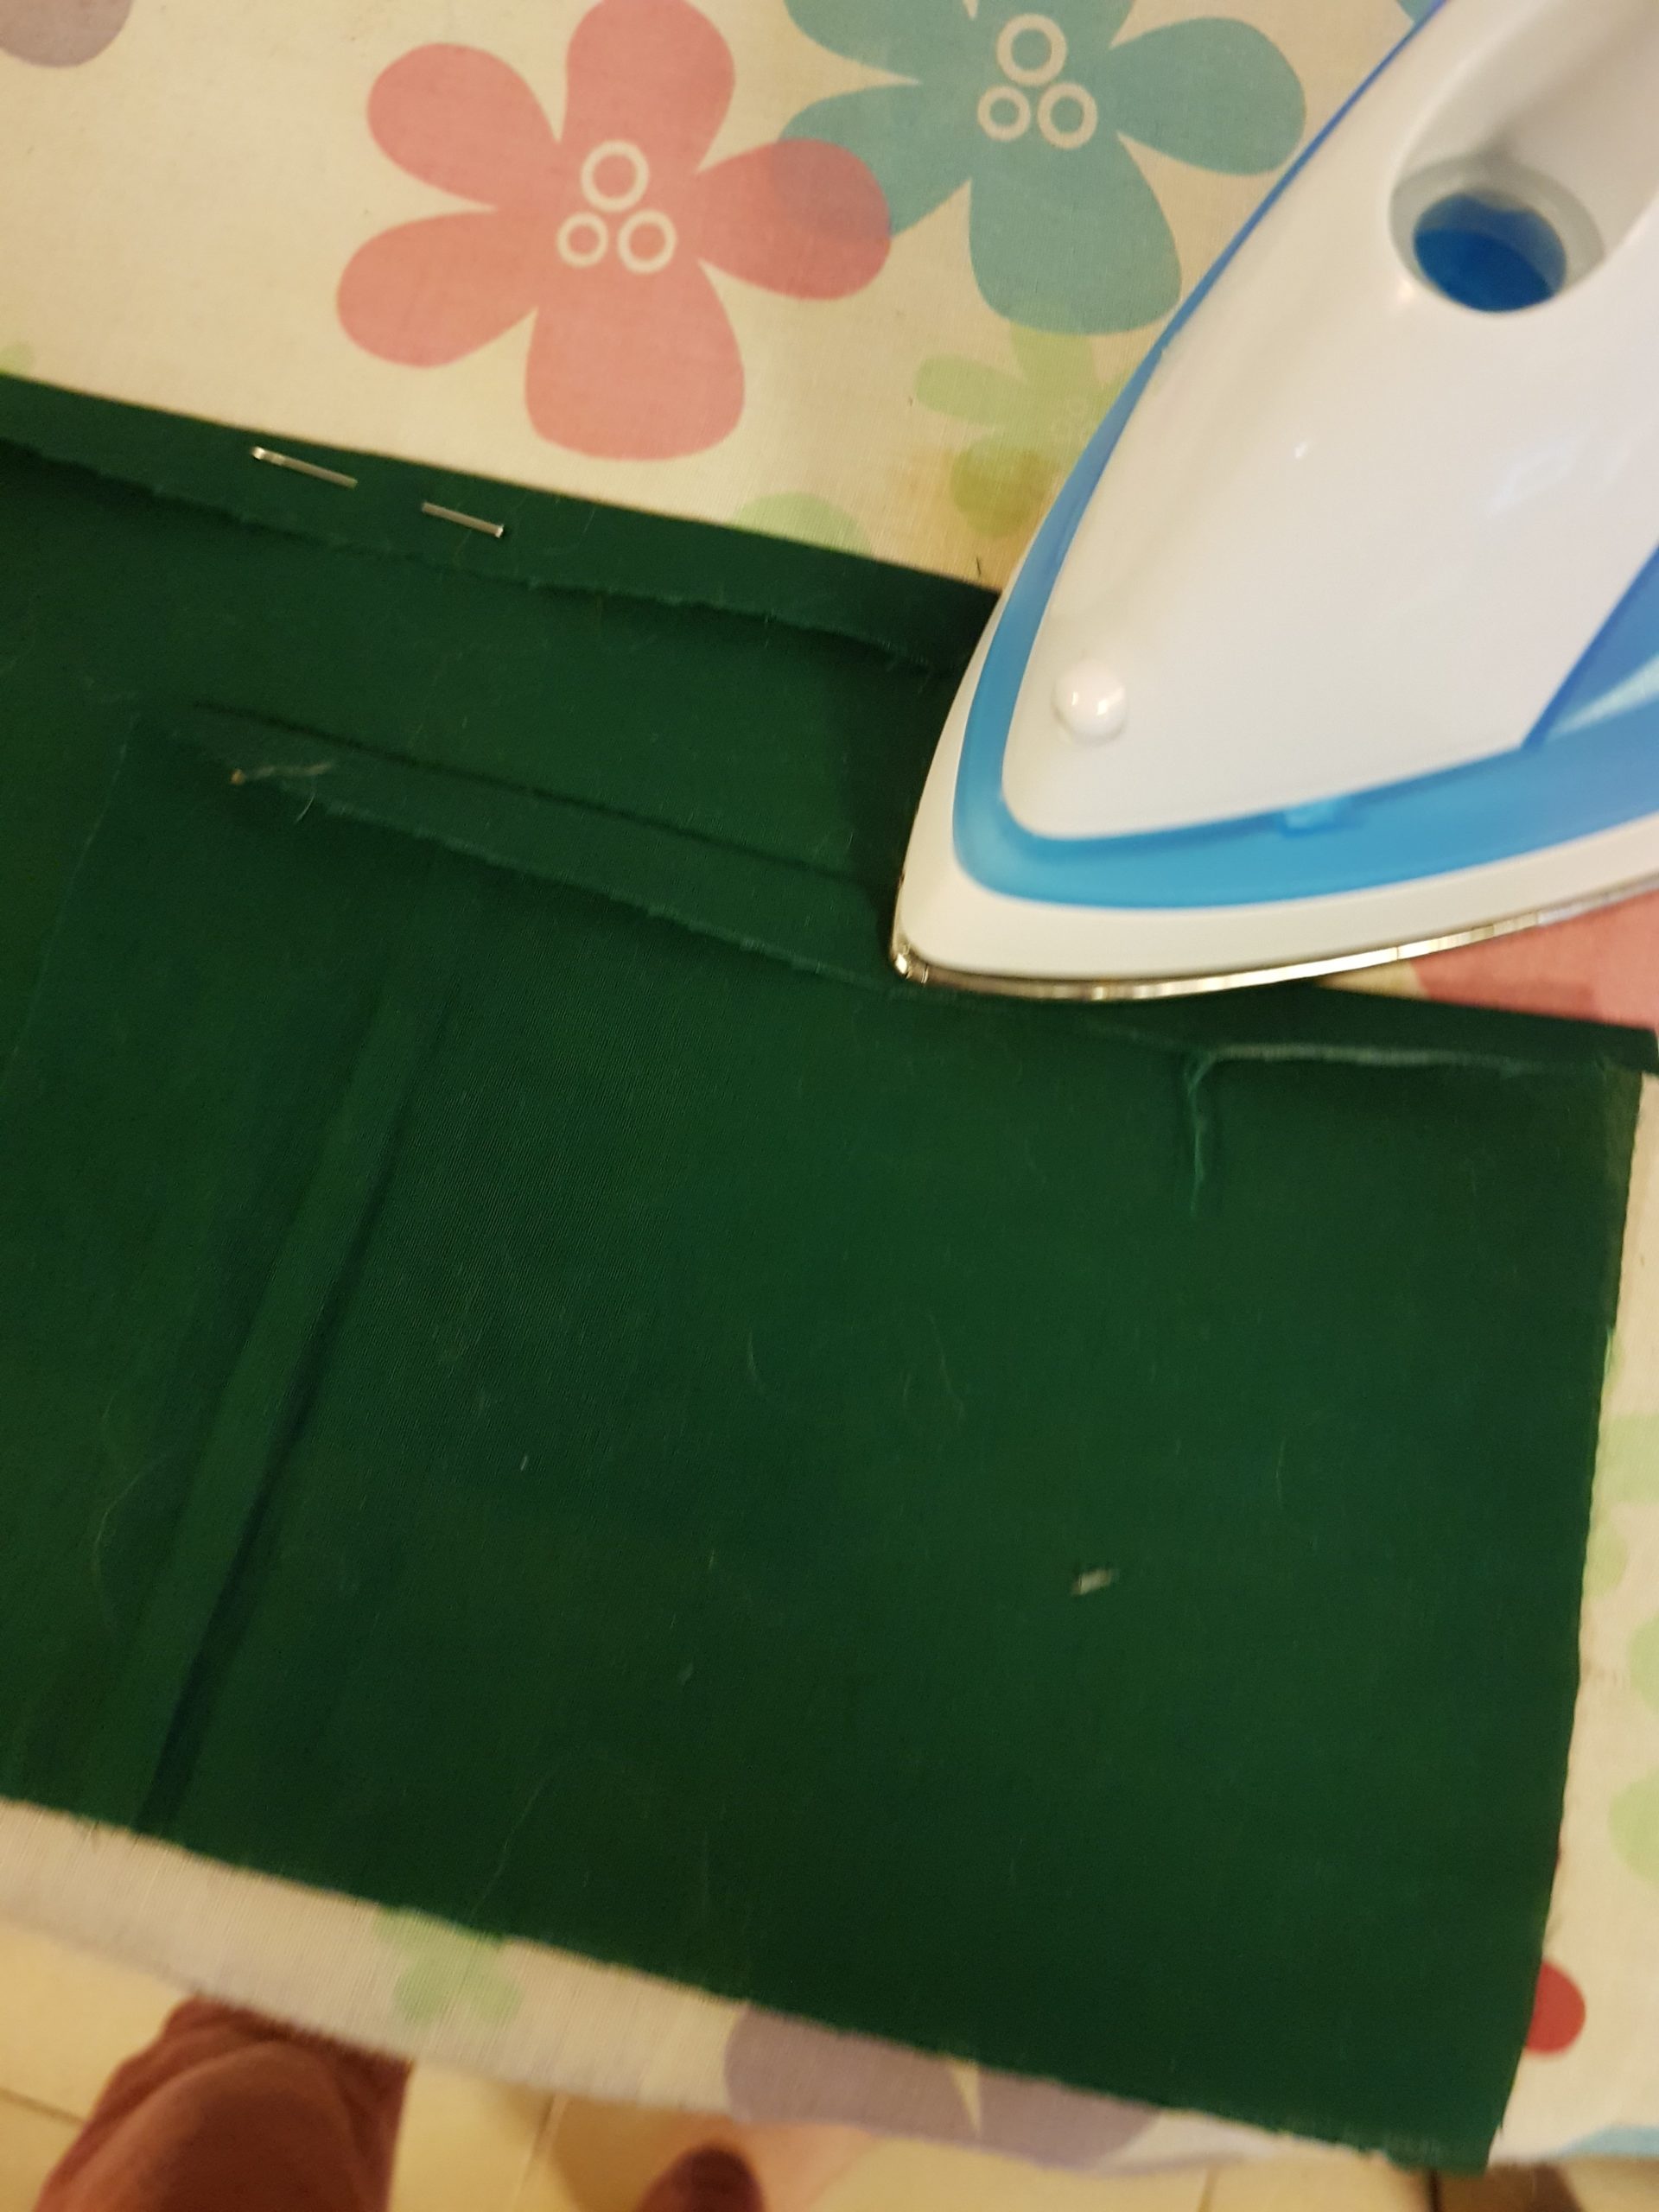
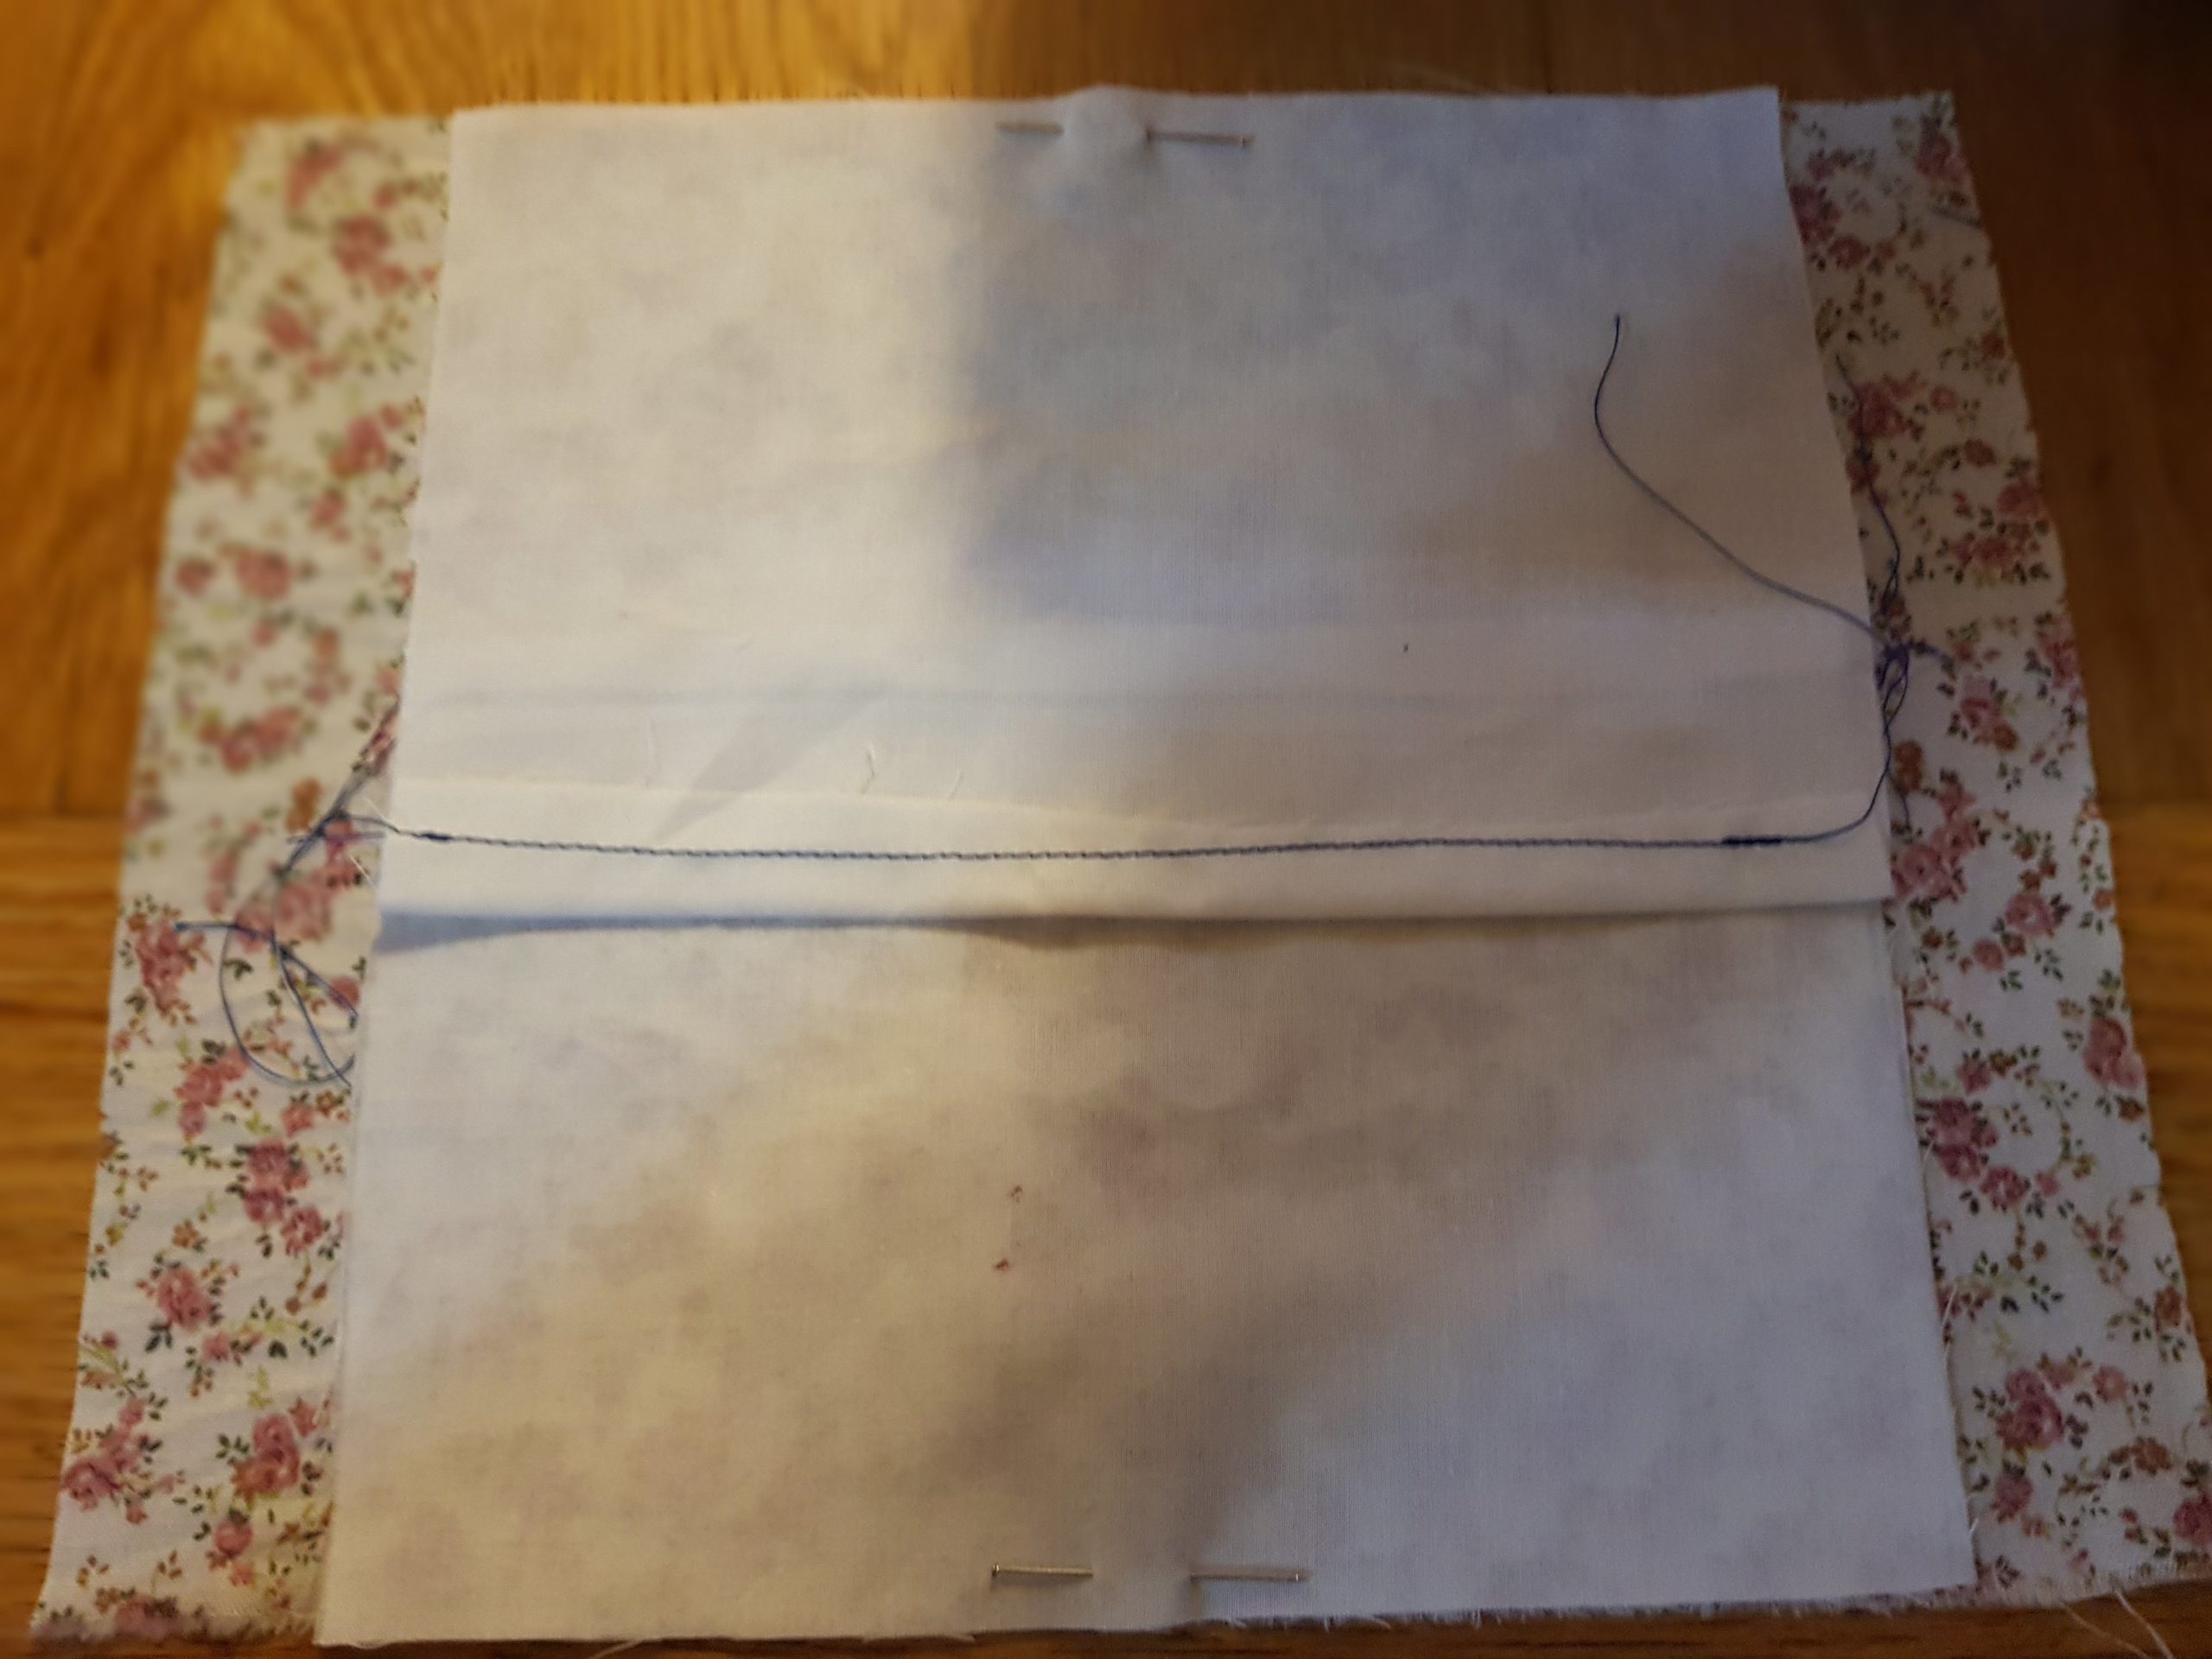
Ironing. Iron takes 2 stages, first open the flaps and iron them straight, then fold them inside wrong side to wrong side and iron them together.

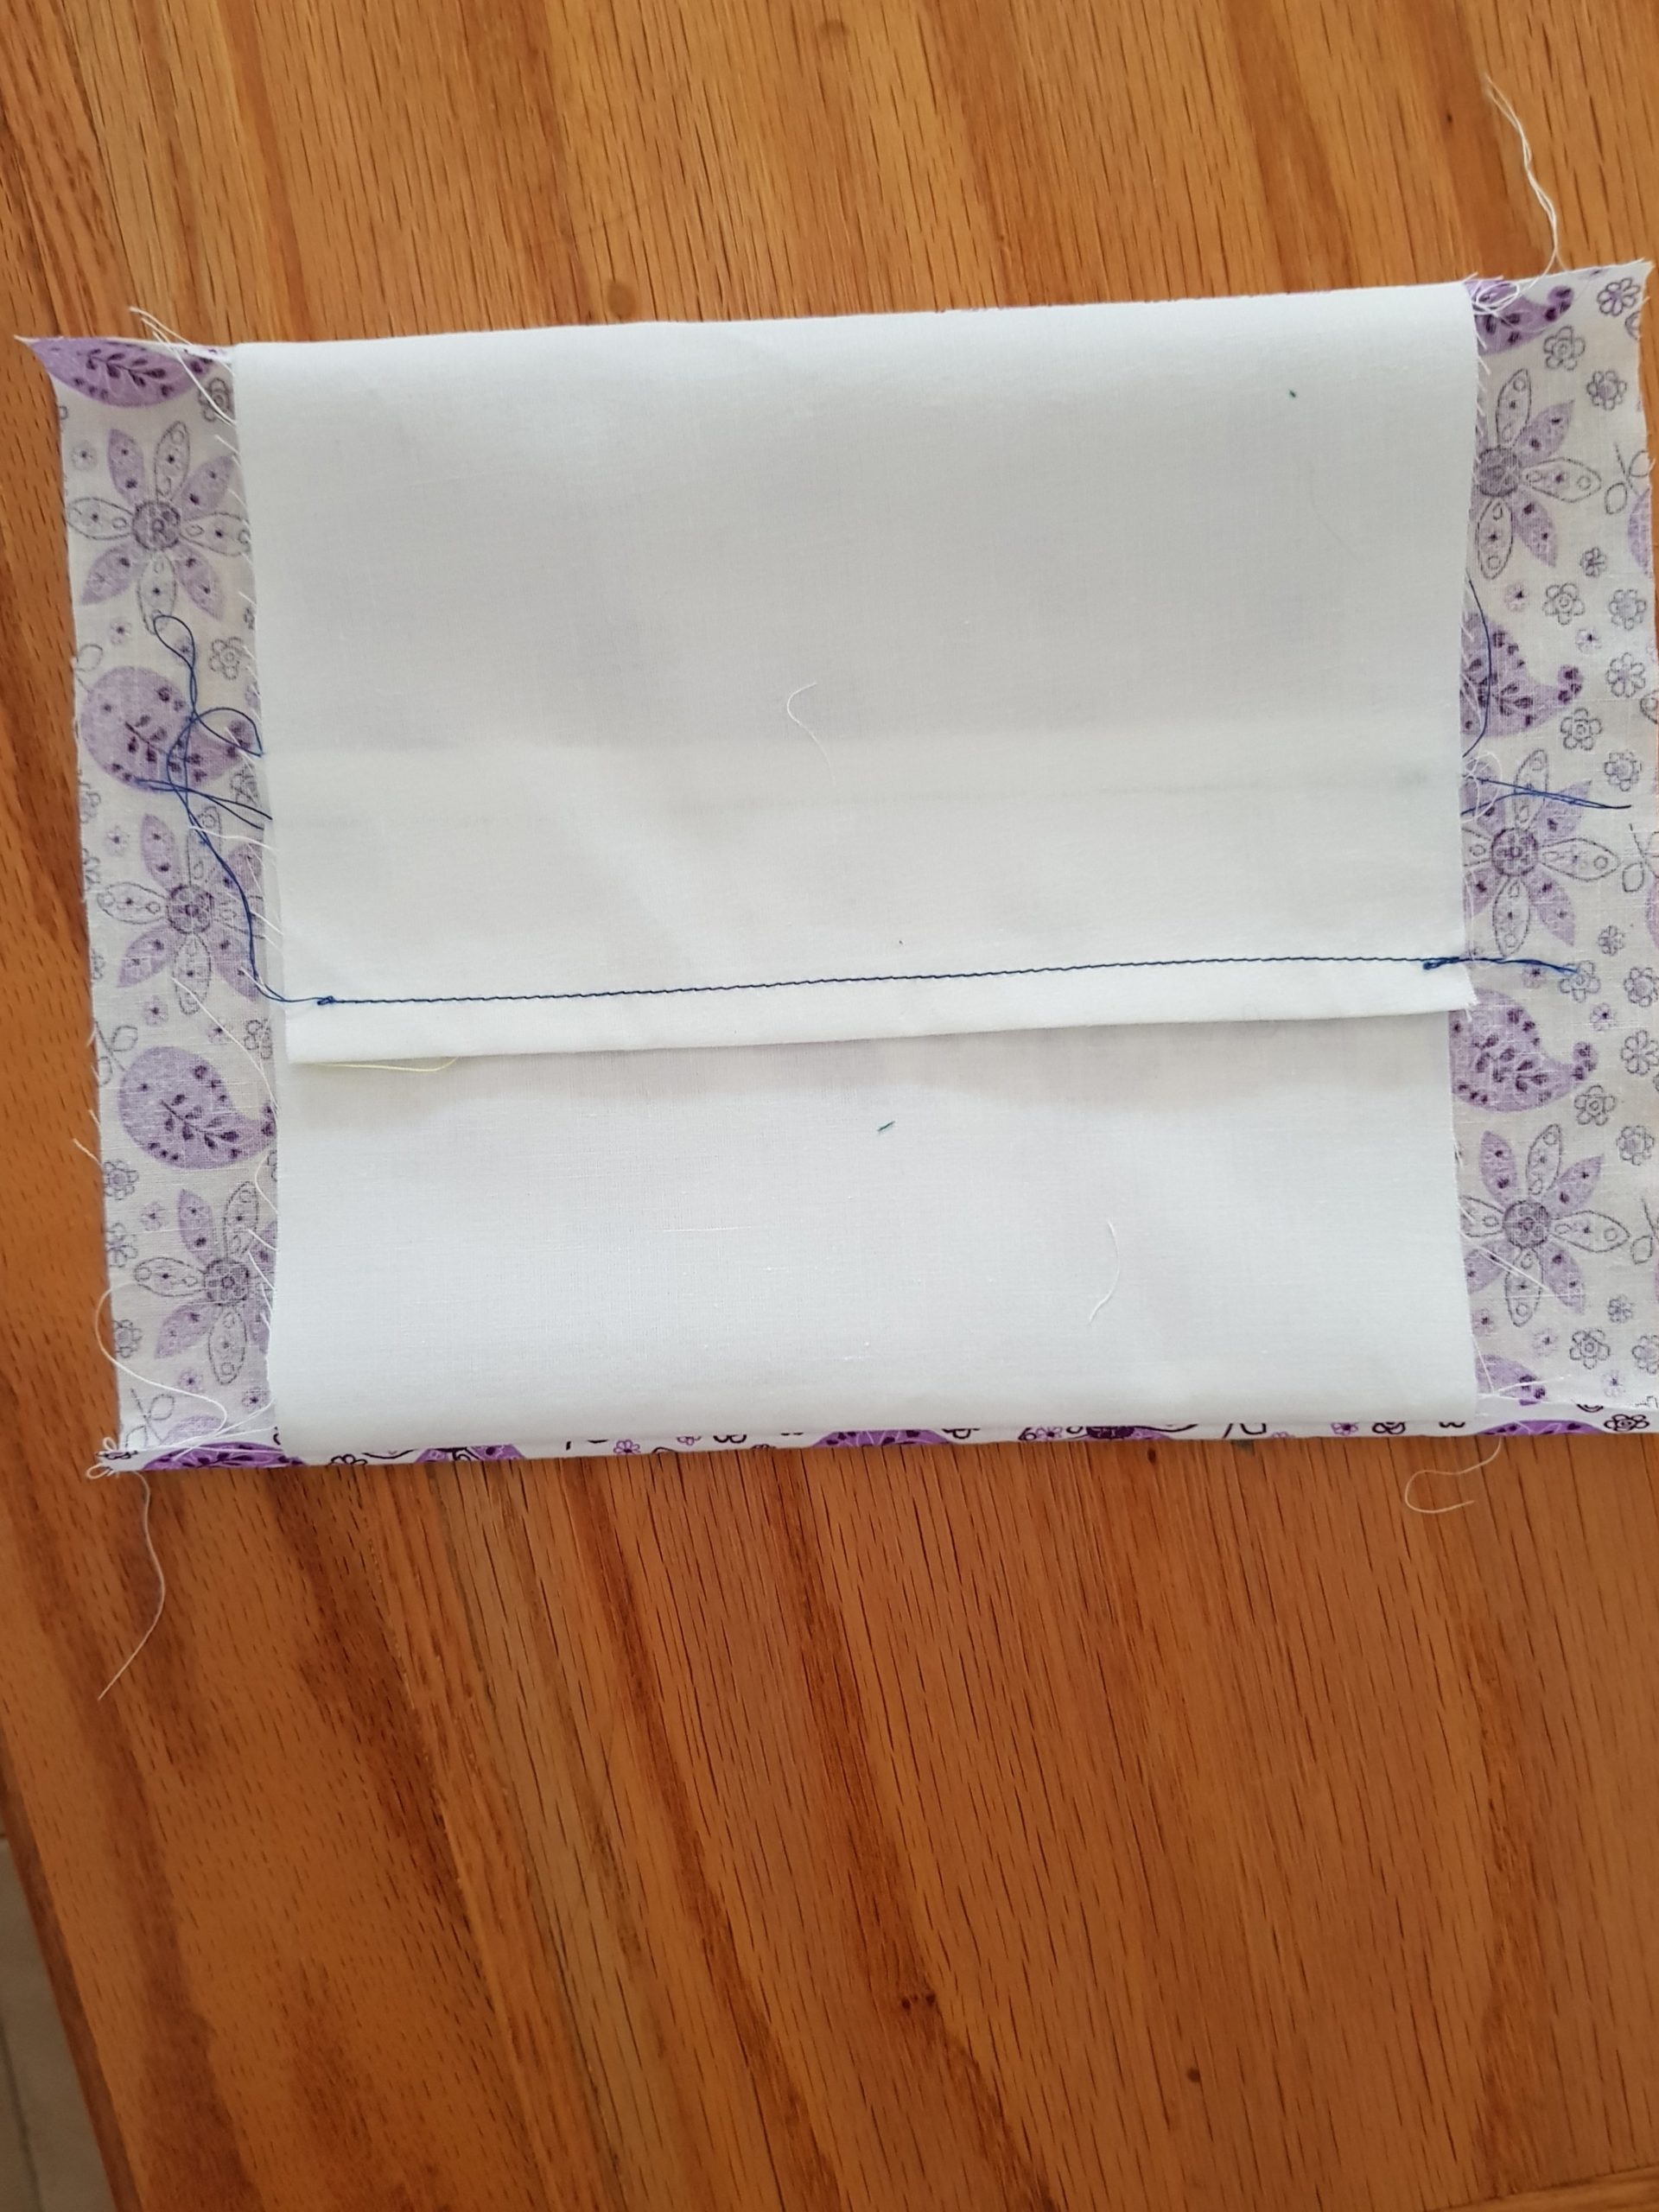
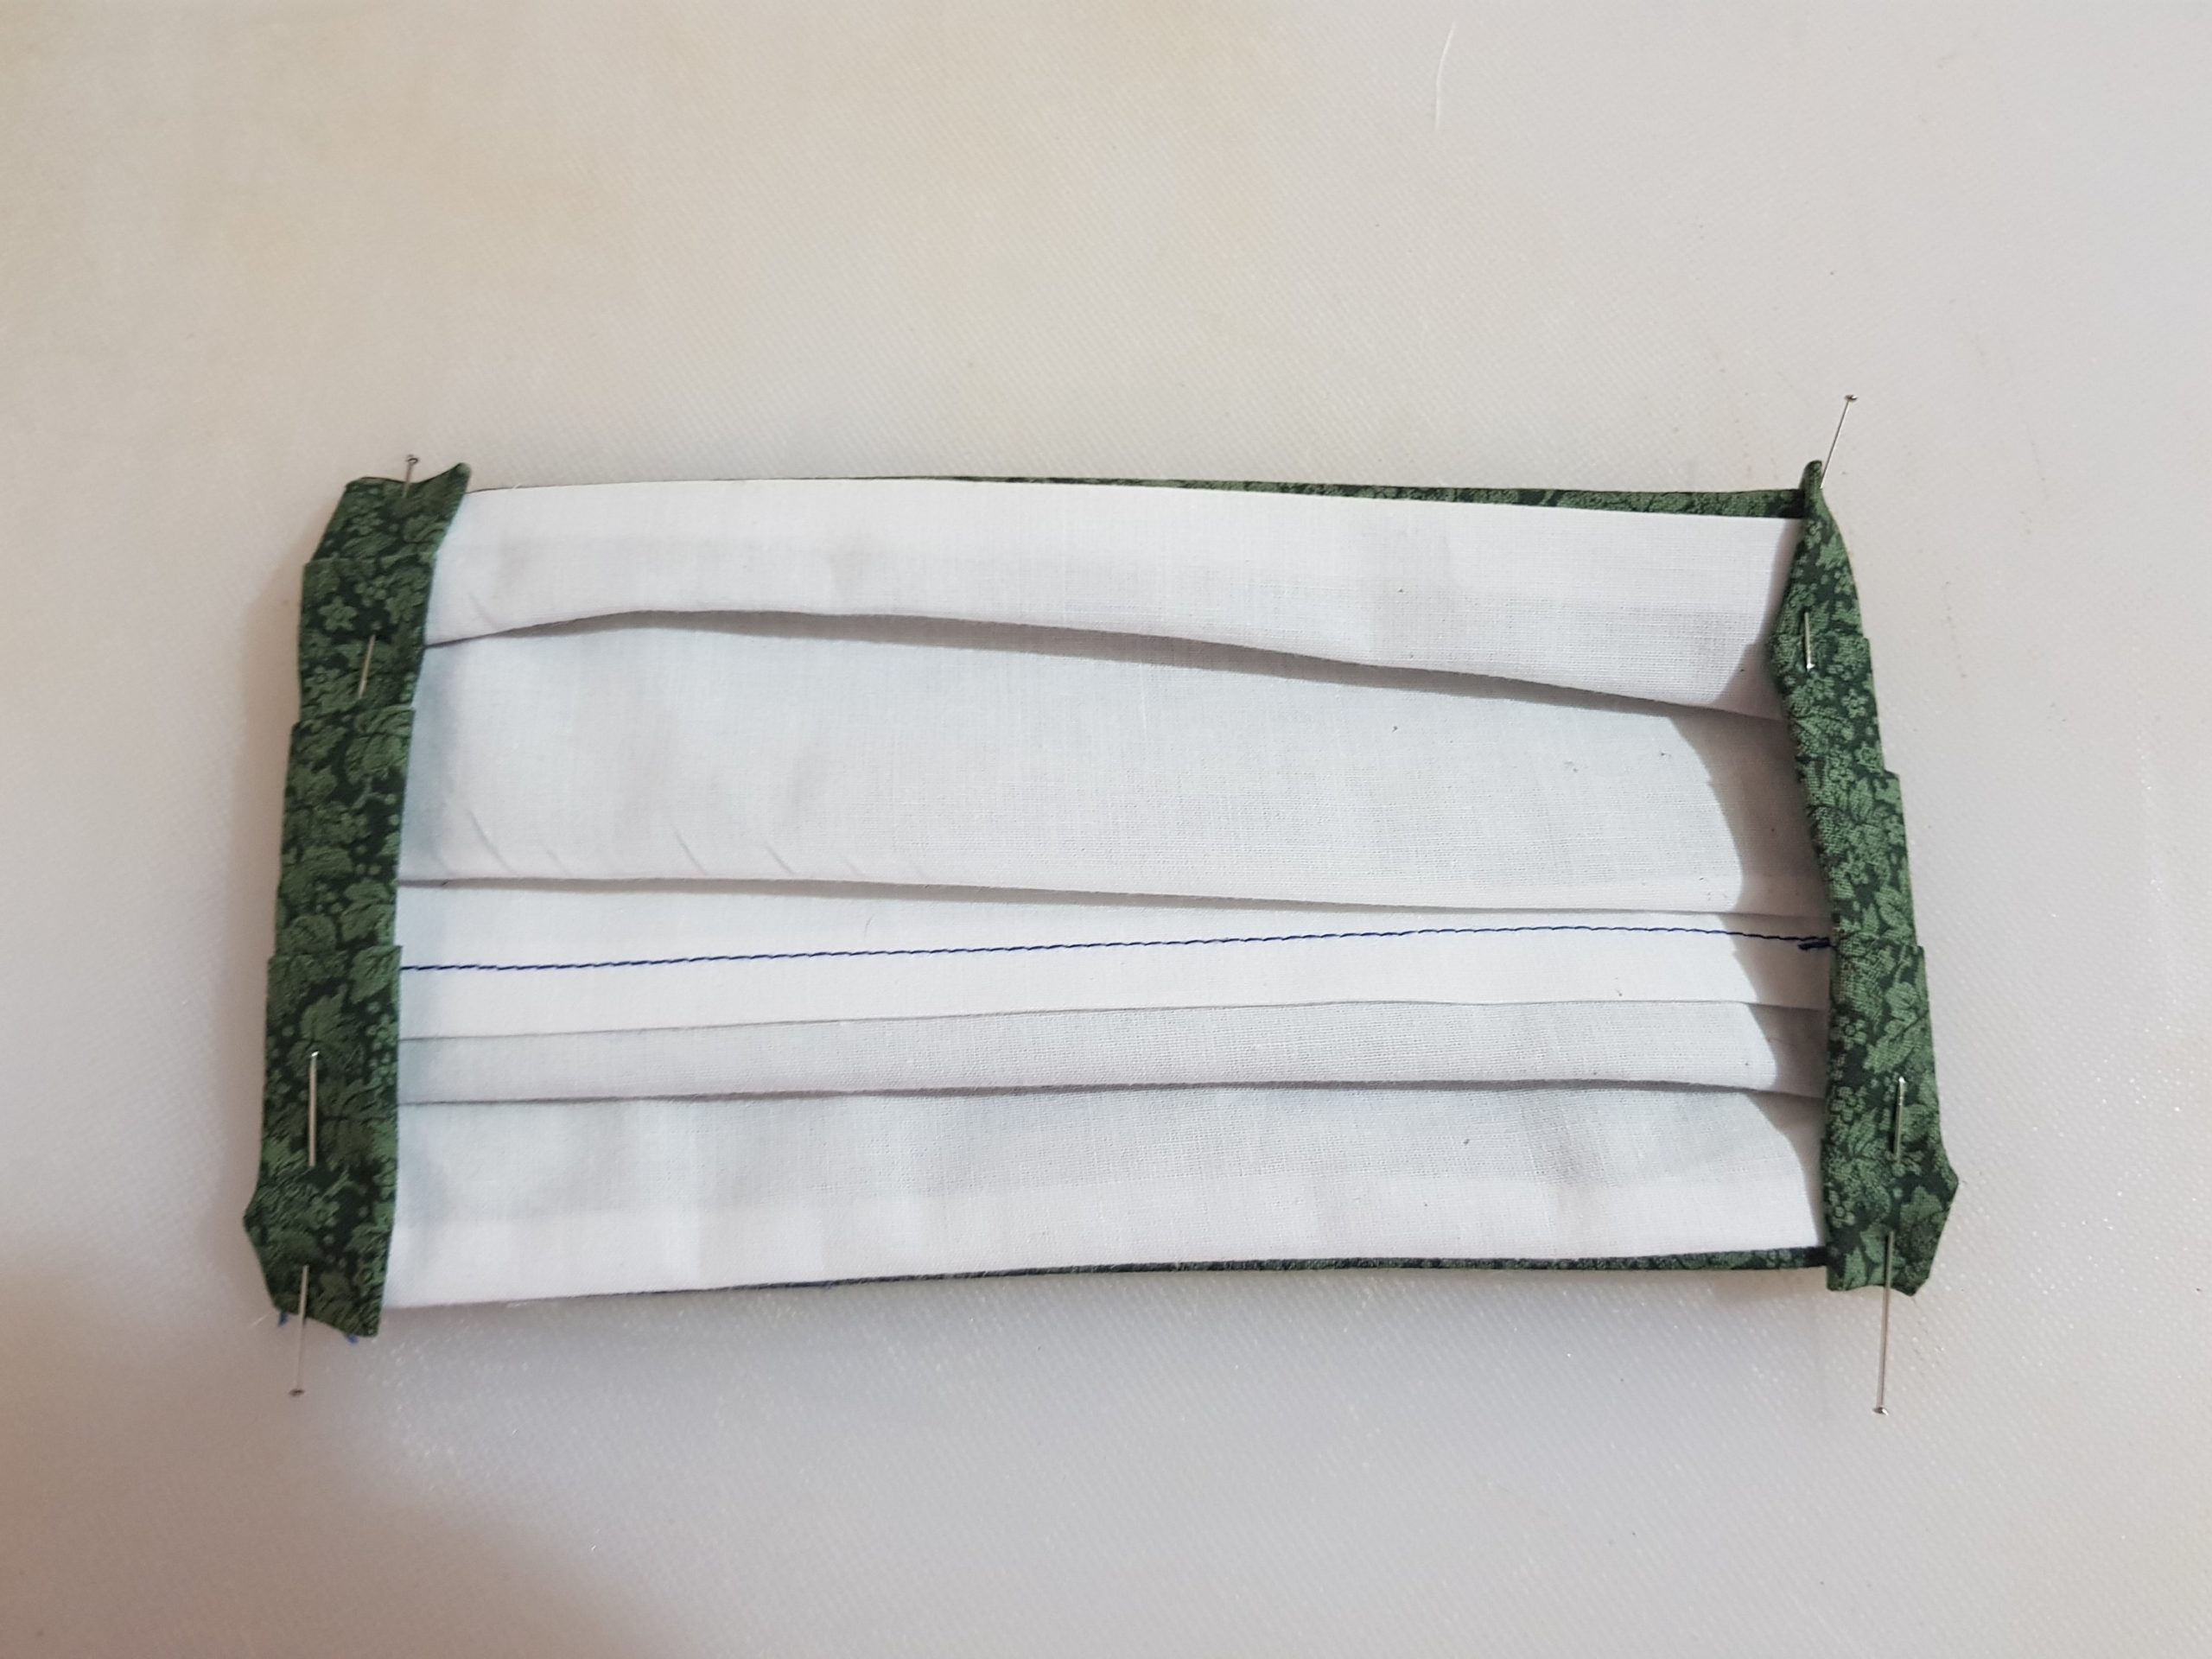
Step 6 – folding
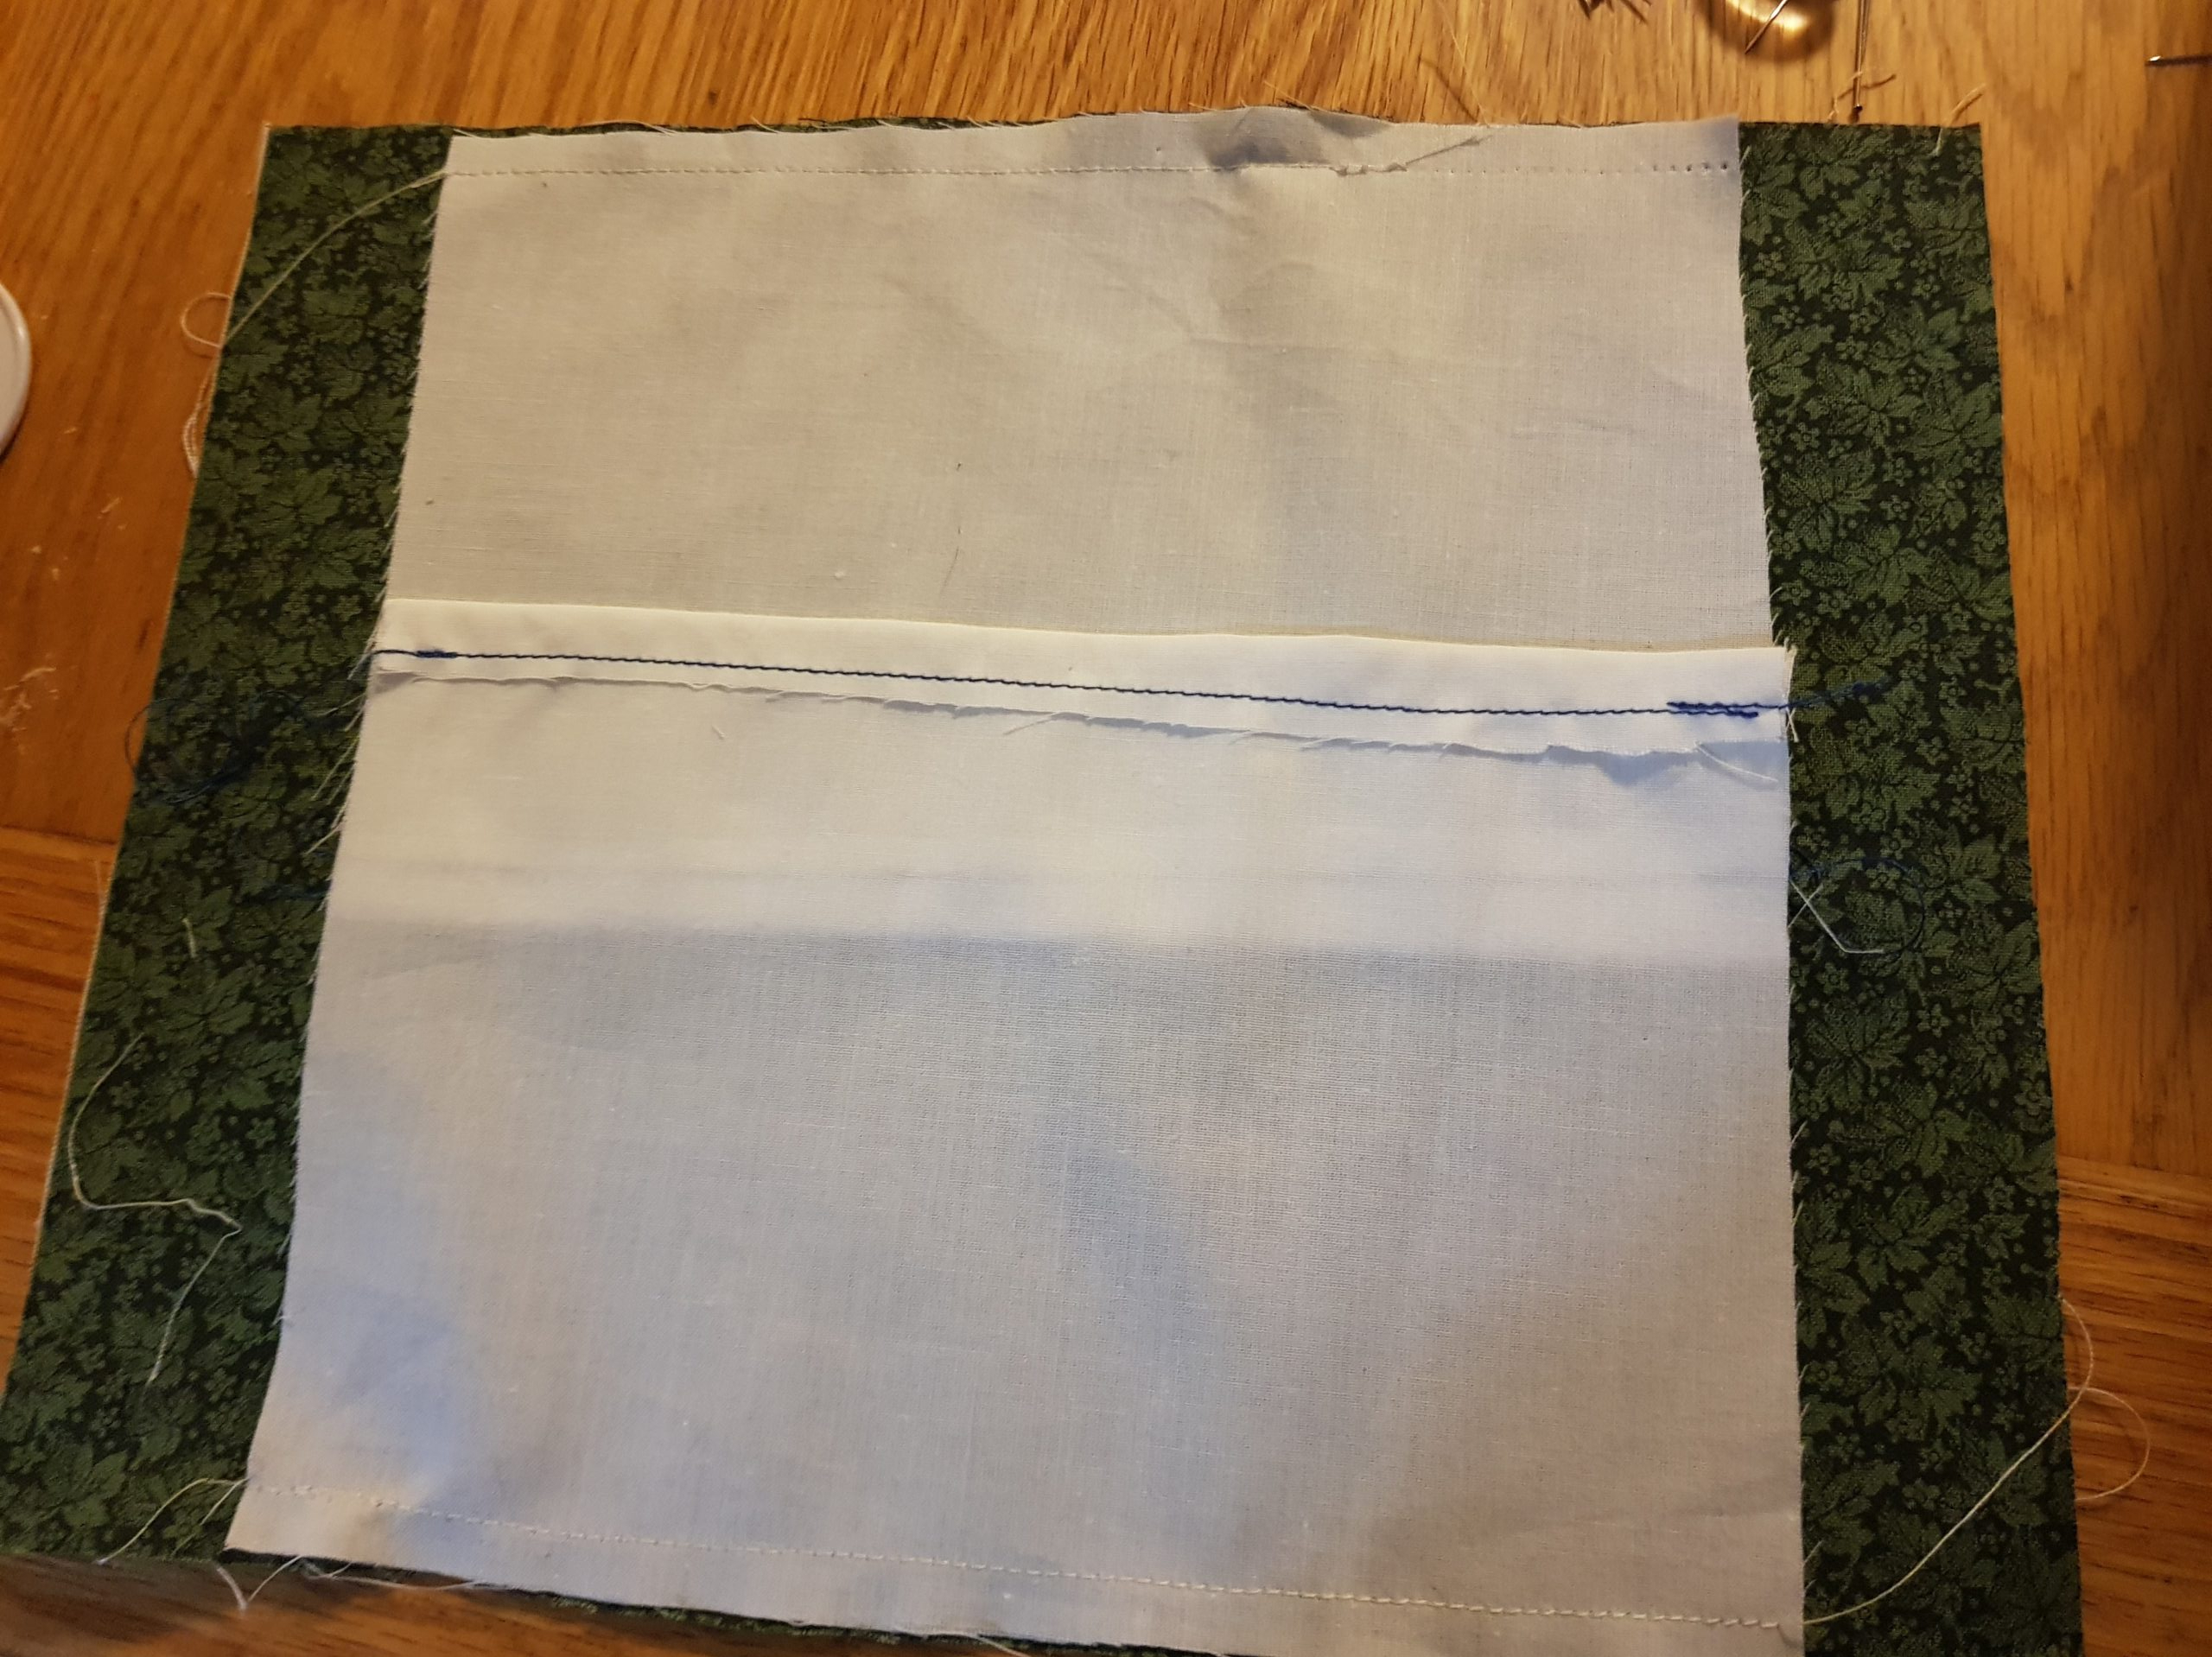
Now, to the trickiest part, the folding. After doing a few of these, I have the ability to say that after a while it gets easier. You need to pinch and fold the fabric in a way that leaves 1 inch.
Pin it and iron it
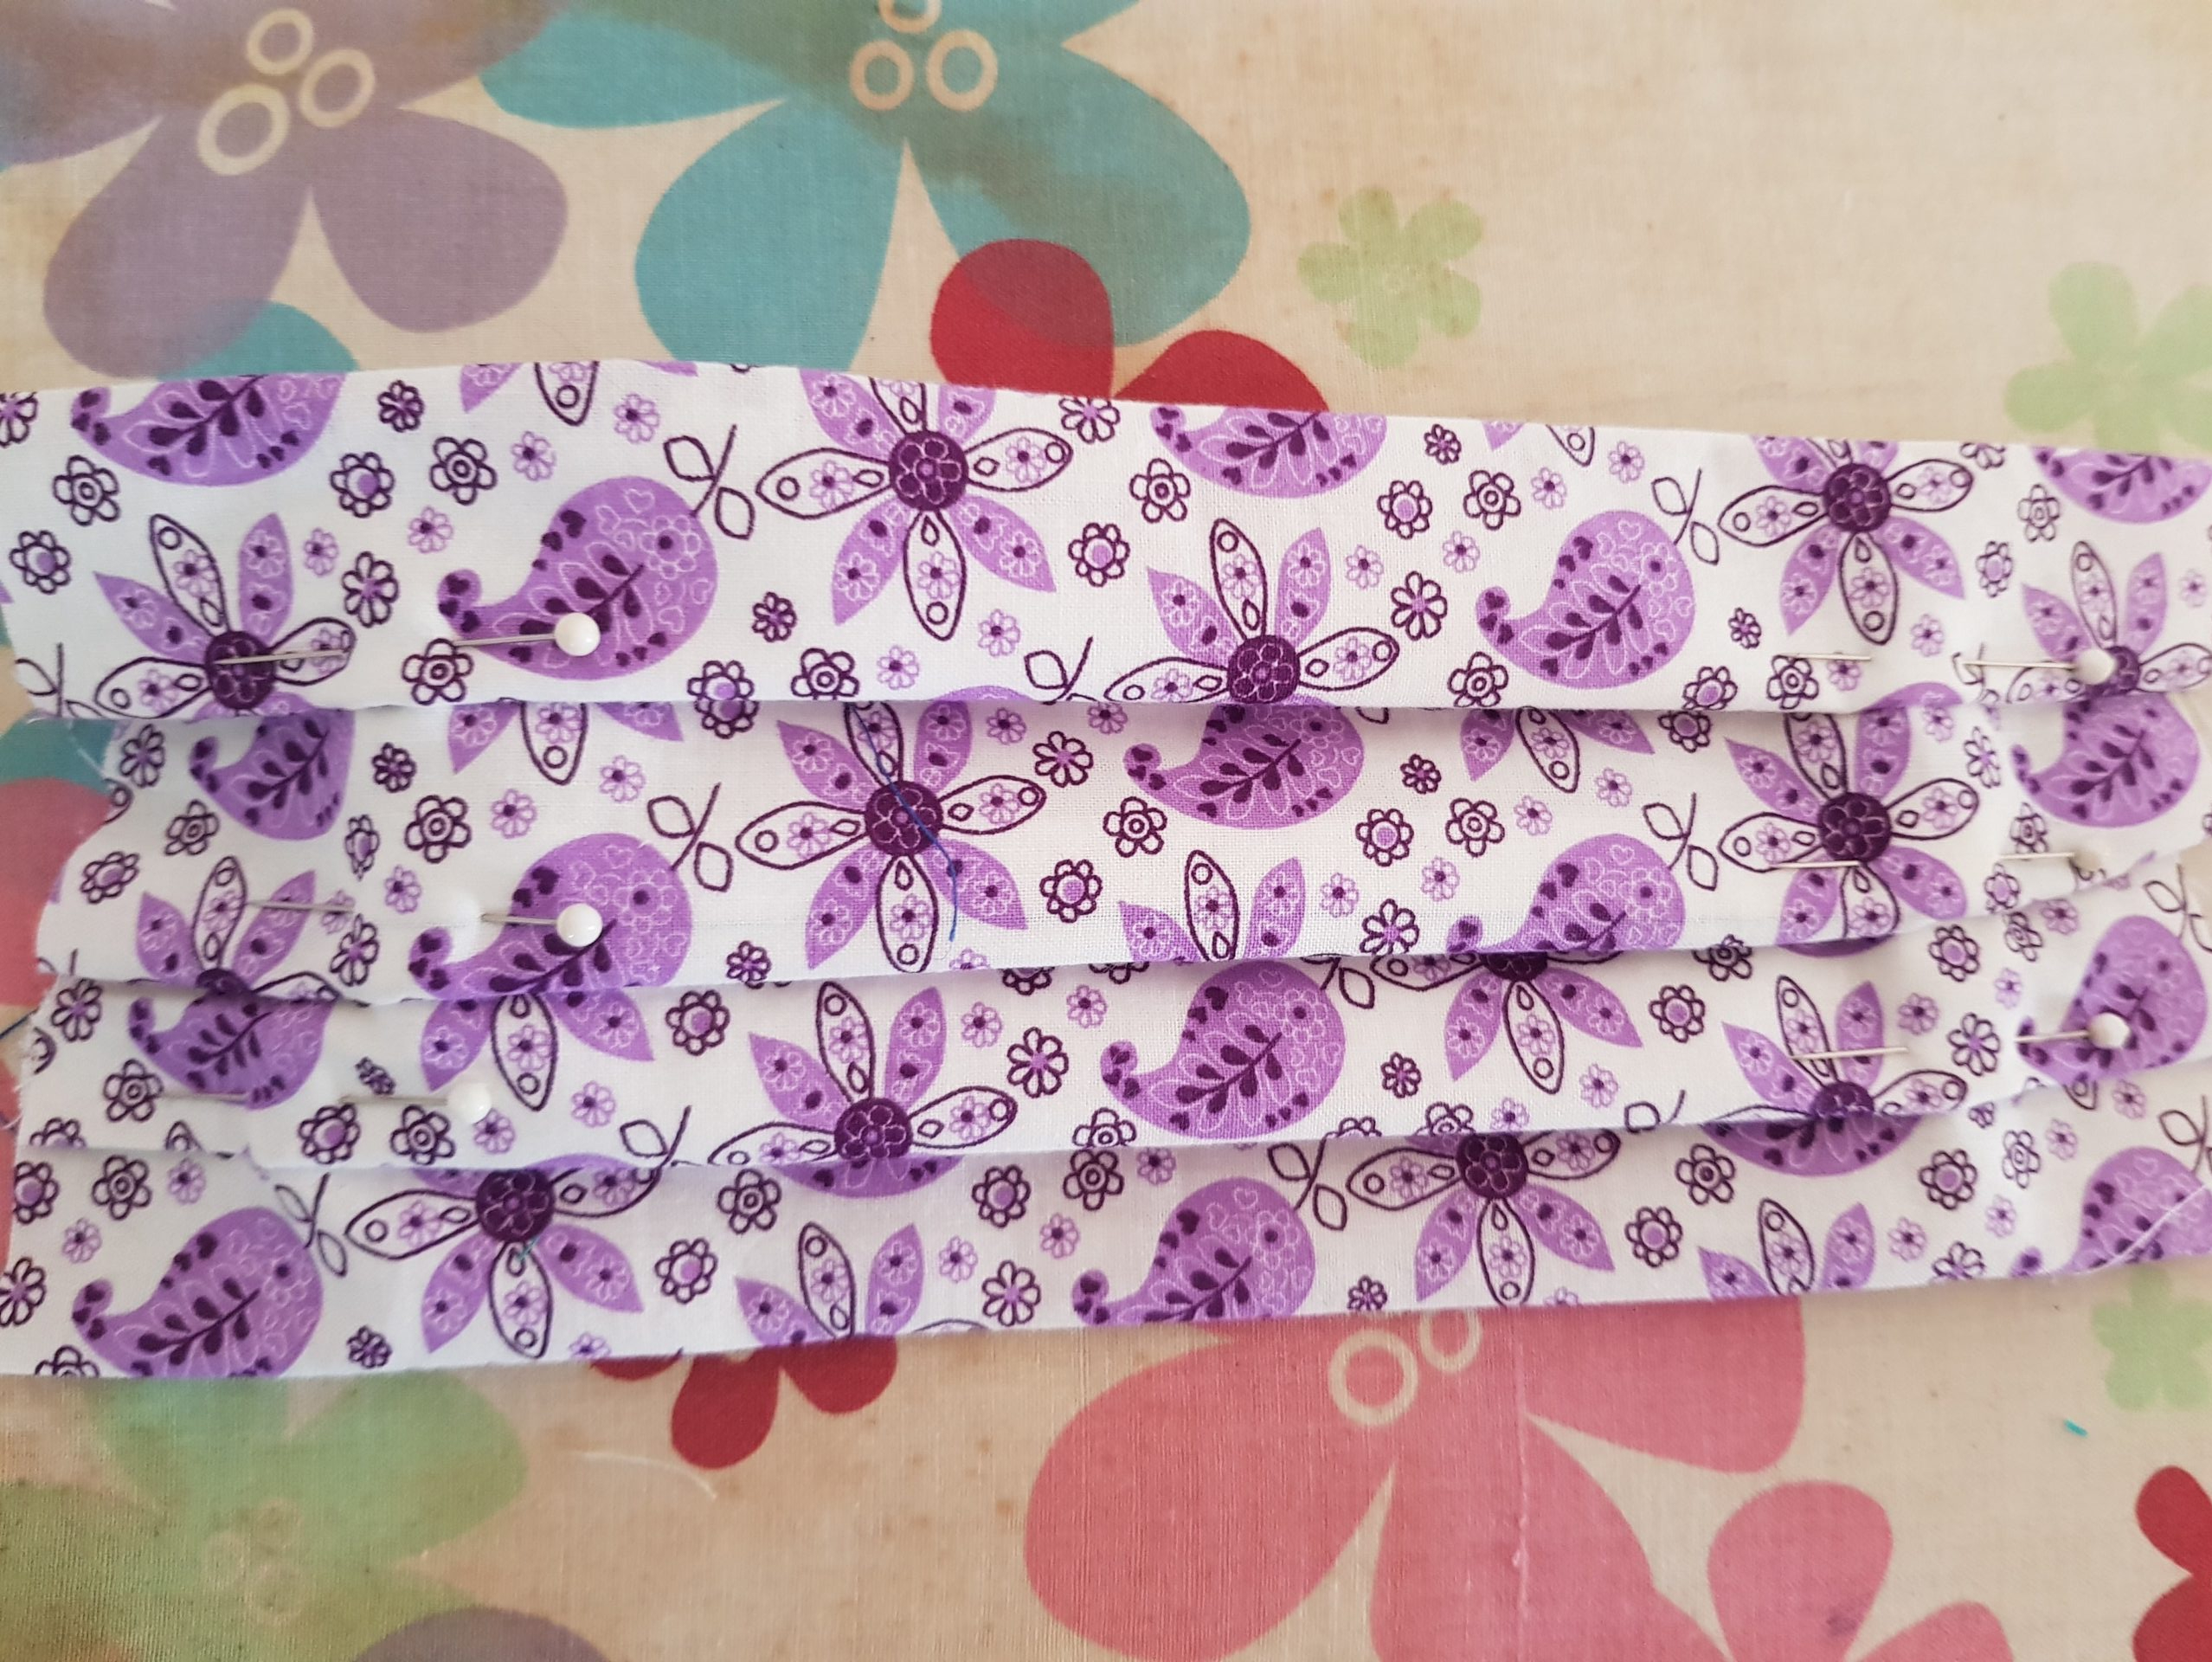
For the next sub step, sew the edges to hold the folds in place:
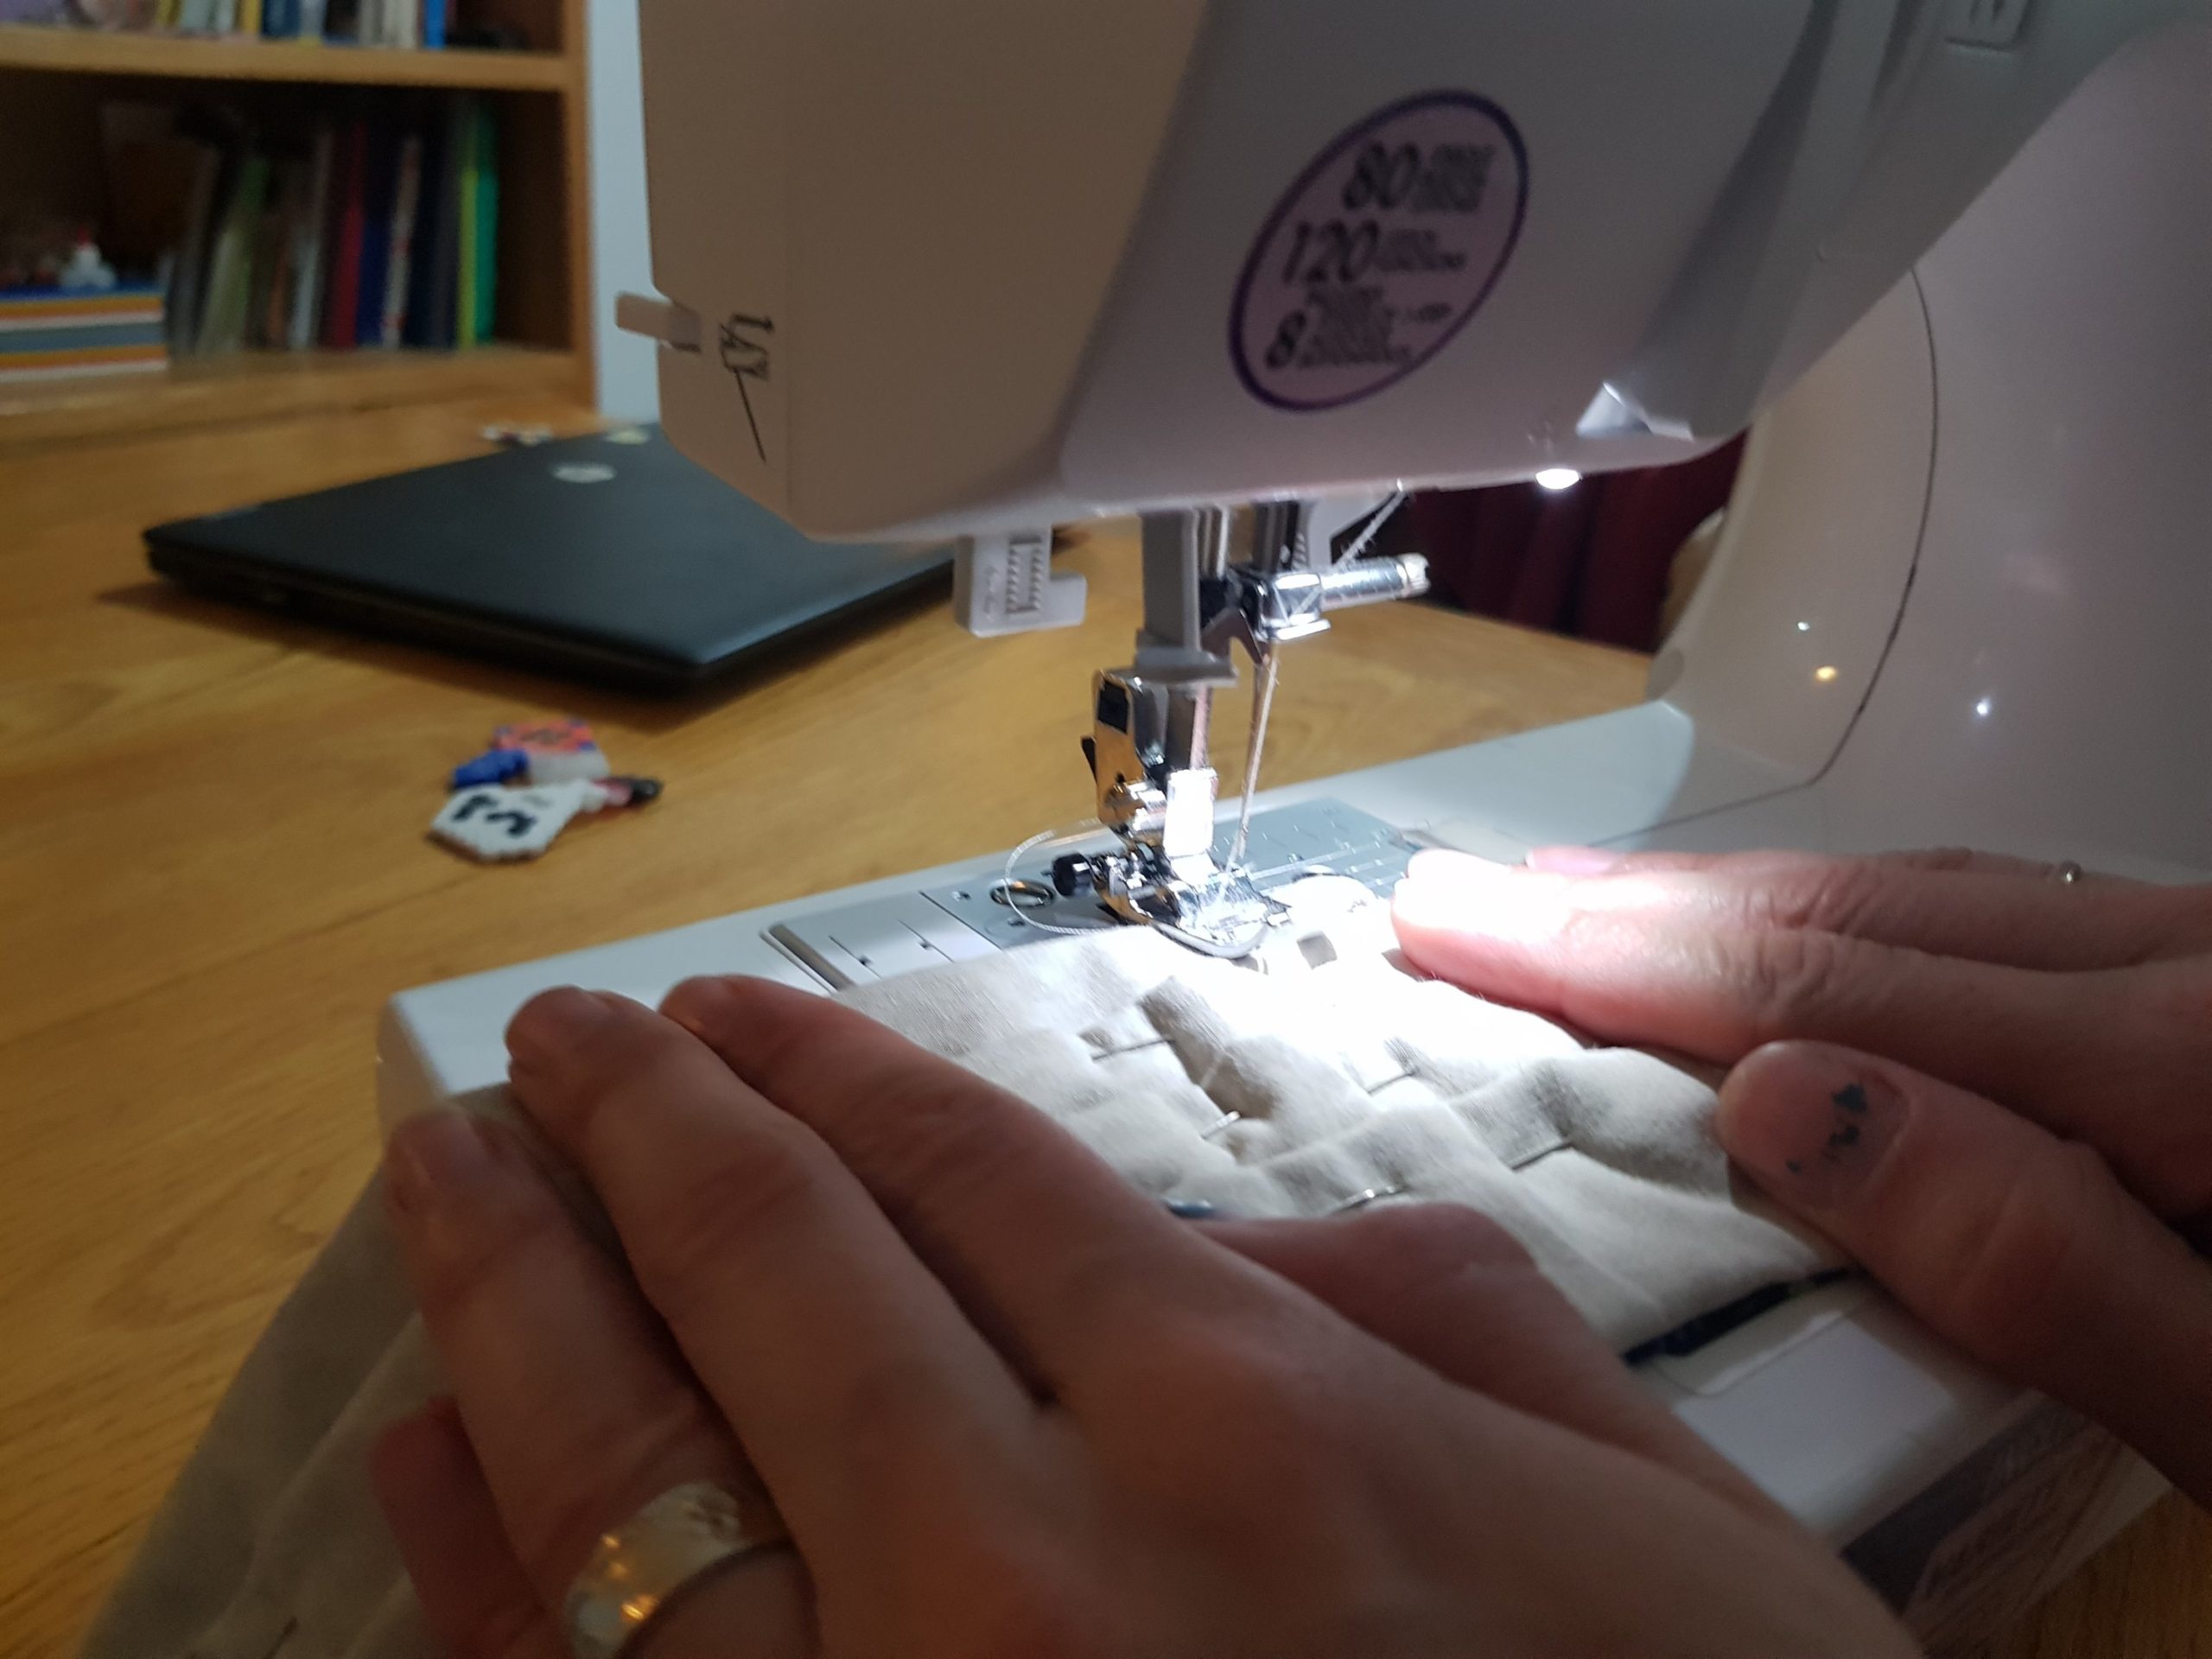
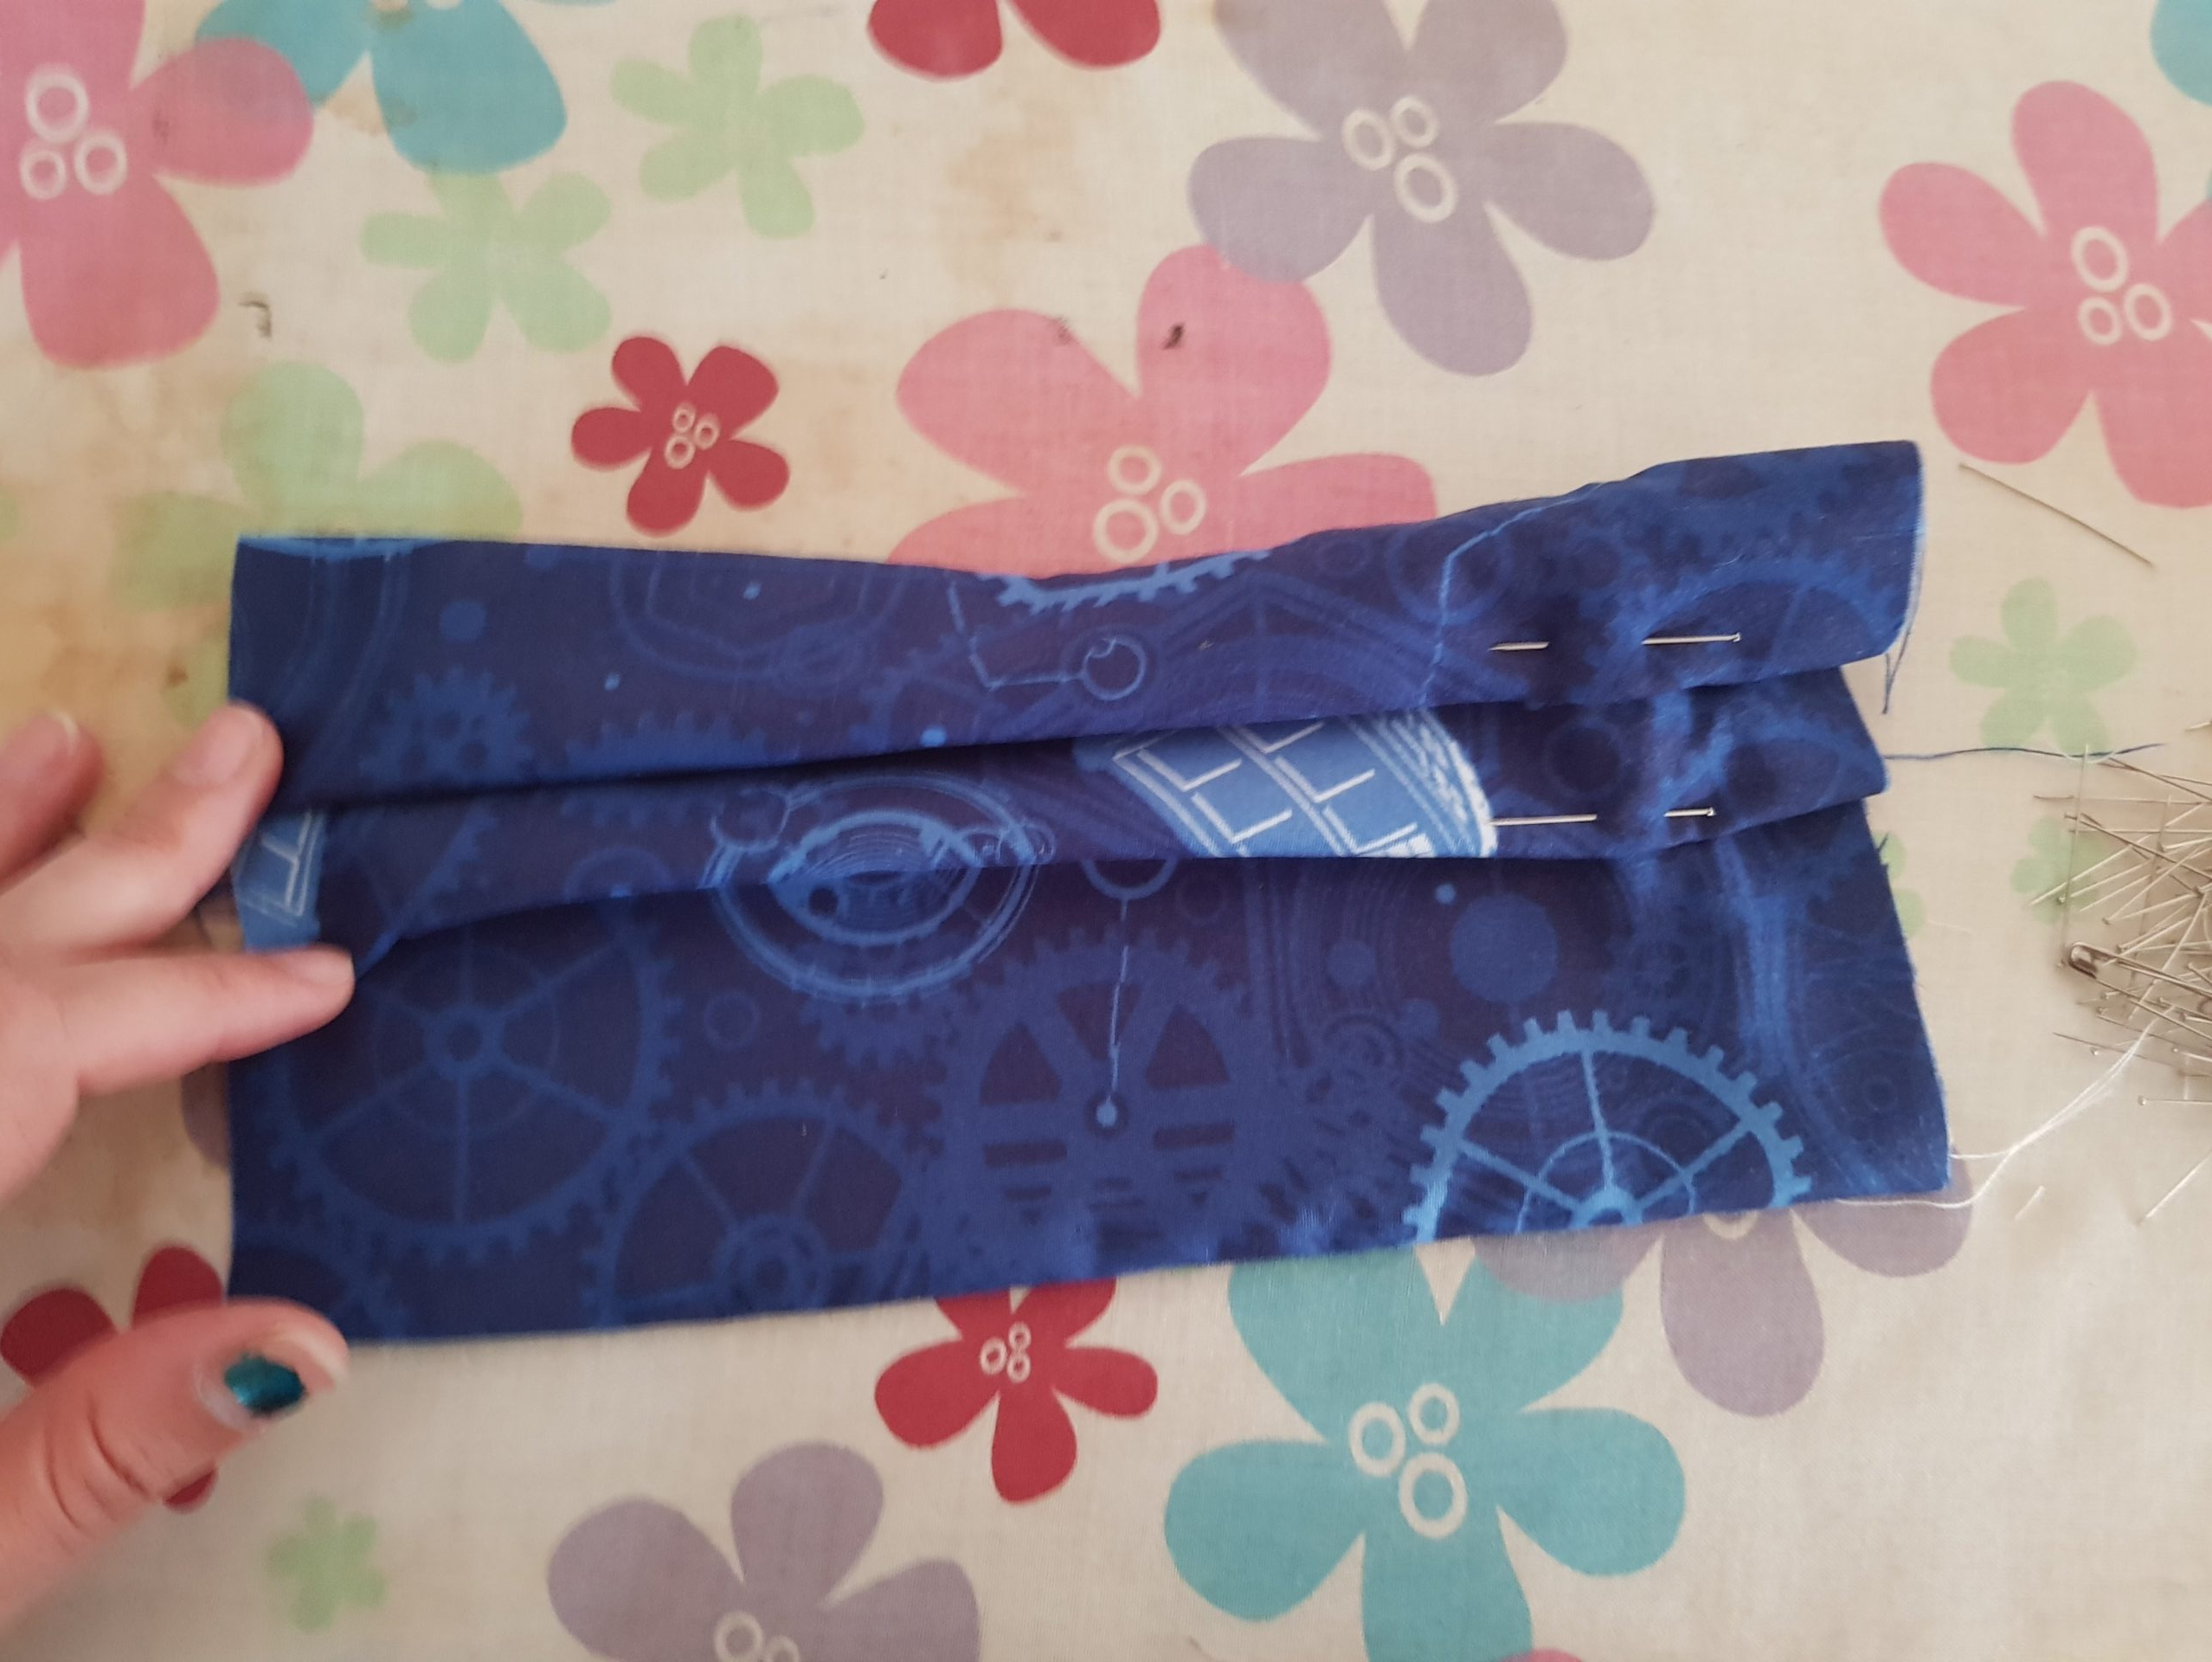
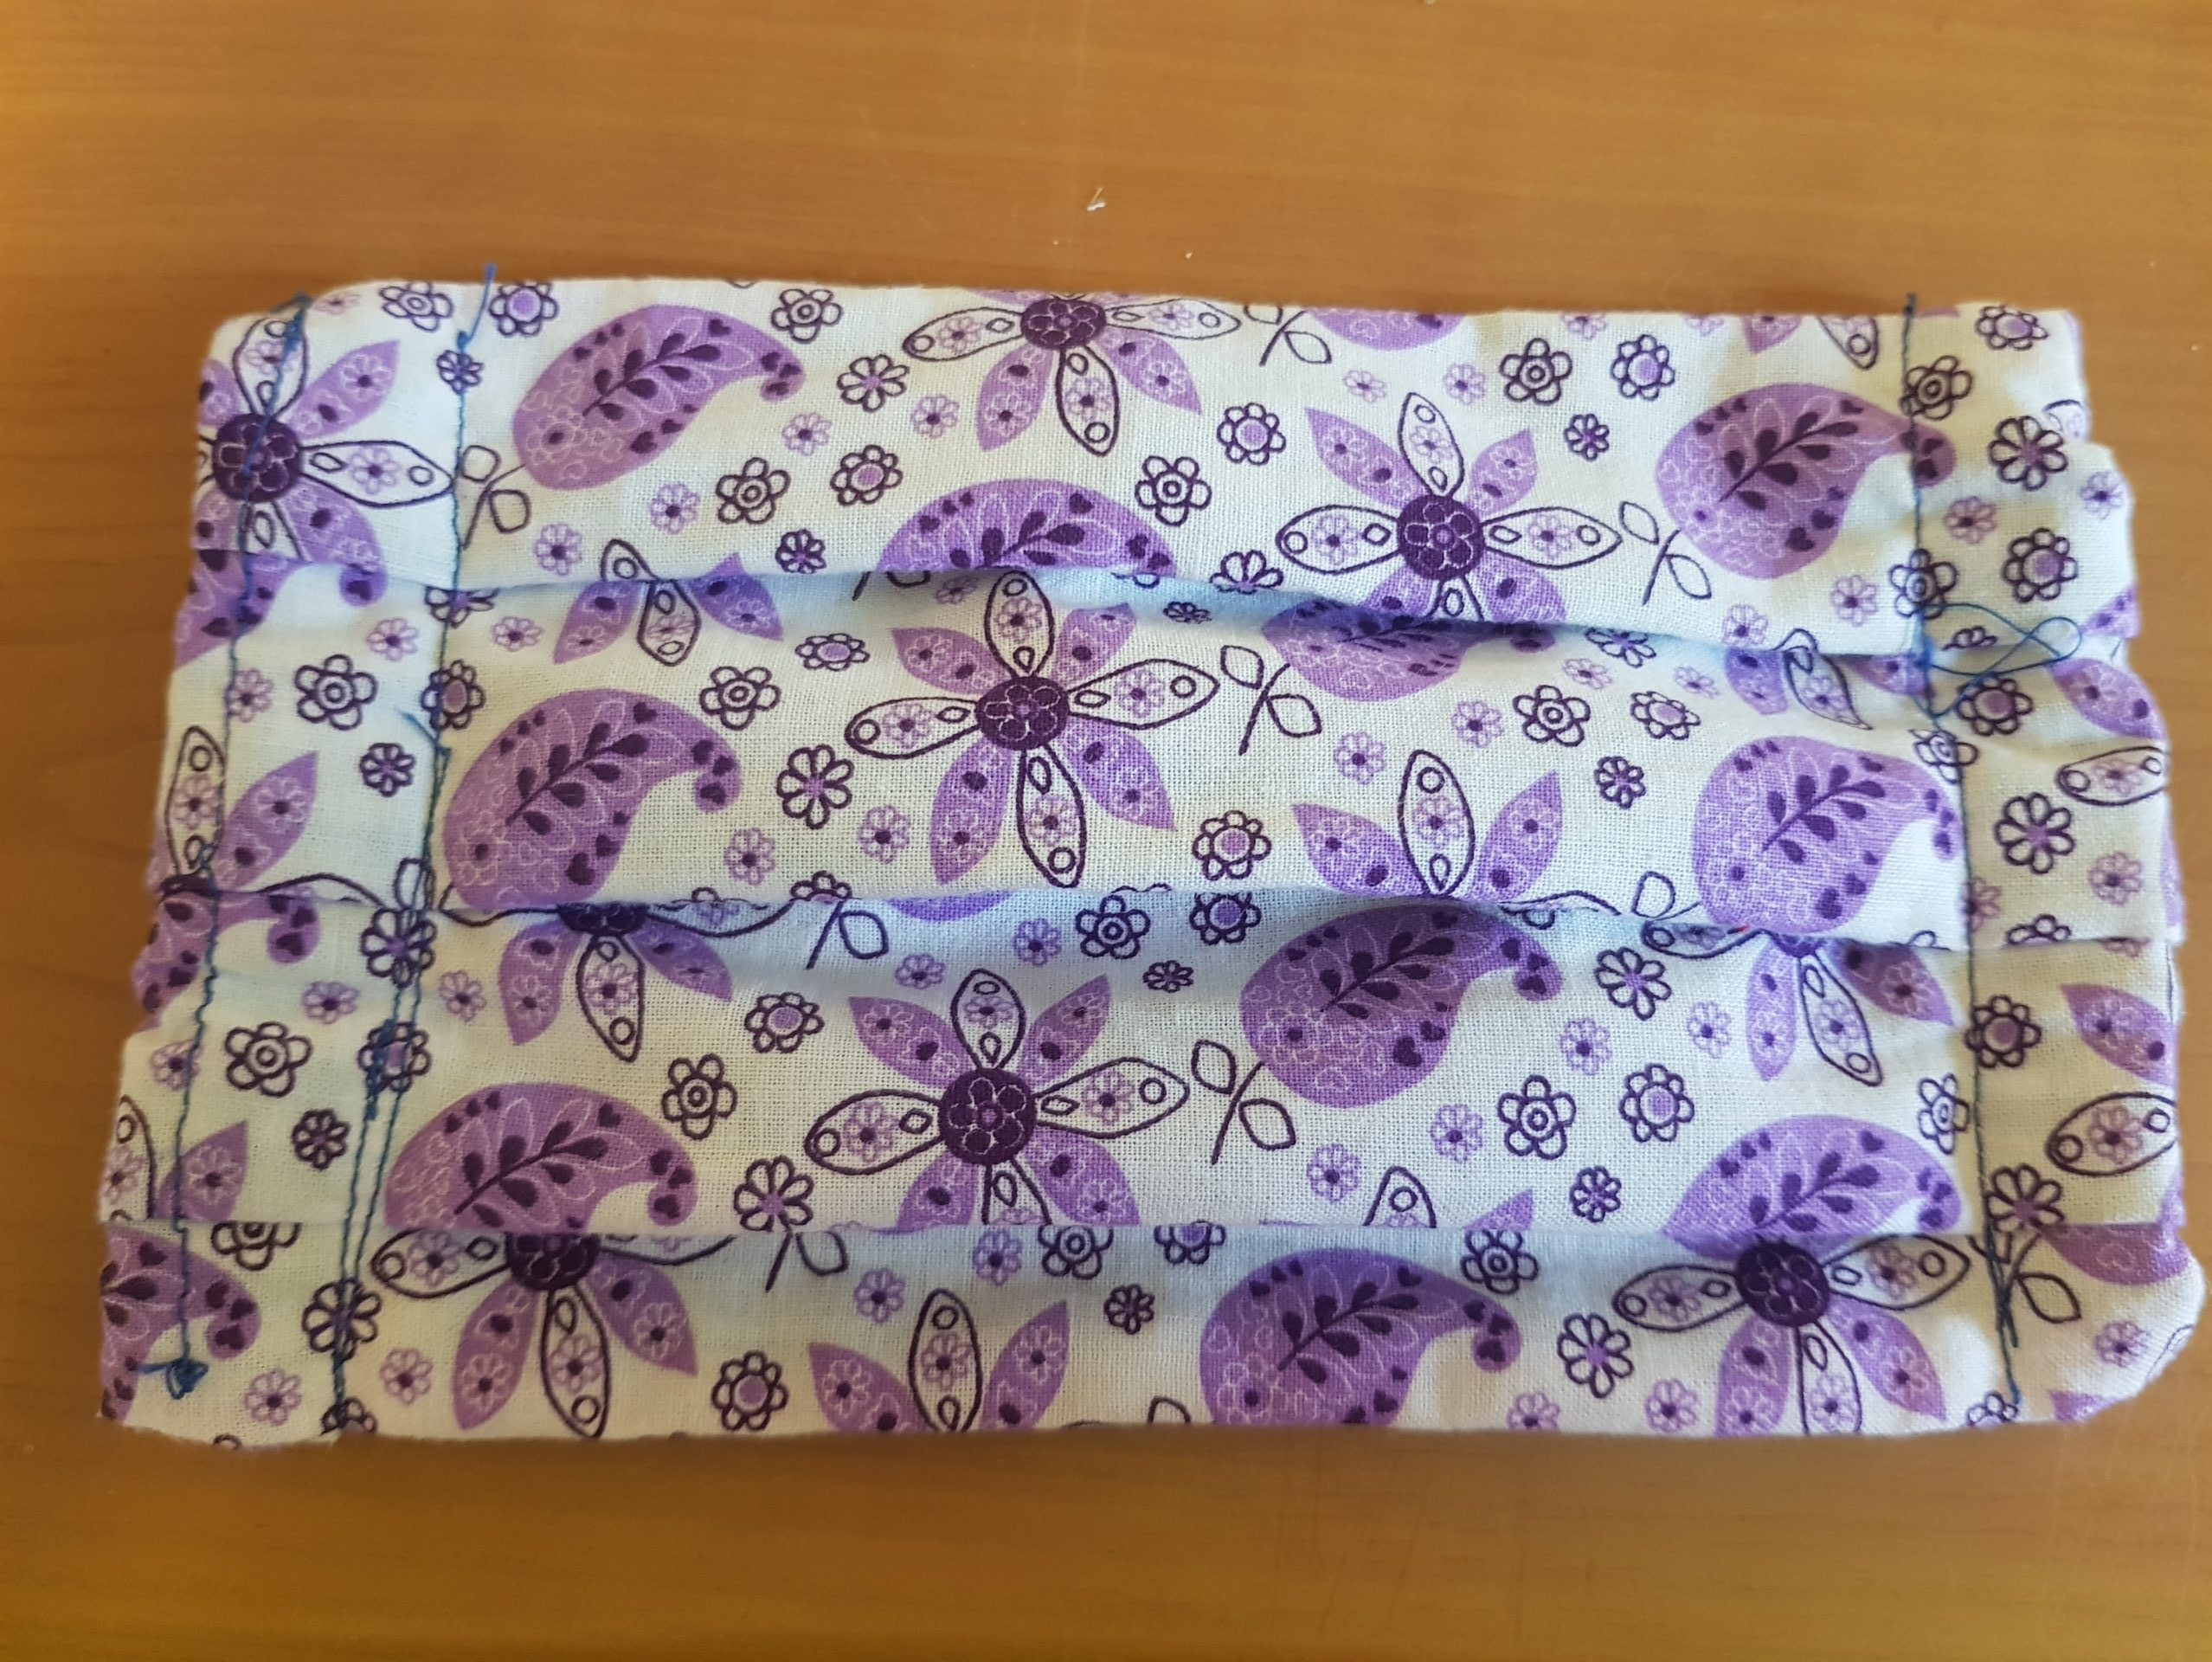
Step 7:
Fold the edges: fold iron fold, pin it and sew the sides. make sure the flaps are wide enough to insert the elastic faster.
Your new face mask is ready! one more step:
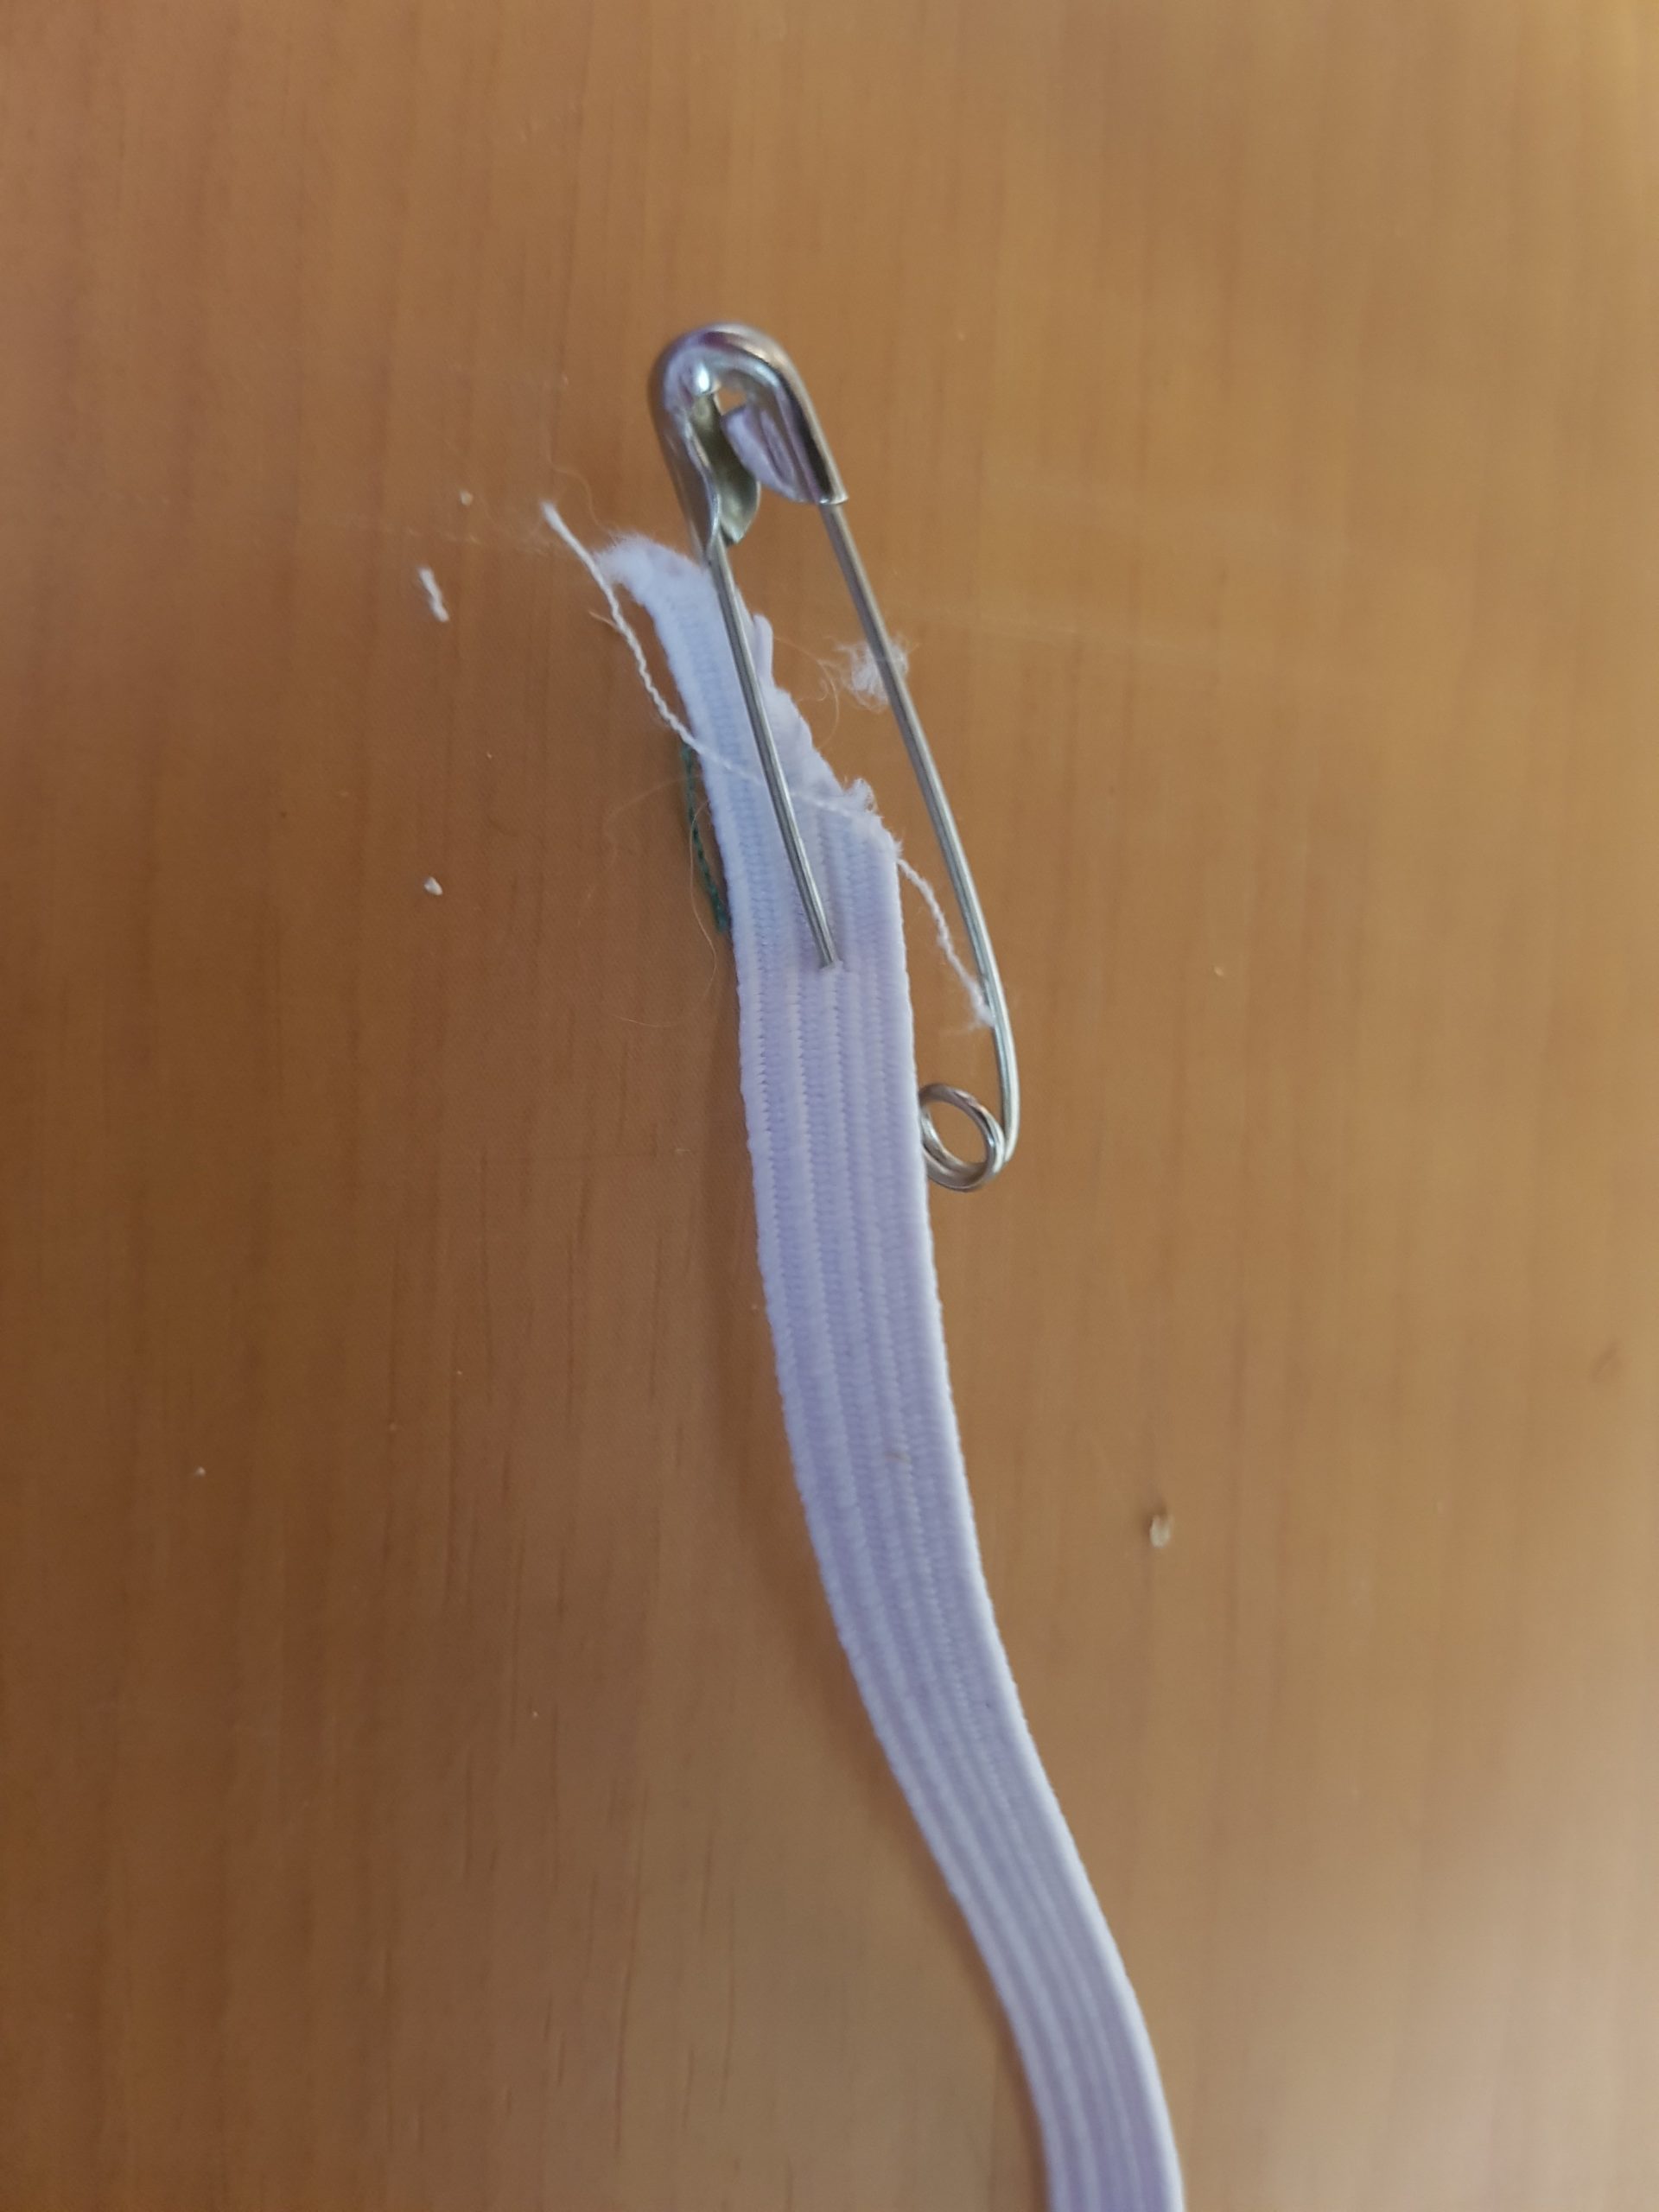
Step 8 – elastic:
Take 2 pieces of elastic in the length of 30 cm, (for kids use 25) and with the help of a safty pin insert the elastic to the folds.
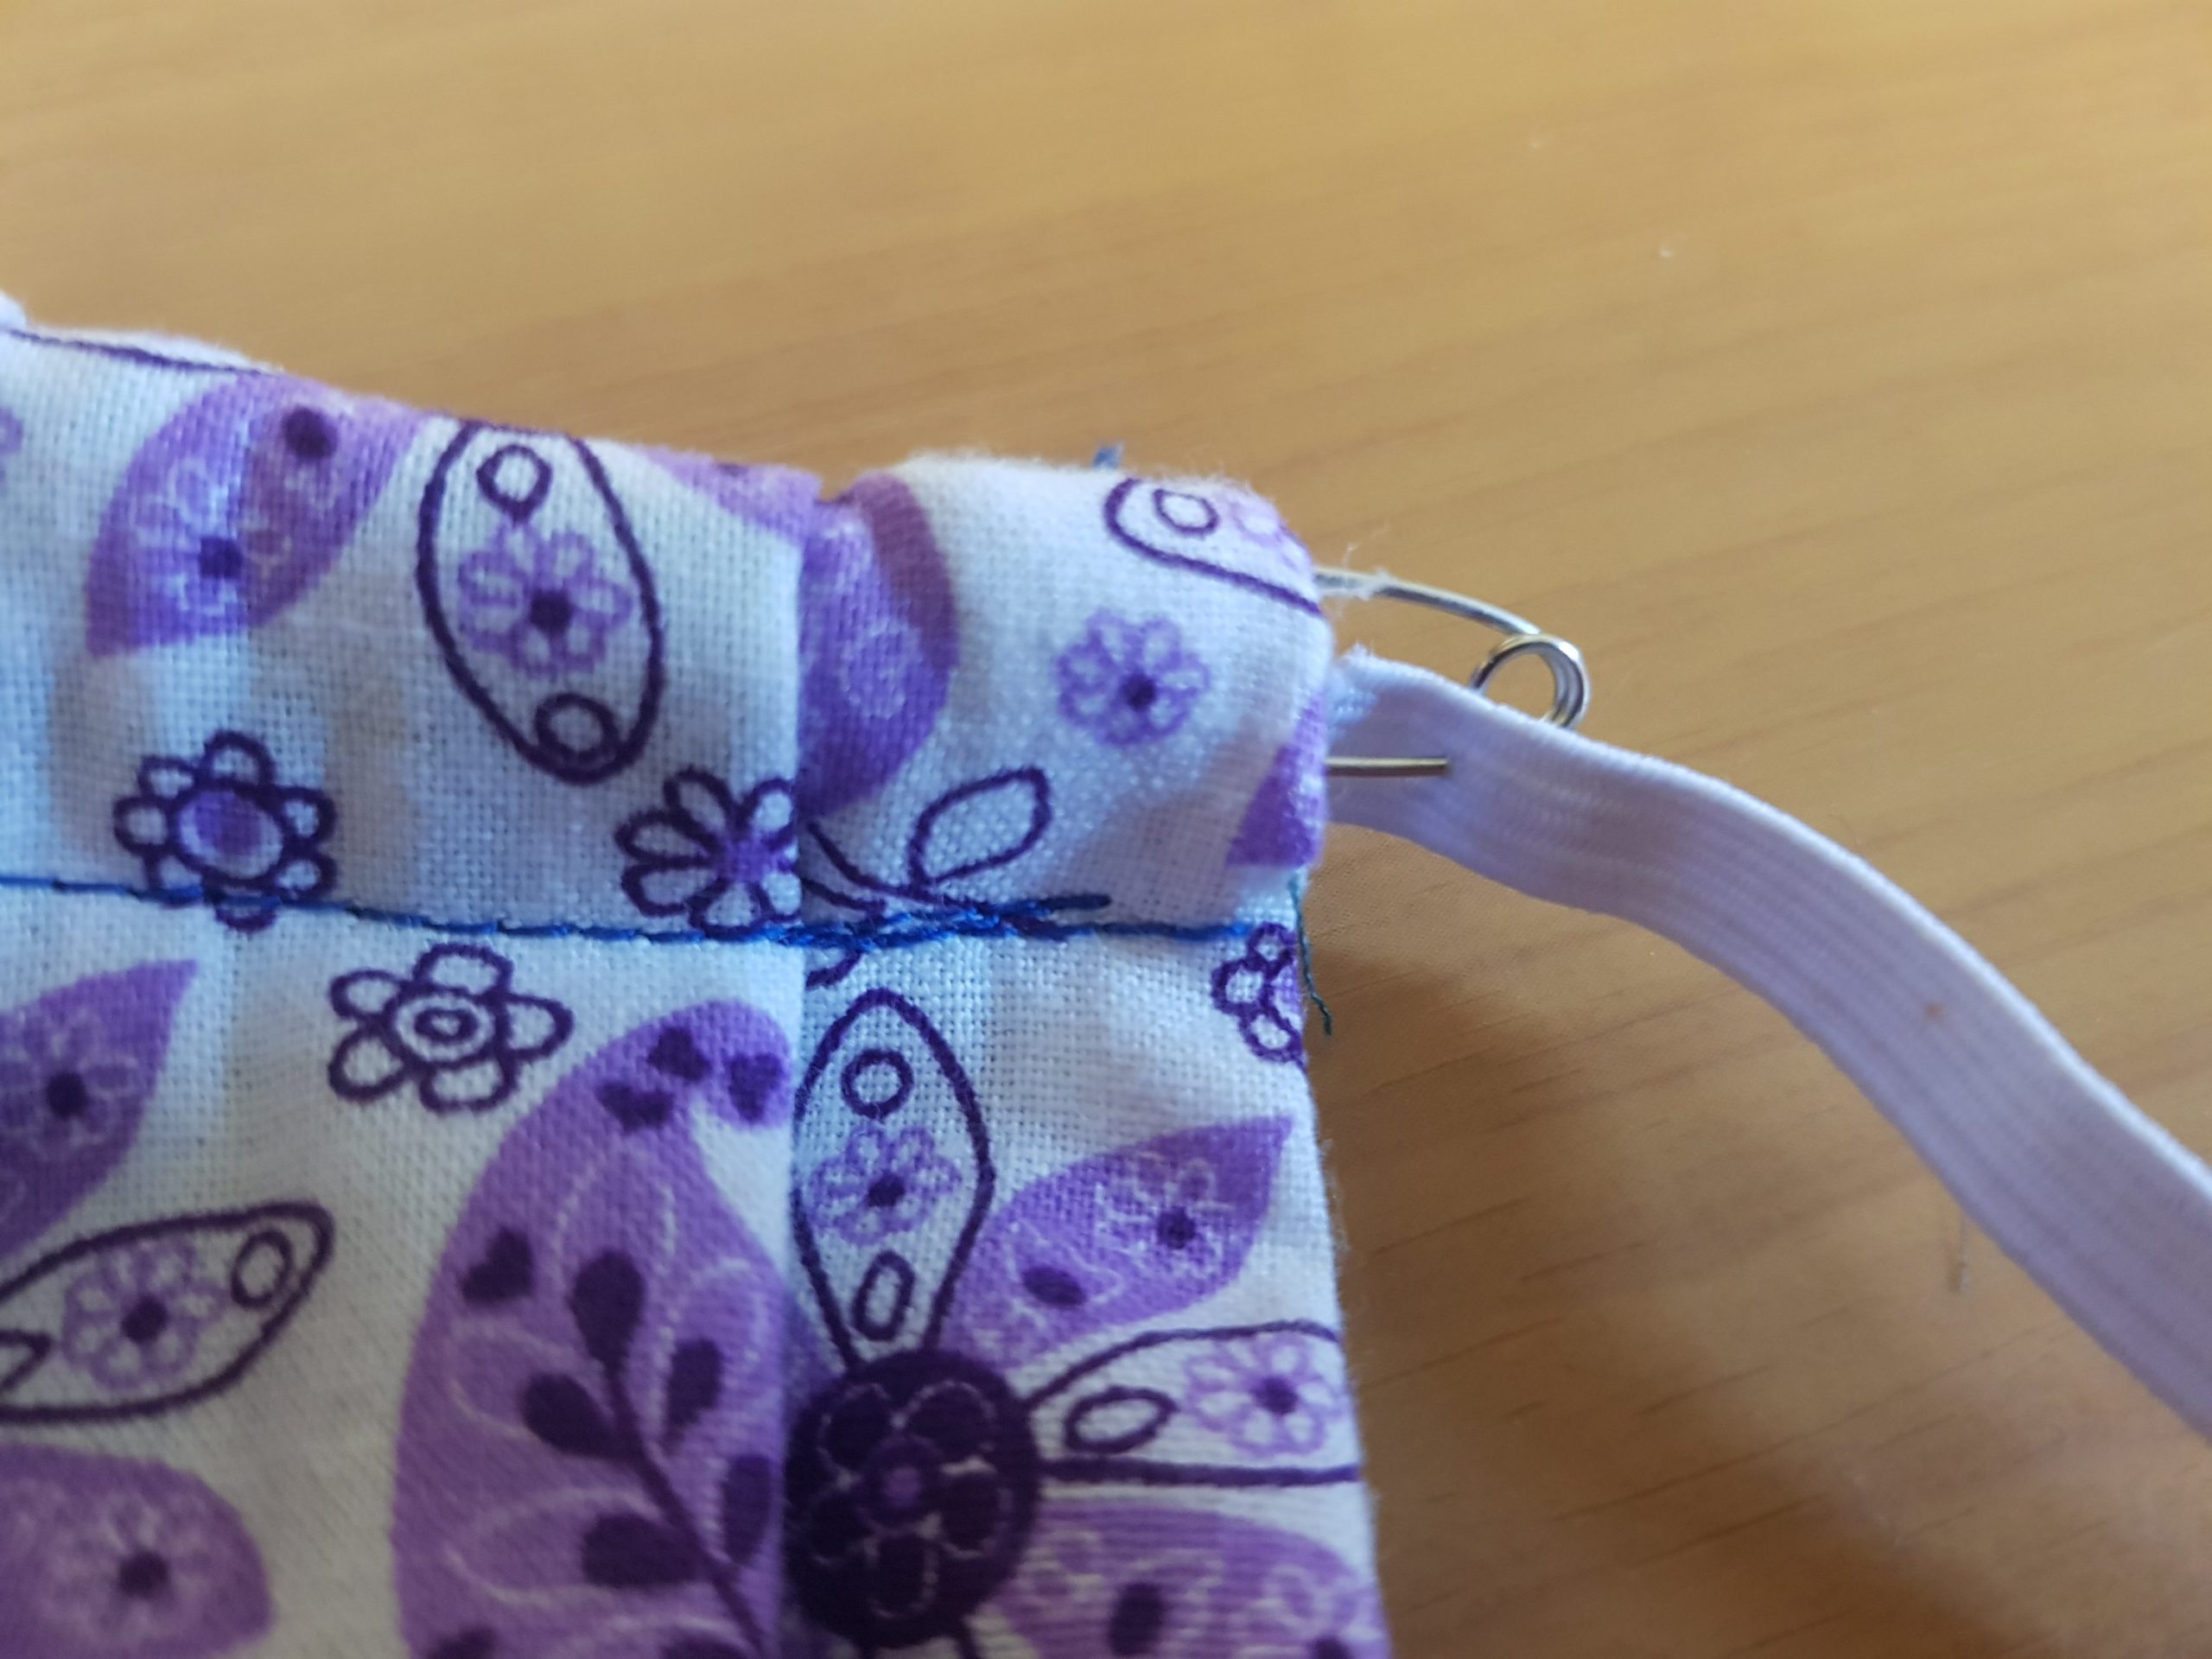
Tie it in the ends or sew the edges together if you prefer and hide it under the flap.
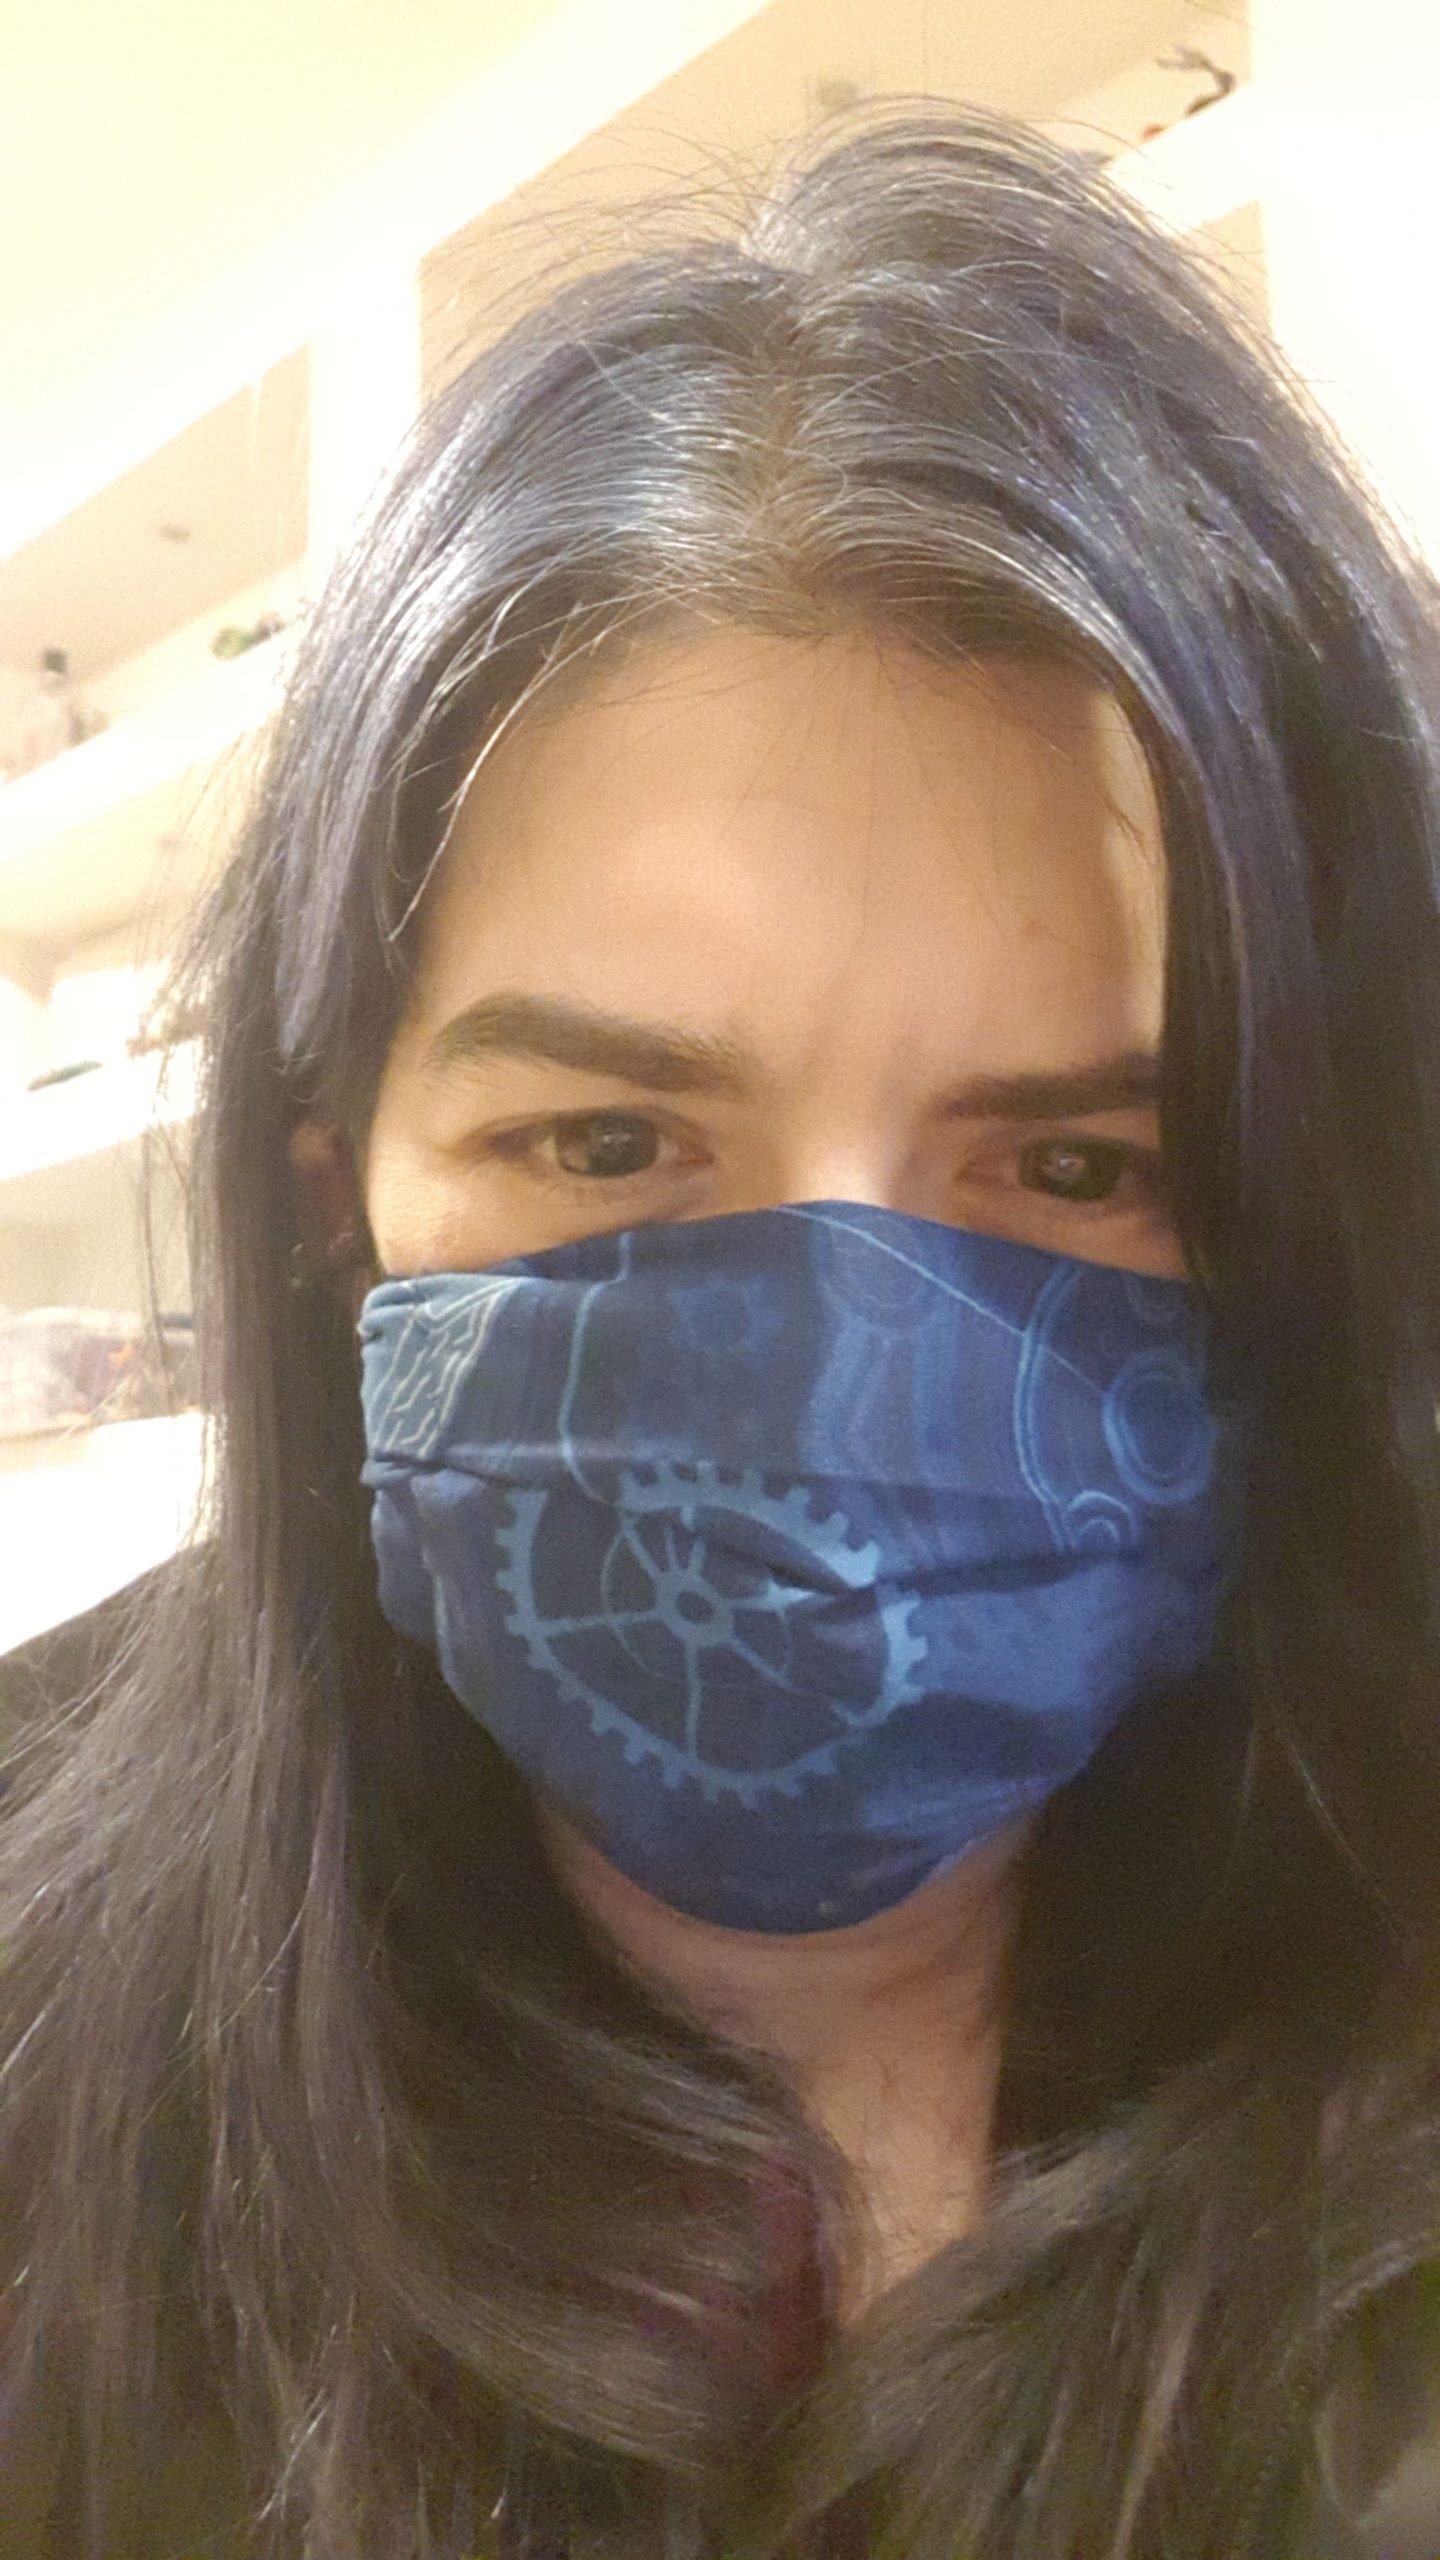
Smile! oh.. no one can see.. smile with your eyes!!
The filter part is a better solution for masking your face and increasing your protection. While only the mask itself provides 50% of protection, filter increases that by a lot. Filters should also be changed every few hours. This is why I have pre cut more than one non woven fabric pieces to fit in my masks.
Since there are always changing needs for the masks – I will try to whip up a second post (this one takes me forever already). I will issue a pattern for a mask without a pocket with 3 layers of 100% cotton fabric. I have already figured out how to make them better and faster, so sit tight it is coming!!
We are also working on a little movie to simplify the steps. Hopefully in a few days the link will show up here.. stay tuned!
Thank you for reading! as always i will be happy to hear your comments and ideas, and if you have made the mask – please send me smiling eyes pictures!
If you want to keep following, subscribe to my mailing list – I promise not to send too many emails.


