Easy sewing project for the advanced swapper. Swap your birthday balloons with this fun and happy flag chain!
When we were kids, and for some of us even now, Balloons made us very happy, because they are colorful, bright and their weird oval-shaped body. This made us blast with joy. However, like all good things in our world, Balloons are made with plastic. The kind that makes turtle think they are a jellyfish in the water and eat them, then die. Yes. I am using turtles and it’s not for straws.
You probably ask yourselves, what will make us happy and will help our birthday cheer without balloons??? Luckily, we have the answer! grab your tools or ask for help from your friendly neighborhood sewer and learn how to make yourself a flag chain, in order to fill in your joyfulness, and nonetheless, you can use them for more than 1 birthday! You don’t need a machine for it, but it can definitely help. As you may know, I am a terrible sewer, if I made it trough, so can you!
This is also a great project to get rid of all your fabric scraps or recycling your old clothes, for example, we all have clothes that we can’t donate and have officially ended their life as a clothing item, therefore they can be great for you to use on this project.
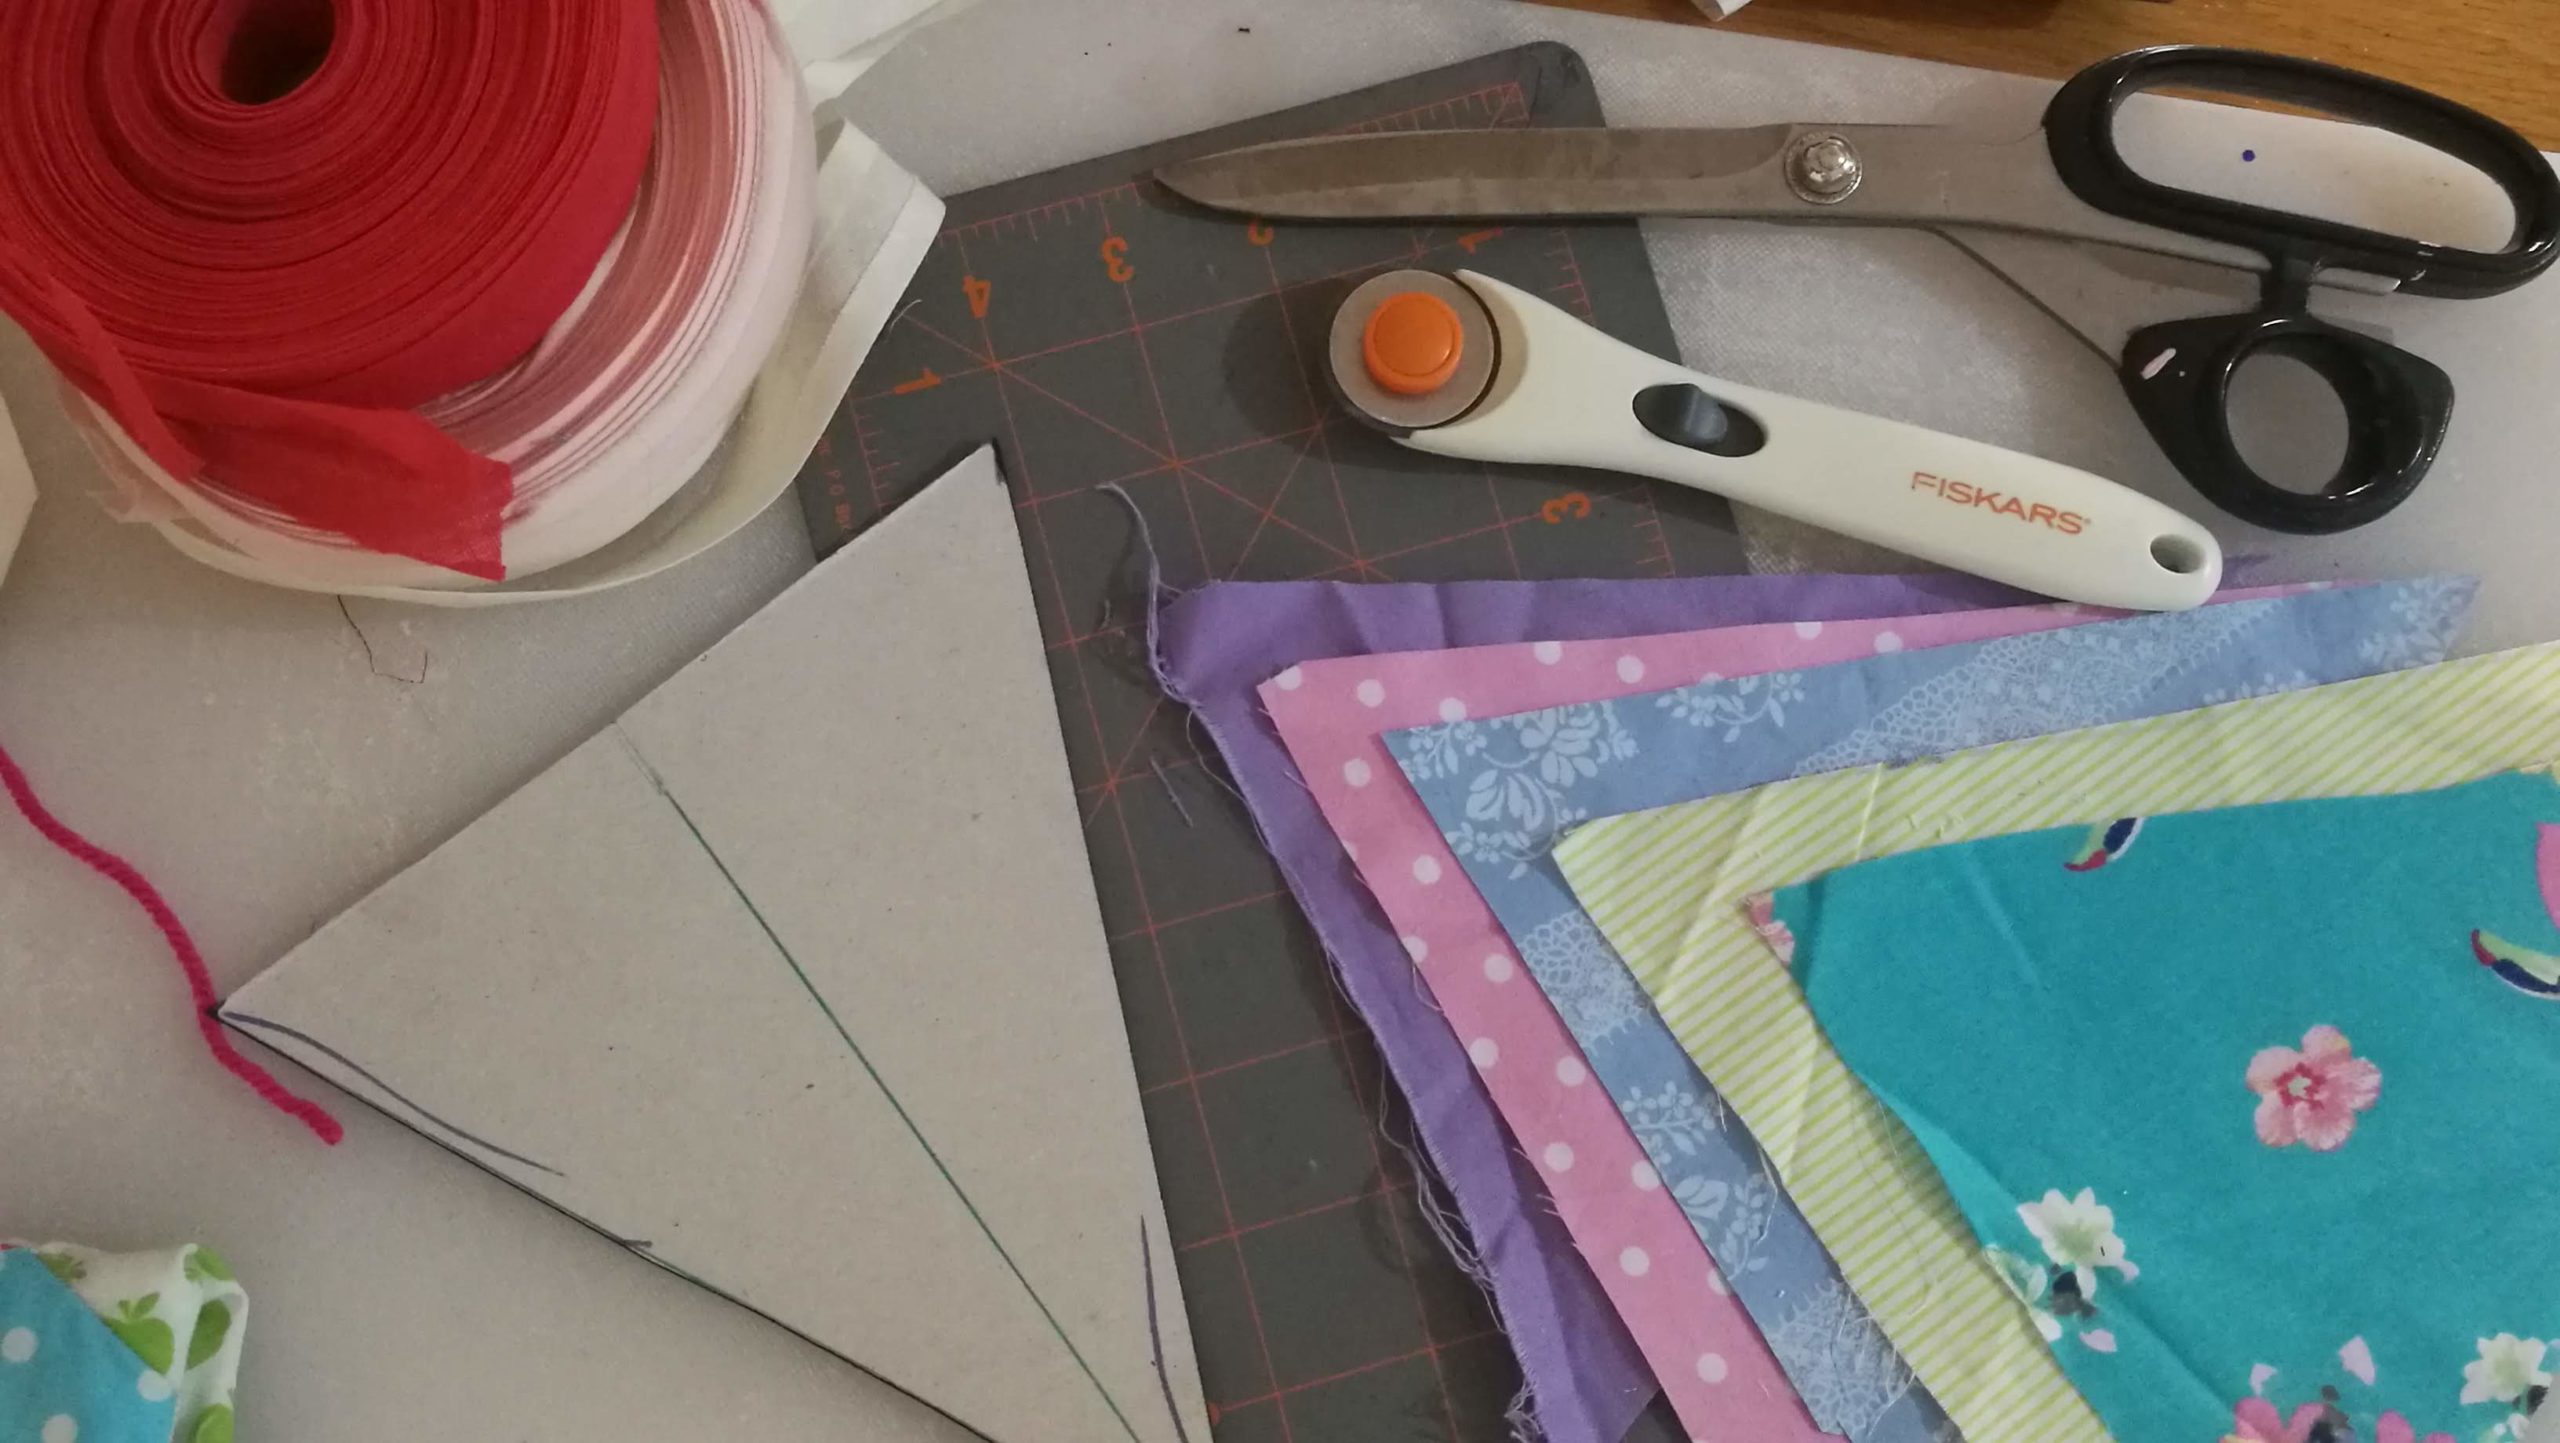
What you will need:

- Fabric Scissors or cutting tool (the one I am using is amazing)
- Cutting mat
- Bias ribbon
- Fabric leftovers
- Cardboard to make a triangle stencil
Step 1:
Make your stencil. Take cardboard – you can use a serial box for instance, or any box you have at hand, As you can see I made mine with a serial box.
The size for my triangle is 15 cm for the base, and the perpendicular is 17 cm. You can adjust the size so it can fit your own needs, if you want bigger or smaller then you can decide.

Step 2:
mark your fabrics and make triangles, make sure to do it with chalk, because when I did it with a marker – it stained the fabric!

Step 3:
Cut your fabric to colorful triangles

Step 4:
The arrangement is very important, if you have lots of fabrics, try to take each time a different pattern: solid, polka dot, print and make sure the colors are corresponding with each other, this way your chain will look more attractive and pleasant to the eye.
Step 5
To connect your flags to a chain, use your ribbon, you have to fold it with an iron, so it will stay folded and nice when you sew it. A neat way to do it is to put 2 pins on your iron surface and put the ribbon folded between, iron that part and pull from the other side.


You can leave the iron on your surface and pull like I do in this picture, but make sure you are not leaving it this way for too long it can cause your surface to burn! Lift the iron once in a while so you don’t burn anything…
Step 6:
Pin your flags to the ribbon make sure you insert it between the folds:


Step 7:
You are now ready to sew it up, the easiest way is sawing it with a zig-zag stitch if your machine has it.. or by hand.

Can you see the zigzag?

I have added little handles with a piece of folded yarn in the edges, this way it can be easily hang on the wall.

Step 8
Hang your flags and enjoy the festivities. Be proud of yourself, you just helped the environment a little bit more.
Thanks for stopping by, if you want to get more posts as they come out to follow me on social media


