Whenever I enter an online shop i see very nice pictures, which I’m always envy at.. I wished i would know how to take these, as my little etsy shop doesn’t look so good. When I asked my very talented friend Michal, (go check her page) how does she take these lovely pictures of the beads she is making. she explained that she put them in a white plate filled with water which makes a nice effect of whiteness. That is a cool trick! But it will not help with my stuff, obviously. I cannot put yarn in water and expect it to look good in the picture. Some of the pieces i made does no fit in a plate as well…. I tried several photo editors, but none of them was good enough to make my bad taken pictures to look good.. there is no such magic that i am capable to do.. one day I asked my very knowledgeable colleague about taking good pictures, and he revealed the new world of light-box . When he first told me about this hack I was very excited cause this look very simple which is true and I had all the things in my house to make it so I just couldn’t wait. Apparently it’s a very common trick that professional and unprofessional photographers like myself use a lot to make their photos look very nice and have a studio effect without a real studio I wish I knew it way before I open my store this way my pictures would look much better and maybe I would sell more.
Making a light box is very easy and it took me about half an hour, you can do it with a variety of items that you can find around your house or in your mailbox and the result is amazing. The main idea is to make a box with white opaque walls and an infinity wall behind it. (Meaning it doesn’t have a fold so it looks infinite.)
The product you will need are:
A cutting tool- I used my brand new rotary cutter which is very very good comparing with the old ones I had.
Duct tape
White opaque material I have my white lining fabric that I use for my sewing purposes.
A ruler and a surface to cut on
Maybe some marker

And of course a box – i verified my doll fits in my big box
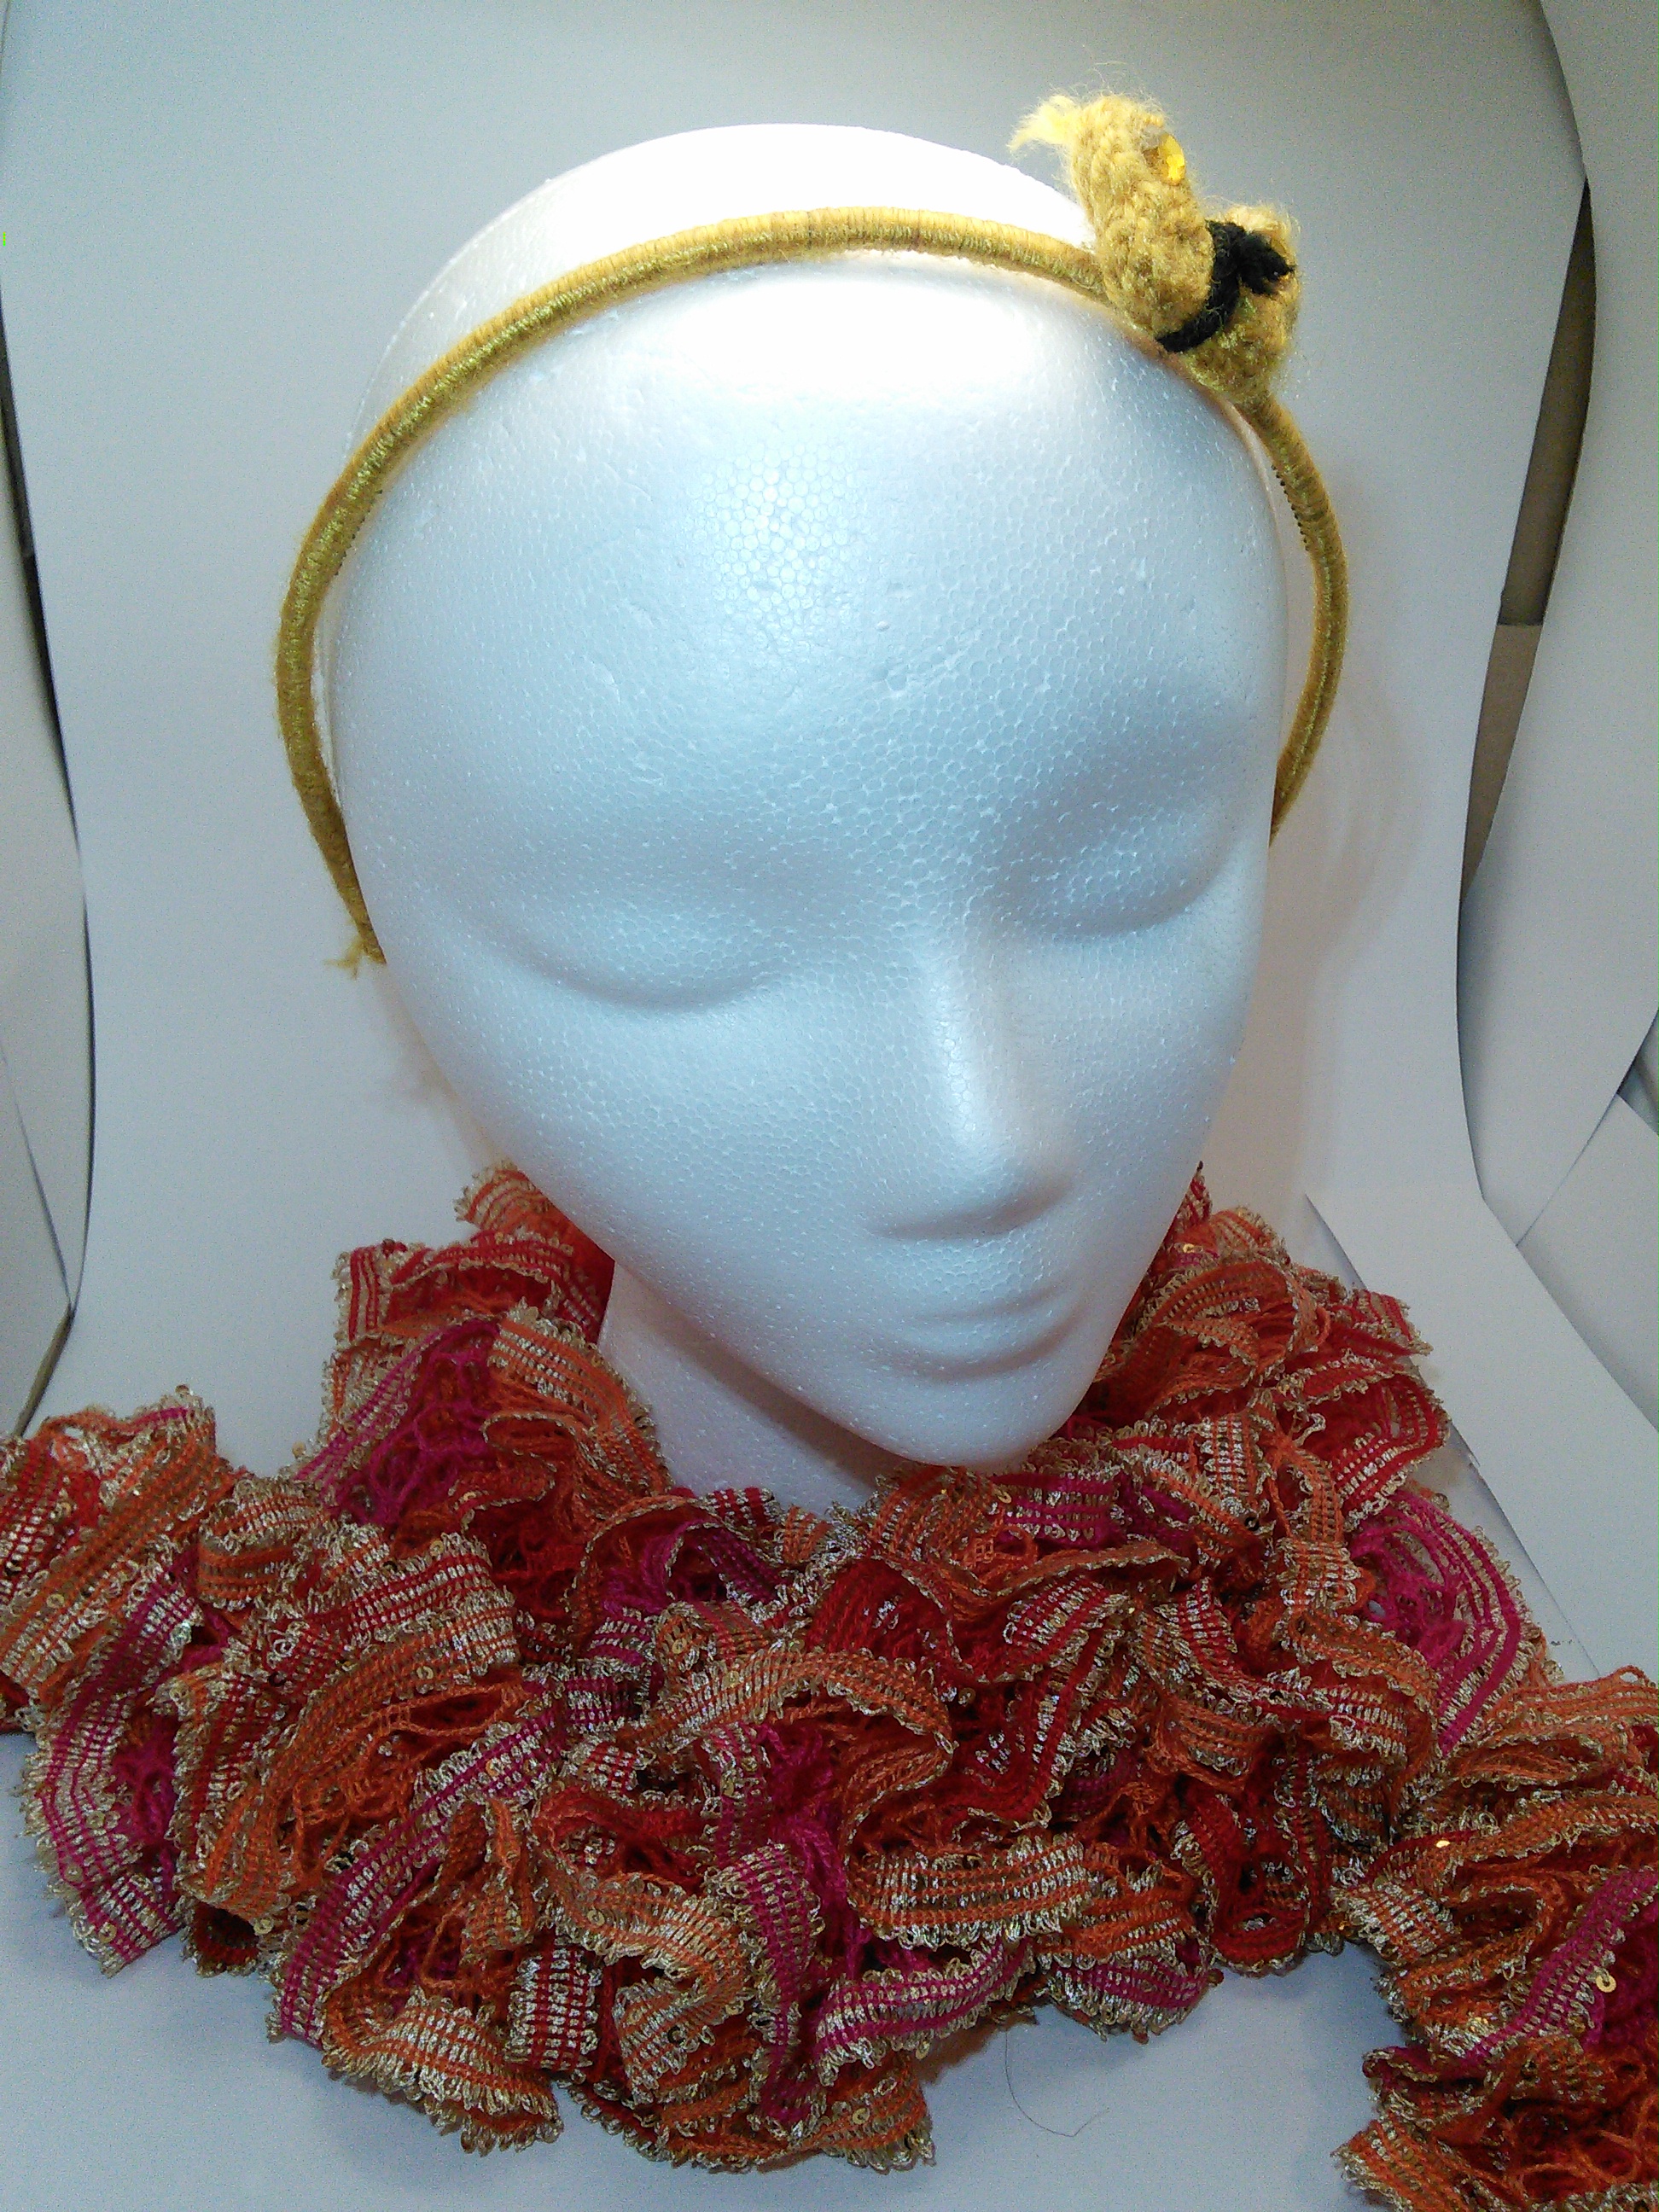
 I made this light box out of 3 boxes first I tried with two smaller ones and I tested fabric and the white paper worked much better than the fabric but the fabric made a the nice picture as well here are some examples for my first test:
Once you ready to begin measure about 2 inches from the sides and make Windows from three sides of the box.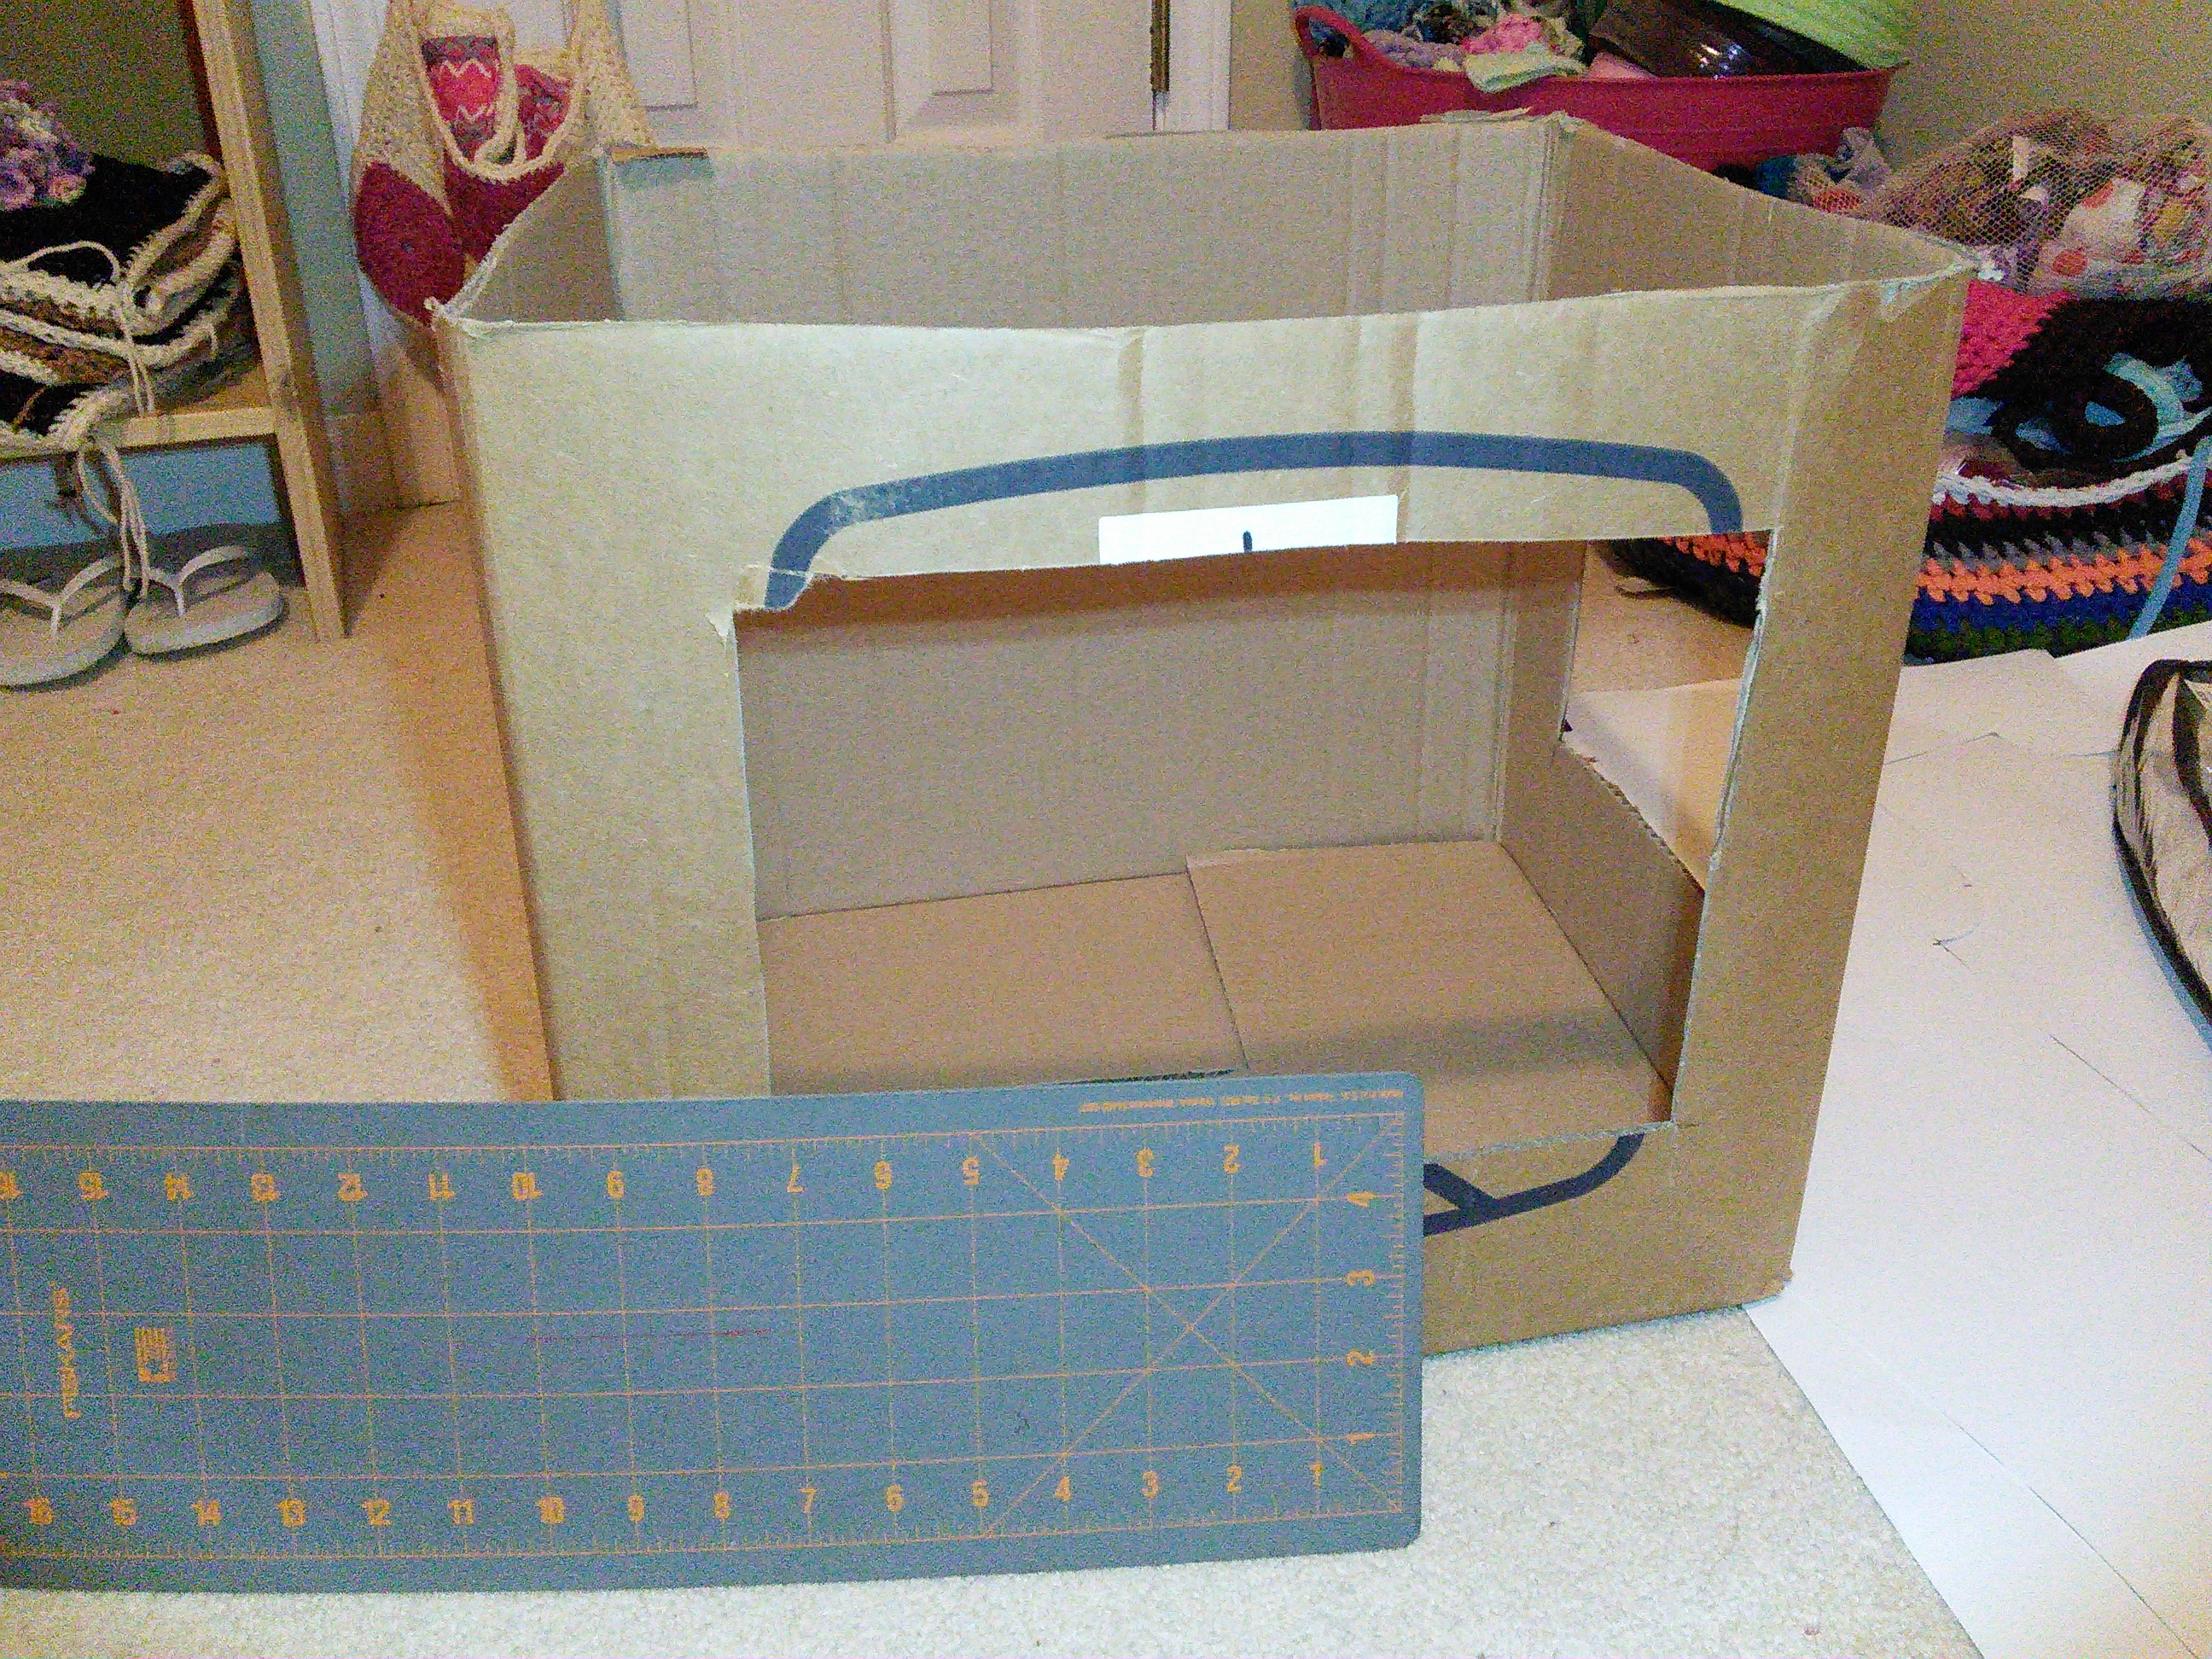
After you cut out the box, cut your fabric in the right side of the windows.
The fun part is to glue them to the sides with the duct tape I enjoyed this part a lot, it was very easy and very fun to do.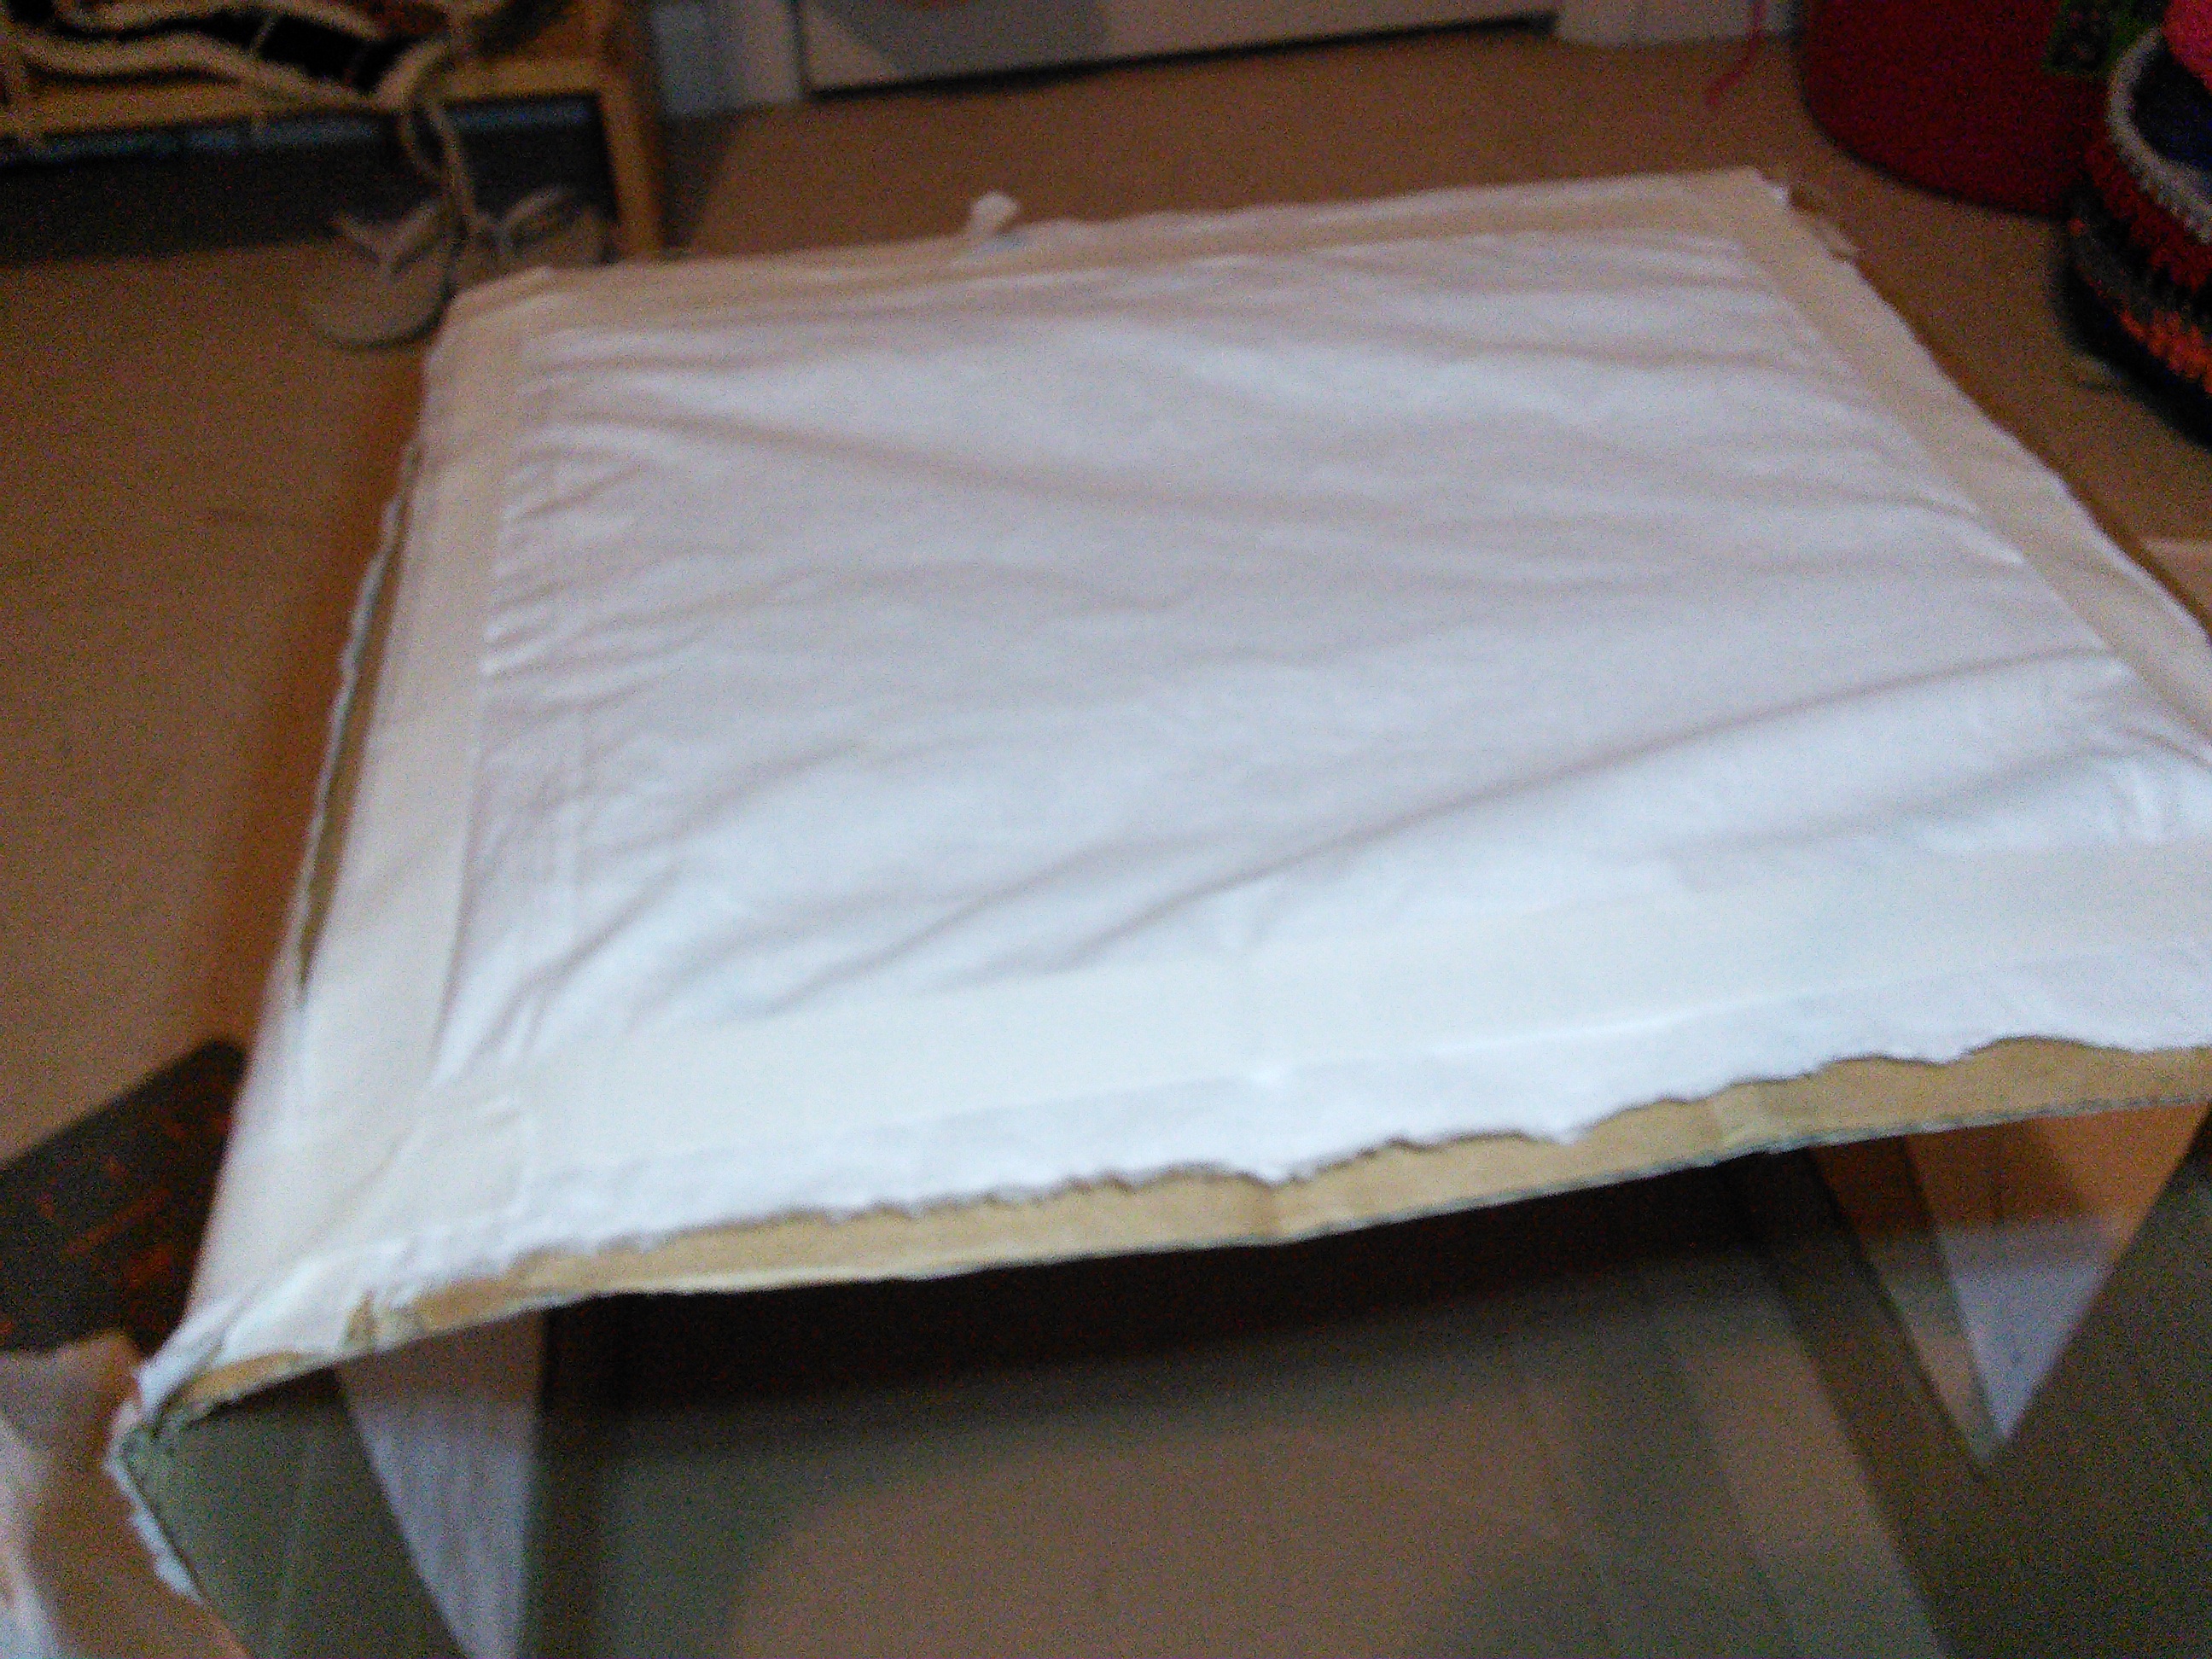
After you have this part made you need to cut your material for the infinity background to fit the interior of your box so it will cover the entire back of the box.
The duct tape is very helpful here with just putting everything in place and your box is ready.
I would suggest spend a little more time on making the interior of the box white as well it might help you with getting better pictures and much better results before editing them without need to cut.

Now all you need is three lights to put on the top and from each side of the box this will give the effect of light from every direction and will remove the shadow from your item beside these lights you only the light from your camera which will be the 4th one so it will have the photo enlightened from all directions which will make it a shop ready photo.
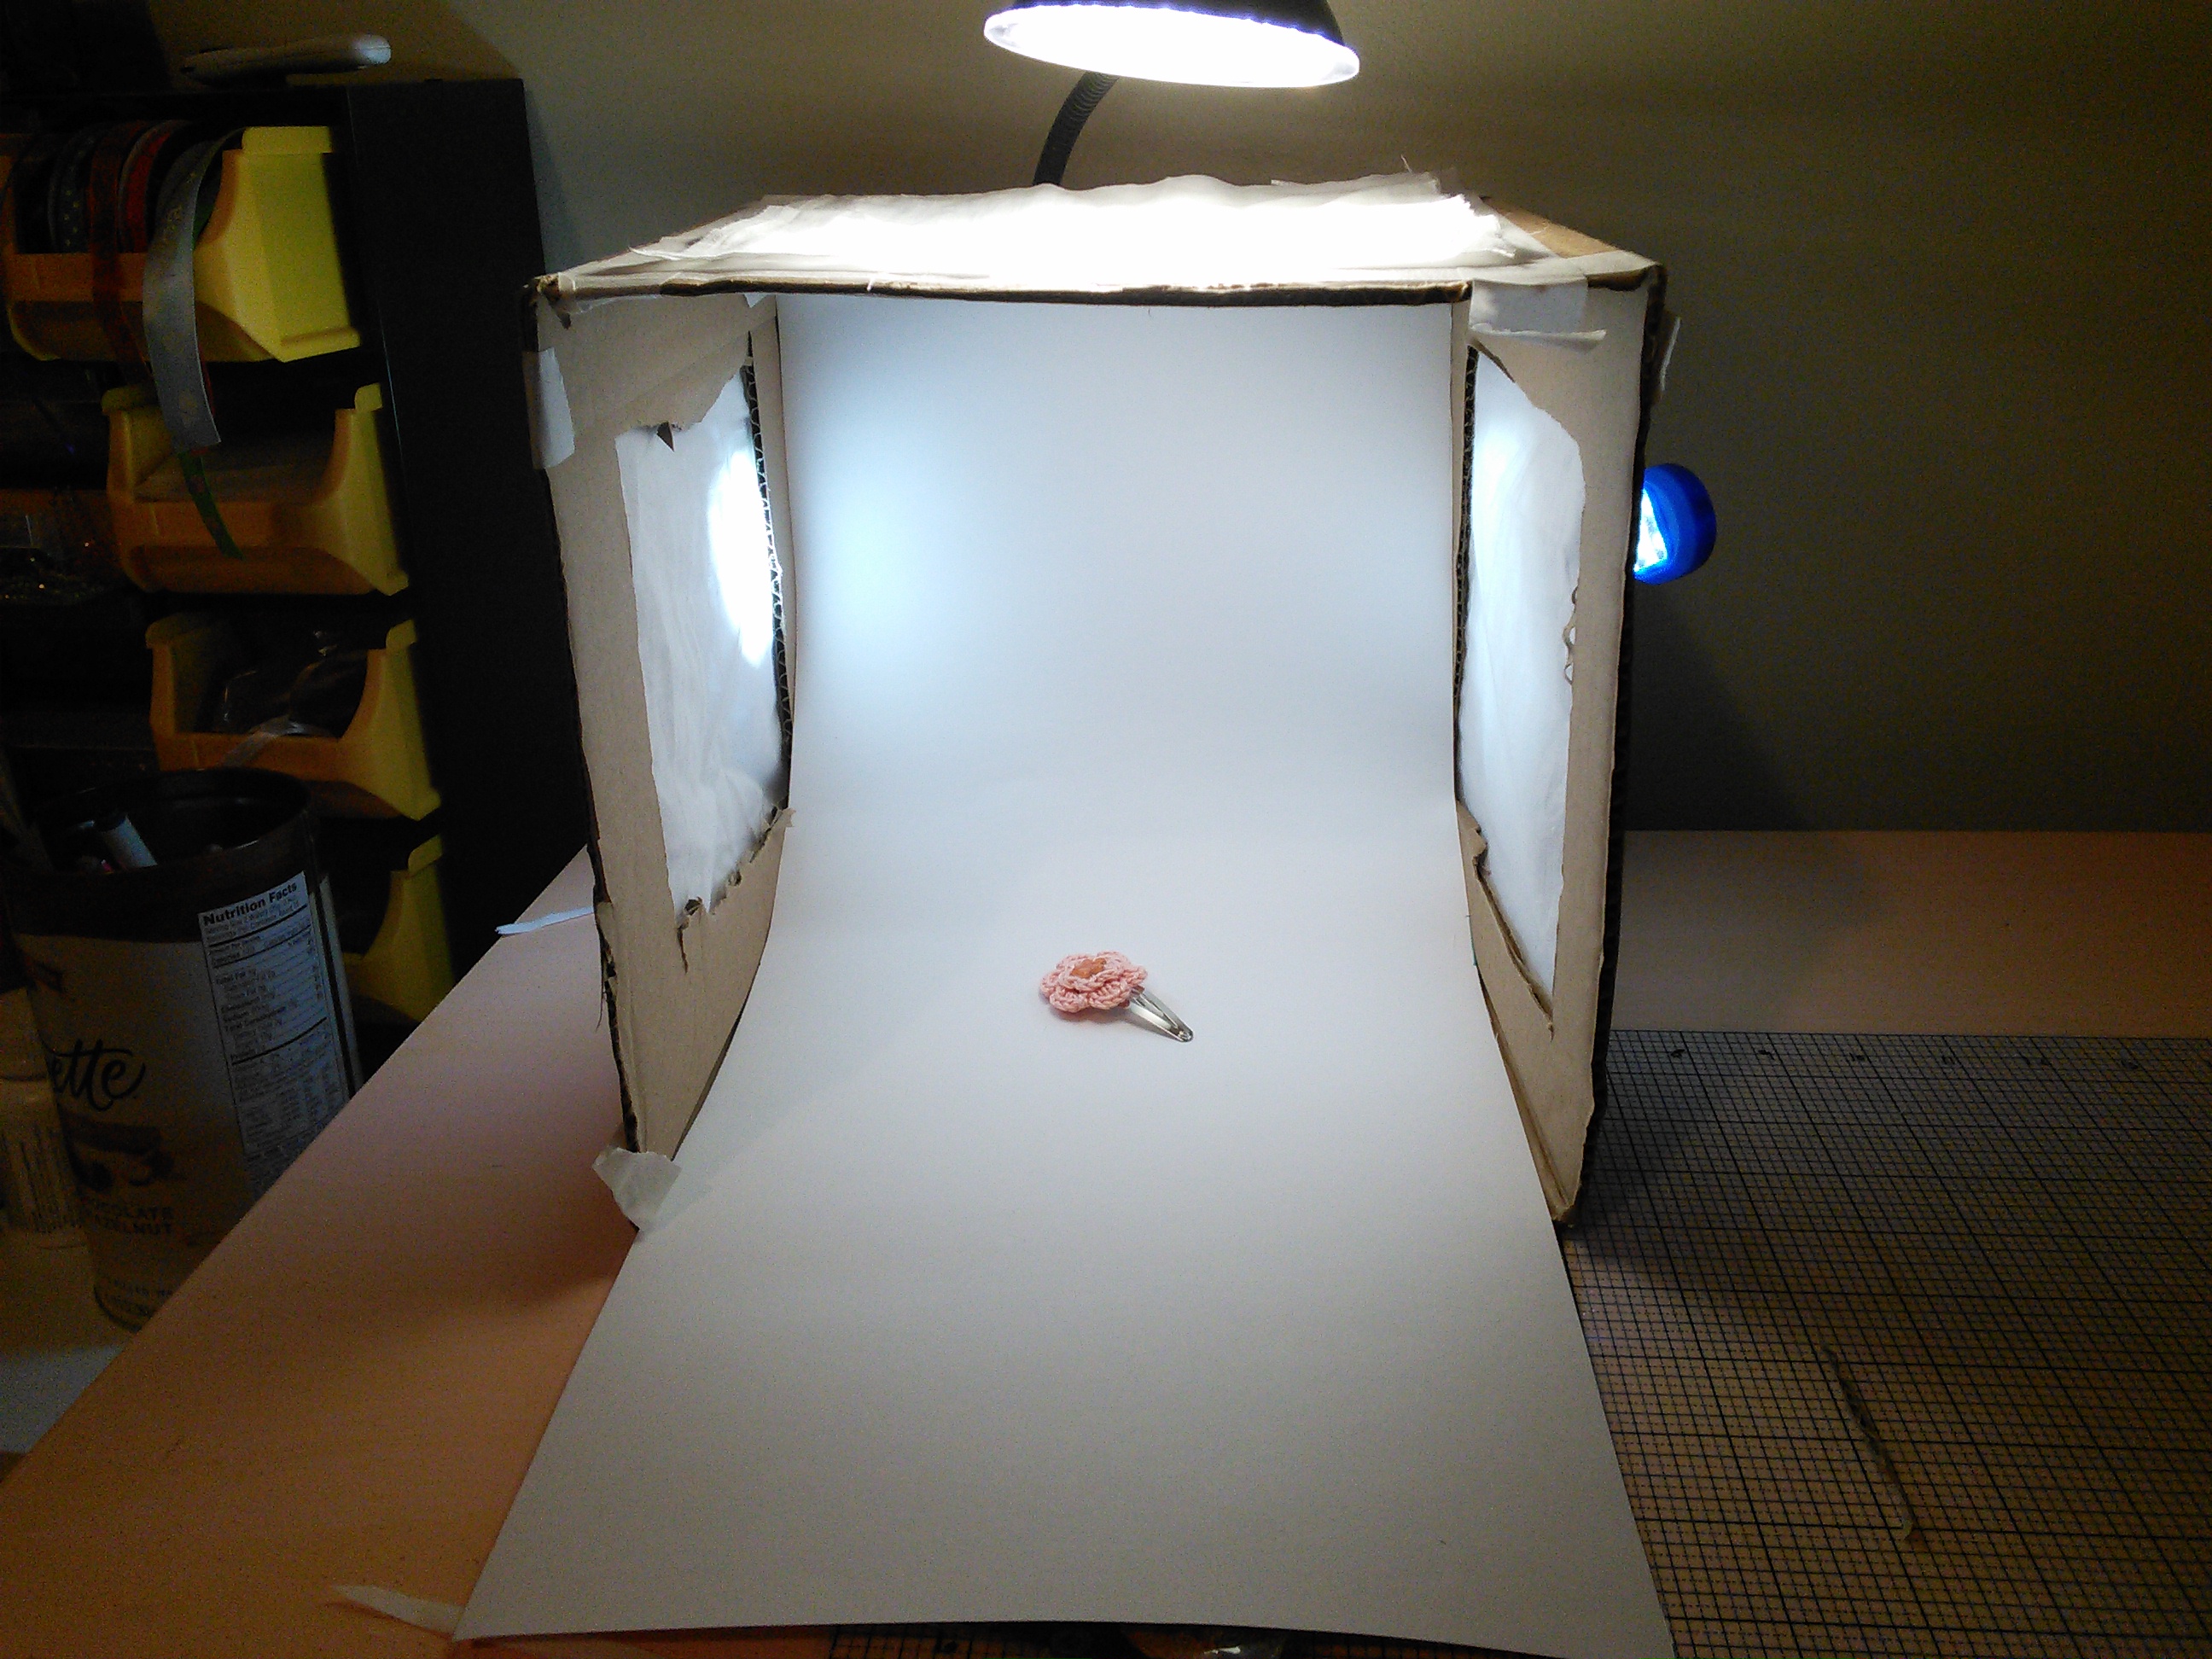 maybe play a little bit with the color to enhance, but.. that’s it you have a nice and sell able photo on your shop.
Now all i need is a good camera….
Let me know if you have any other tricks you found as well which help you make better photos don’t forget to visit my shop!