Here is something that i don’t do so often. Amigurumi. it’s fun, it’s easy and the results are amazing. But it involves a lot of sewing your parts together, which makes the project not watching TV and crocheting friendly, and hence less doable for me.
Then i met the Amigurumi master Oranit, and she thought me how to wrap any vessel you would like and make something out of it. Something like a baby rattle.

This is nice and easy and you can absolutely sit by the TV and make it. Its not complicated and you need to feel your rattle in order to complete it, your vessel can be of any size and you need to crochet around it.
this is what you will need for this project:
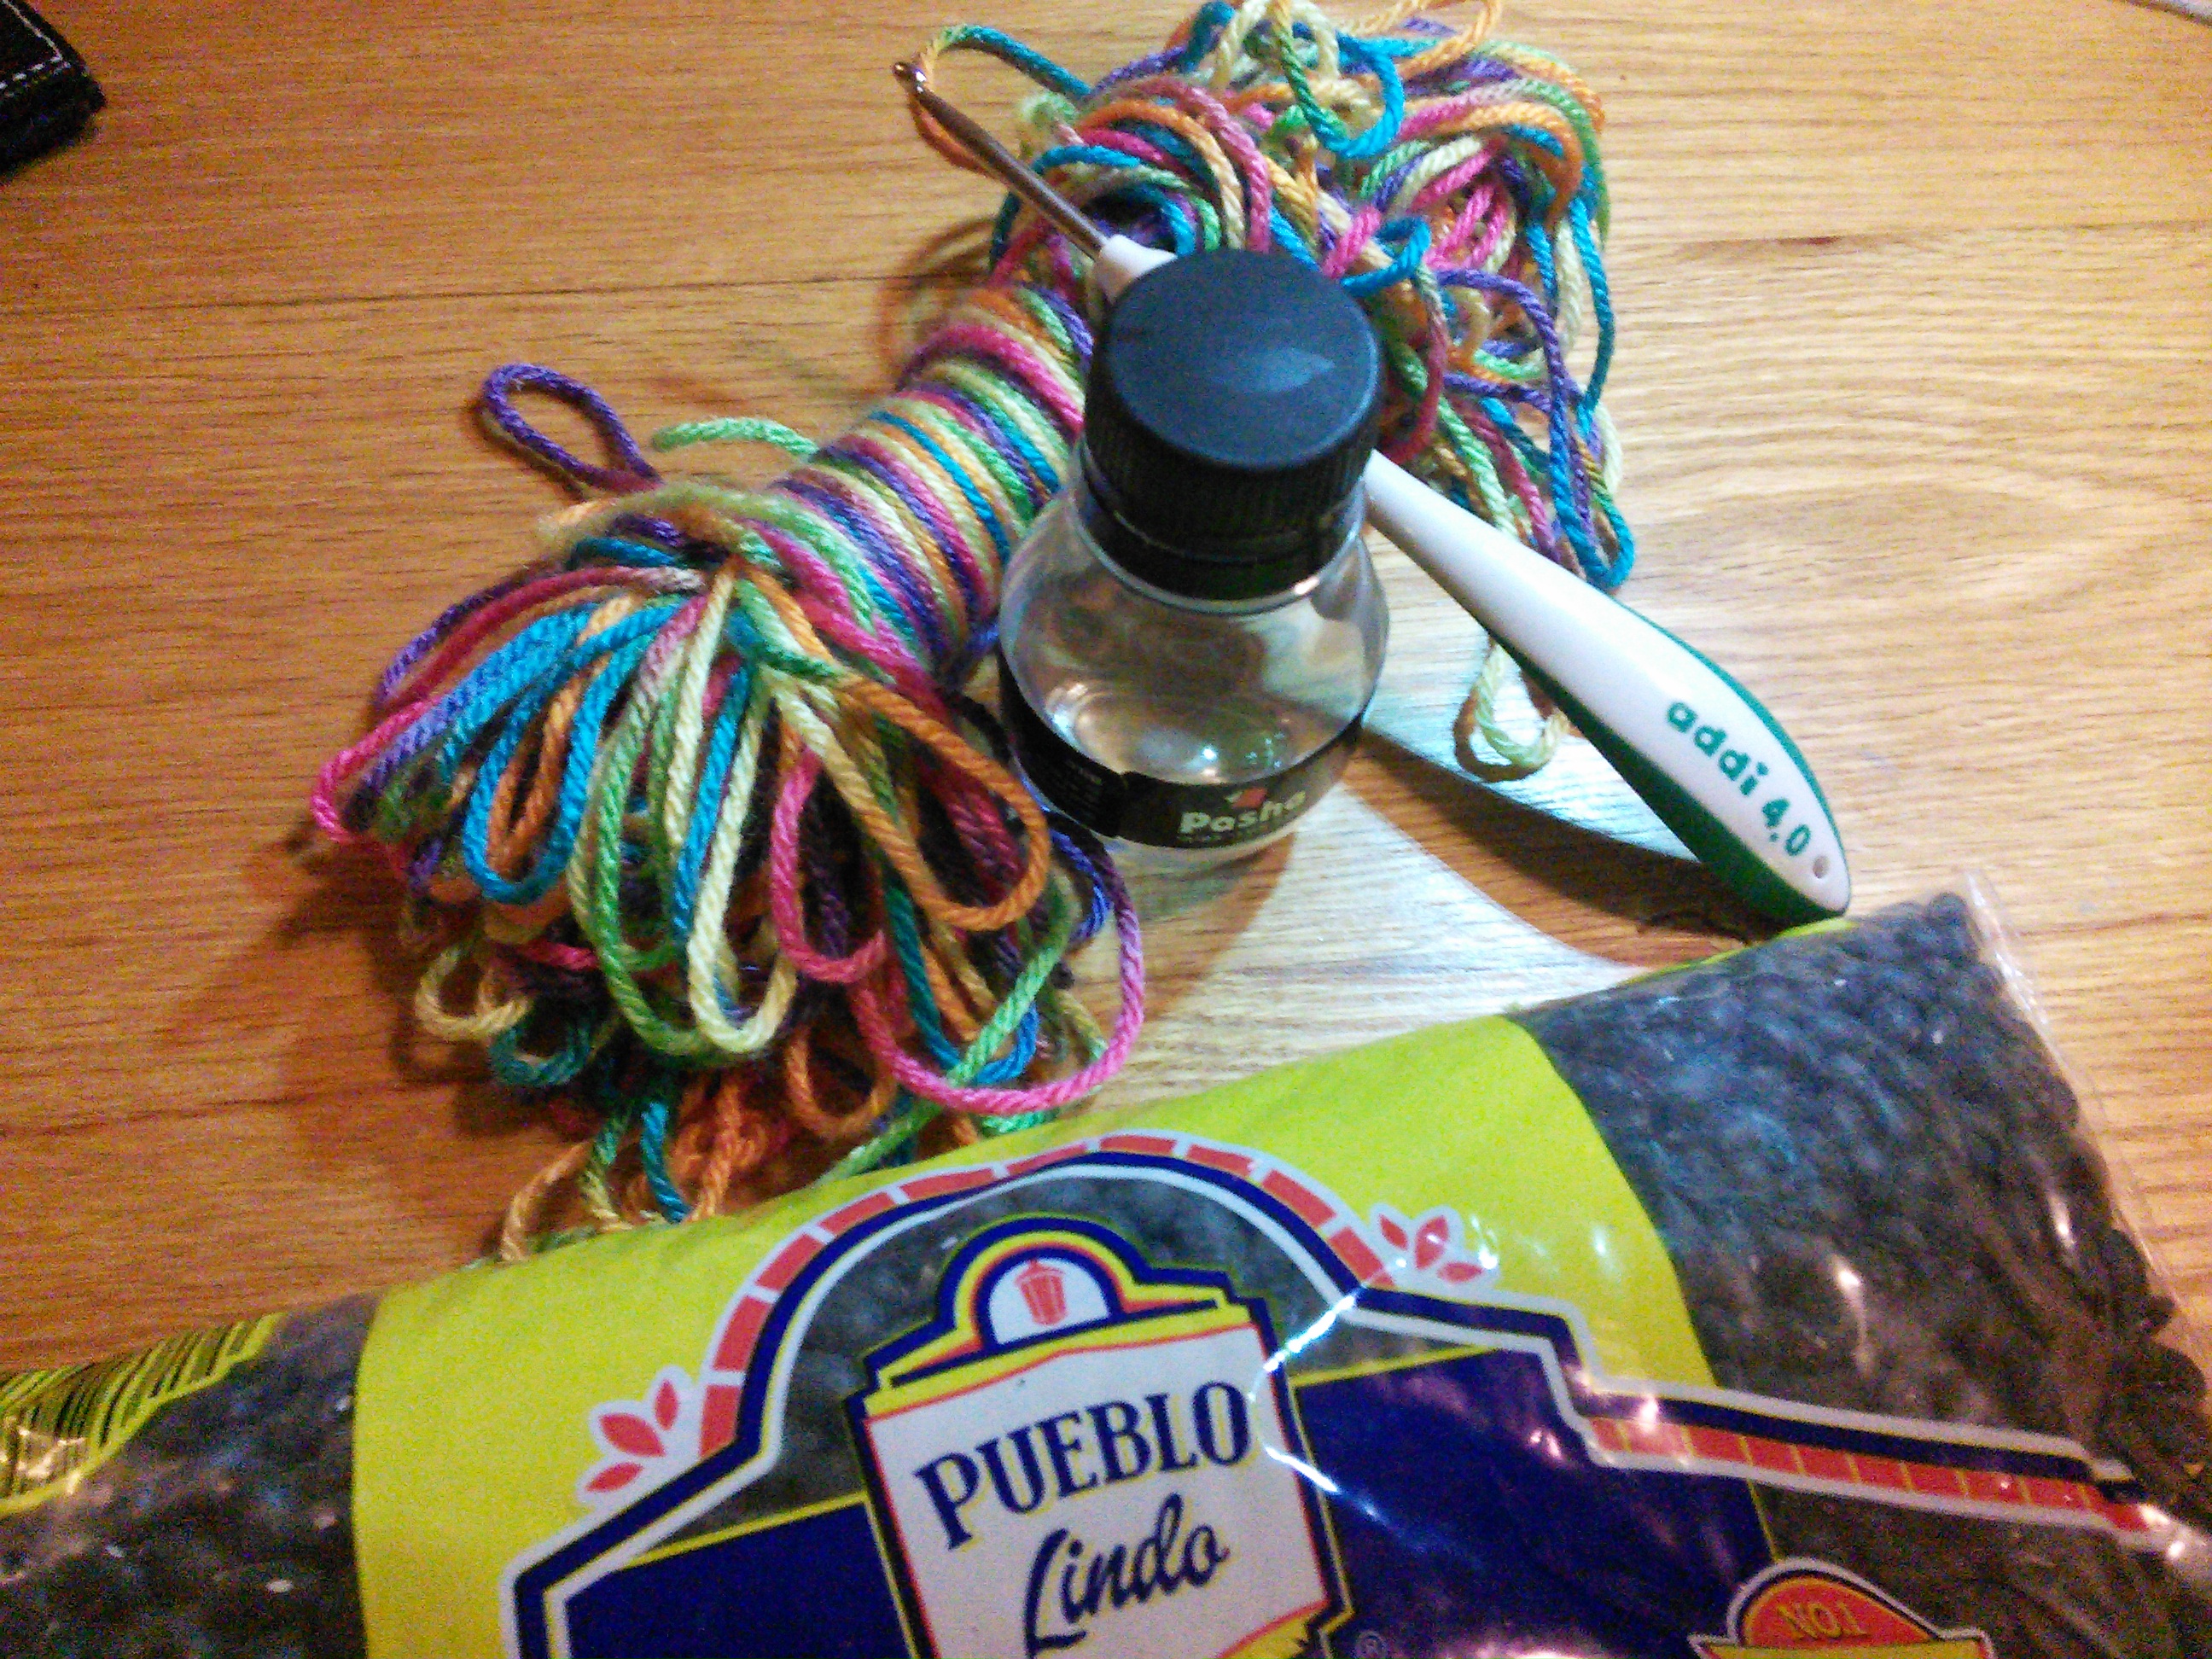
yarn – i used less then 1 skein, actually i used a lot less.. i have leftovers from my leftovers after this project 🙂
crochet needle to fit your yarn.
Filling material for dolls – like this one.
some beans – to make noise (this is what i had in my kitchen)
and a vessel . it should be a vessel that can be closed.
the vessel can be any size and shape I found this small soda bottle:

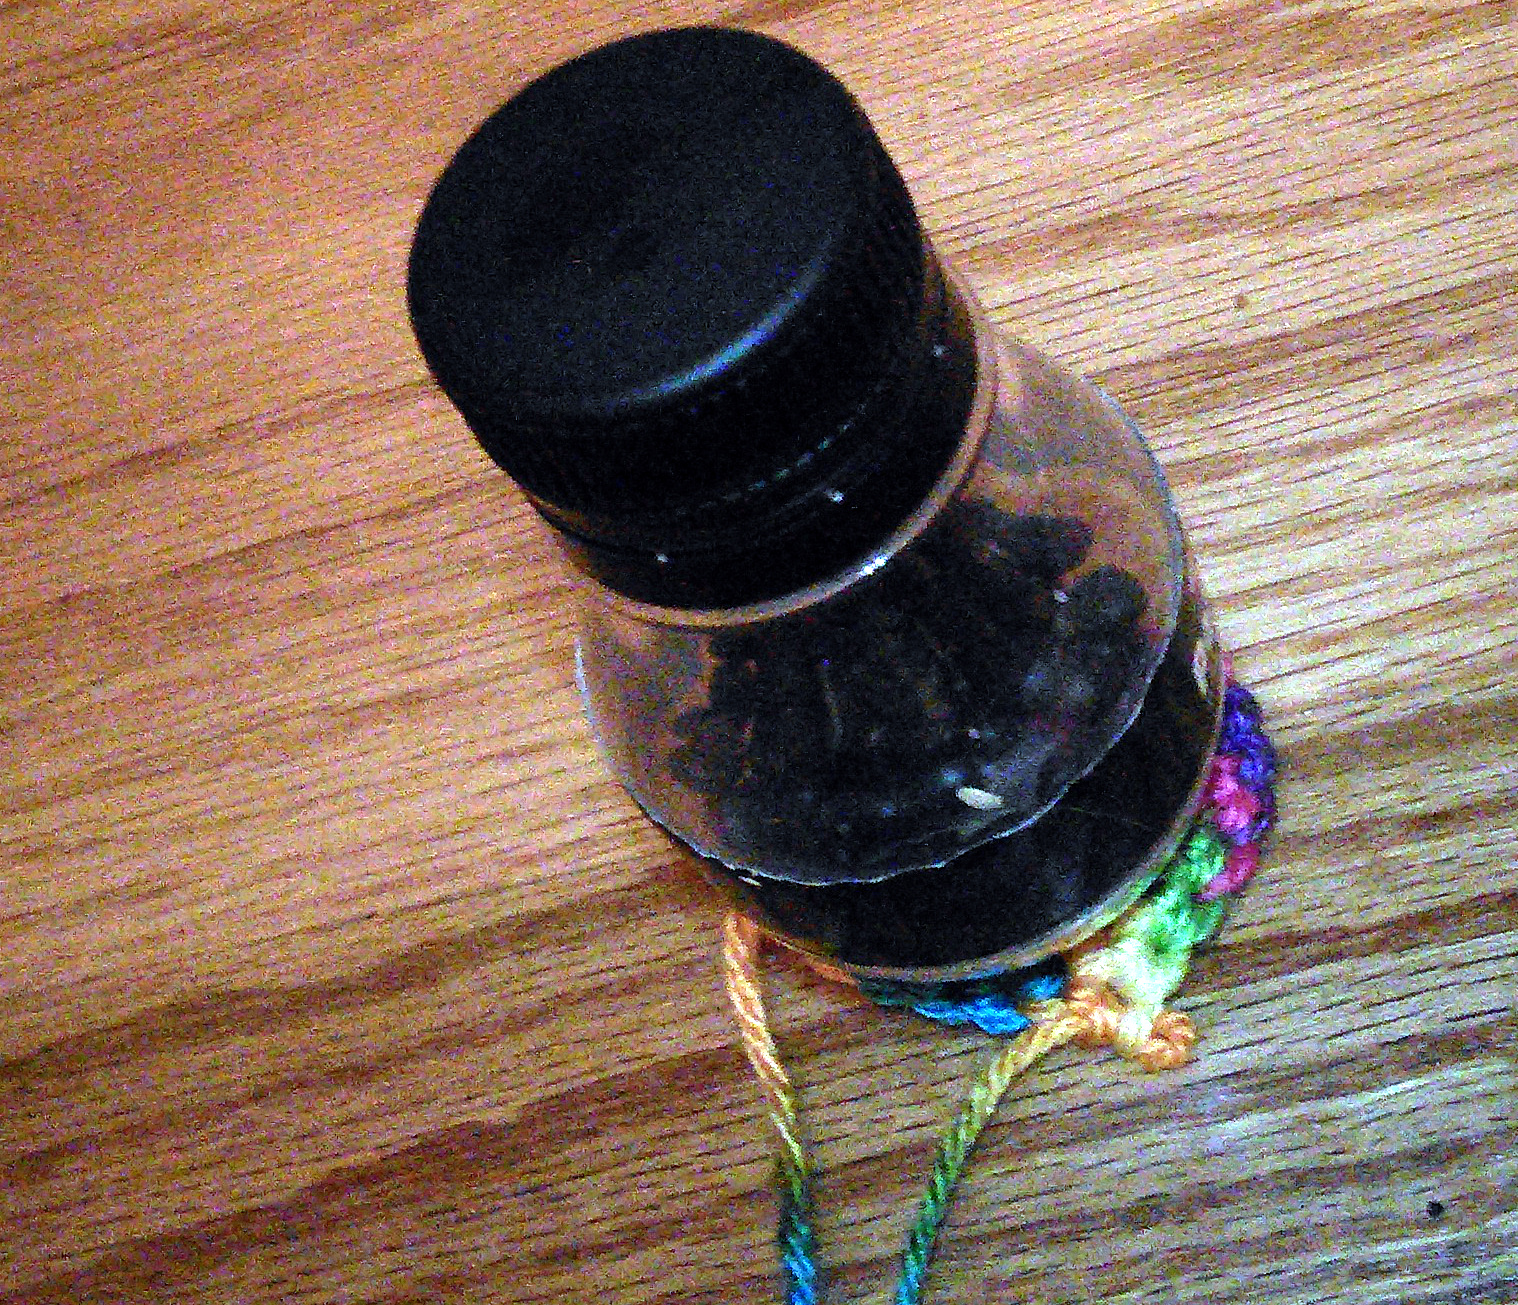
start by filling your vessel with the beans, and close it tight! you can glue the top if you want for extra strength.
some abbriviations for the pattern:
ch – chain
SC – Single crochet
increase – 2 sc in the same stitch
decrease or 2sctog – 2 sc together here is a good explanation.
Now that we are ready you can start covering it:
Start with a circle:
Magic ring and in it 6 sc.


Usually you need to do a spiral circle when you do amigurumi. Use it here as well. Your increase circle first stitch should come when you would do the sl st for a regular circle. u can use markers here, i just like to feel my way trough.
so next line will be 2 sc in each of the sc from the first row
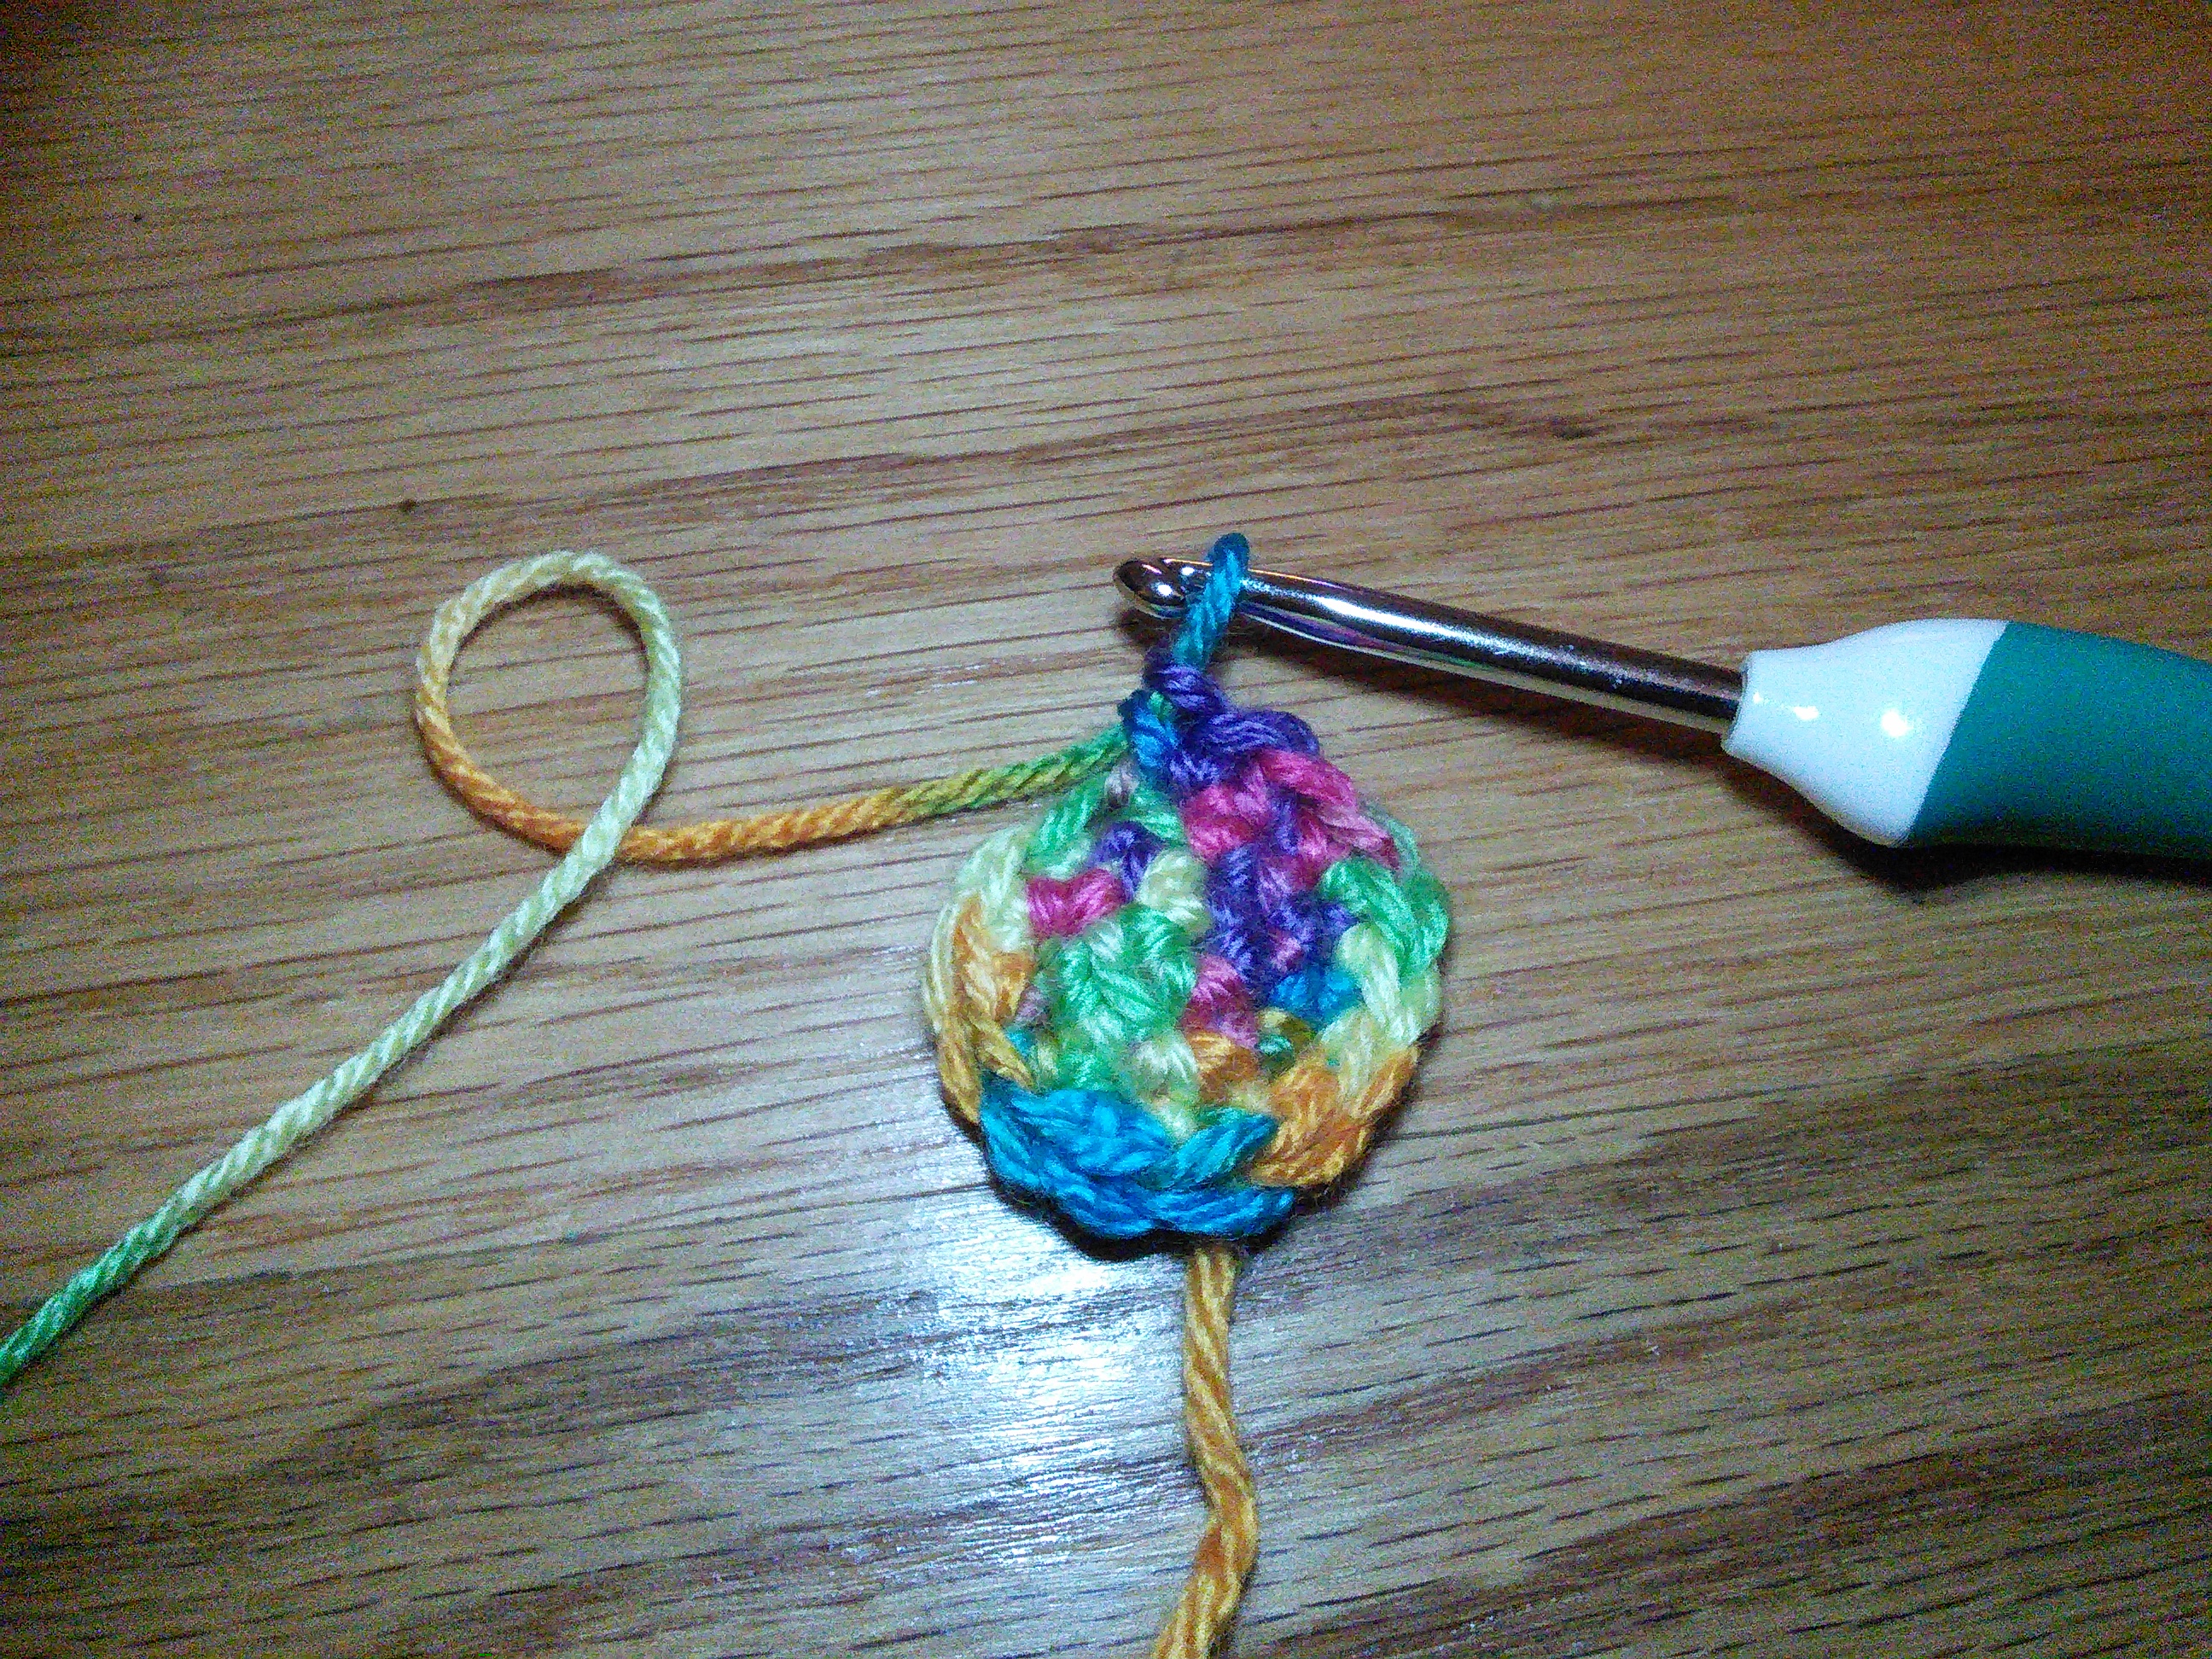
3rd line 1 sc in first sc and 2 sc in next sc from the row before.
4th line 1 sc, 1sc ,2 sc etc, untill you get to the size that you need for your rattle to the biggest circumfence in the vessel.
for my bottle it was the middle of the bottle
this is too small:
still too small…
now it is good! ( i think i made 5 rounds)
Stop increasing and work your way up, 1 sc on the next stitch until you got to about half the height of your vessel.
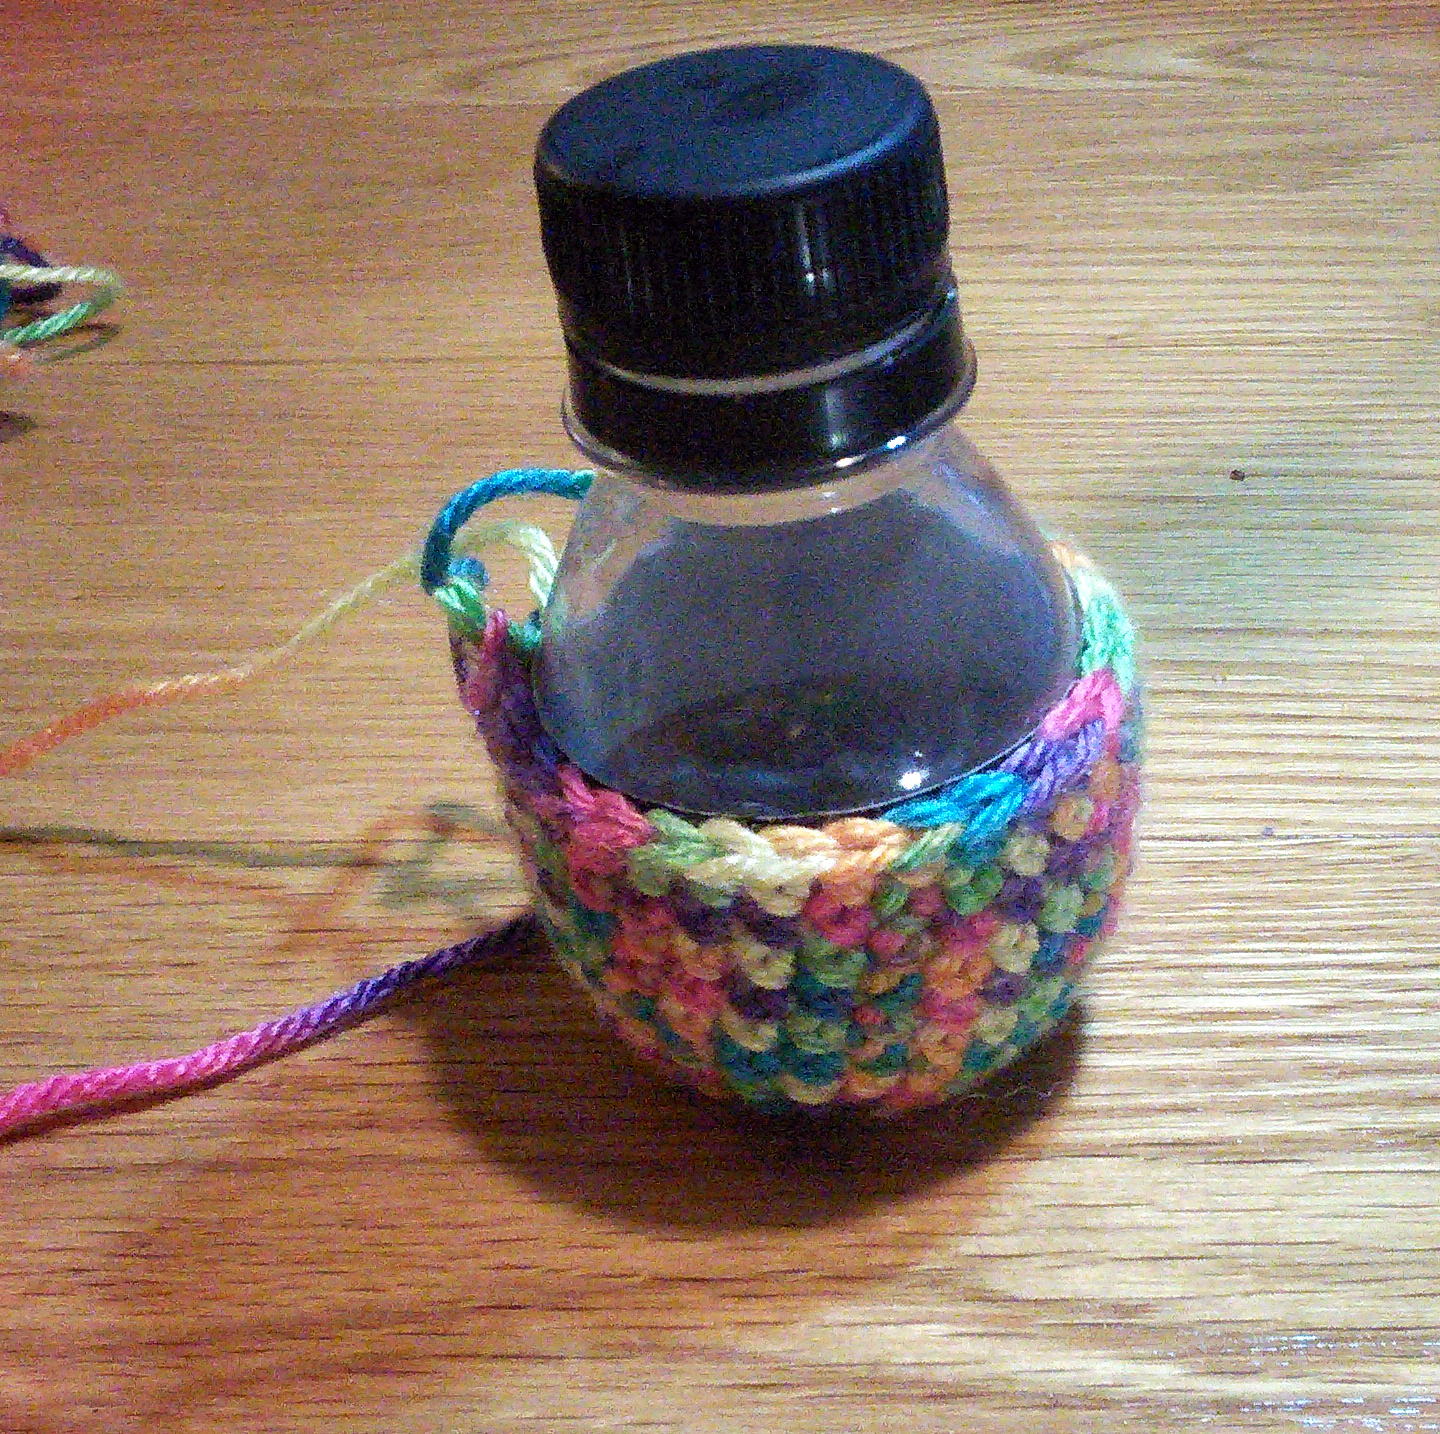
Check your vessel fit and then put some filling material inside.
The acrylic helps shaping the vessel in to the shape you want it.

Continue your way up,with the vessel now inside the piece of fabric, and measure the vessel every once in a while
.
you can add some filling material to shape it a bit and make the rattle rounder and softer.

Once you get to the narrow part of the vessel, start decreasing.
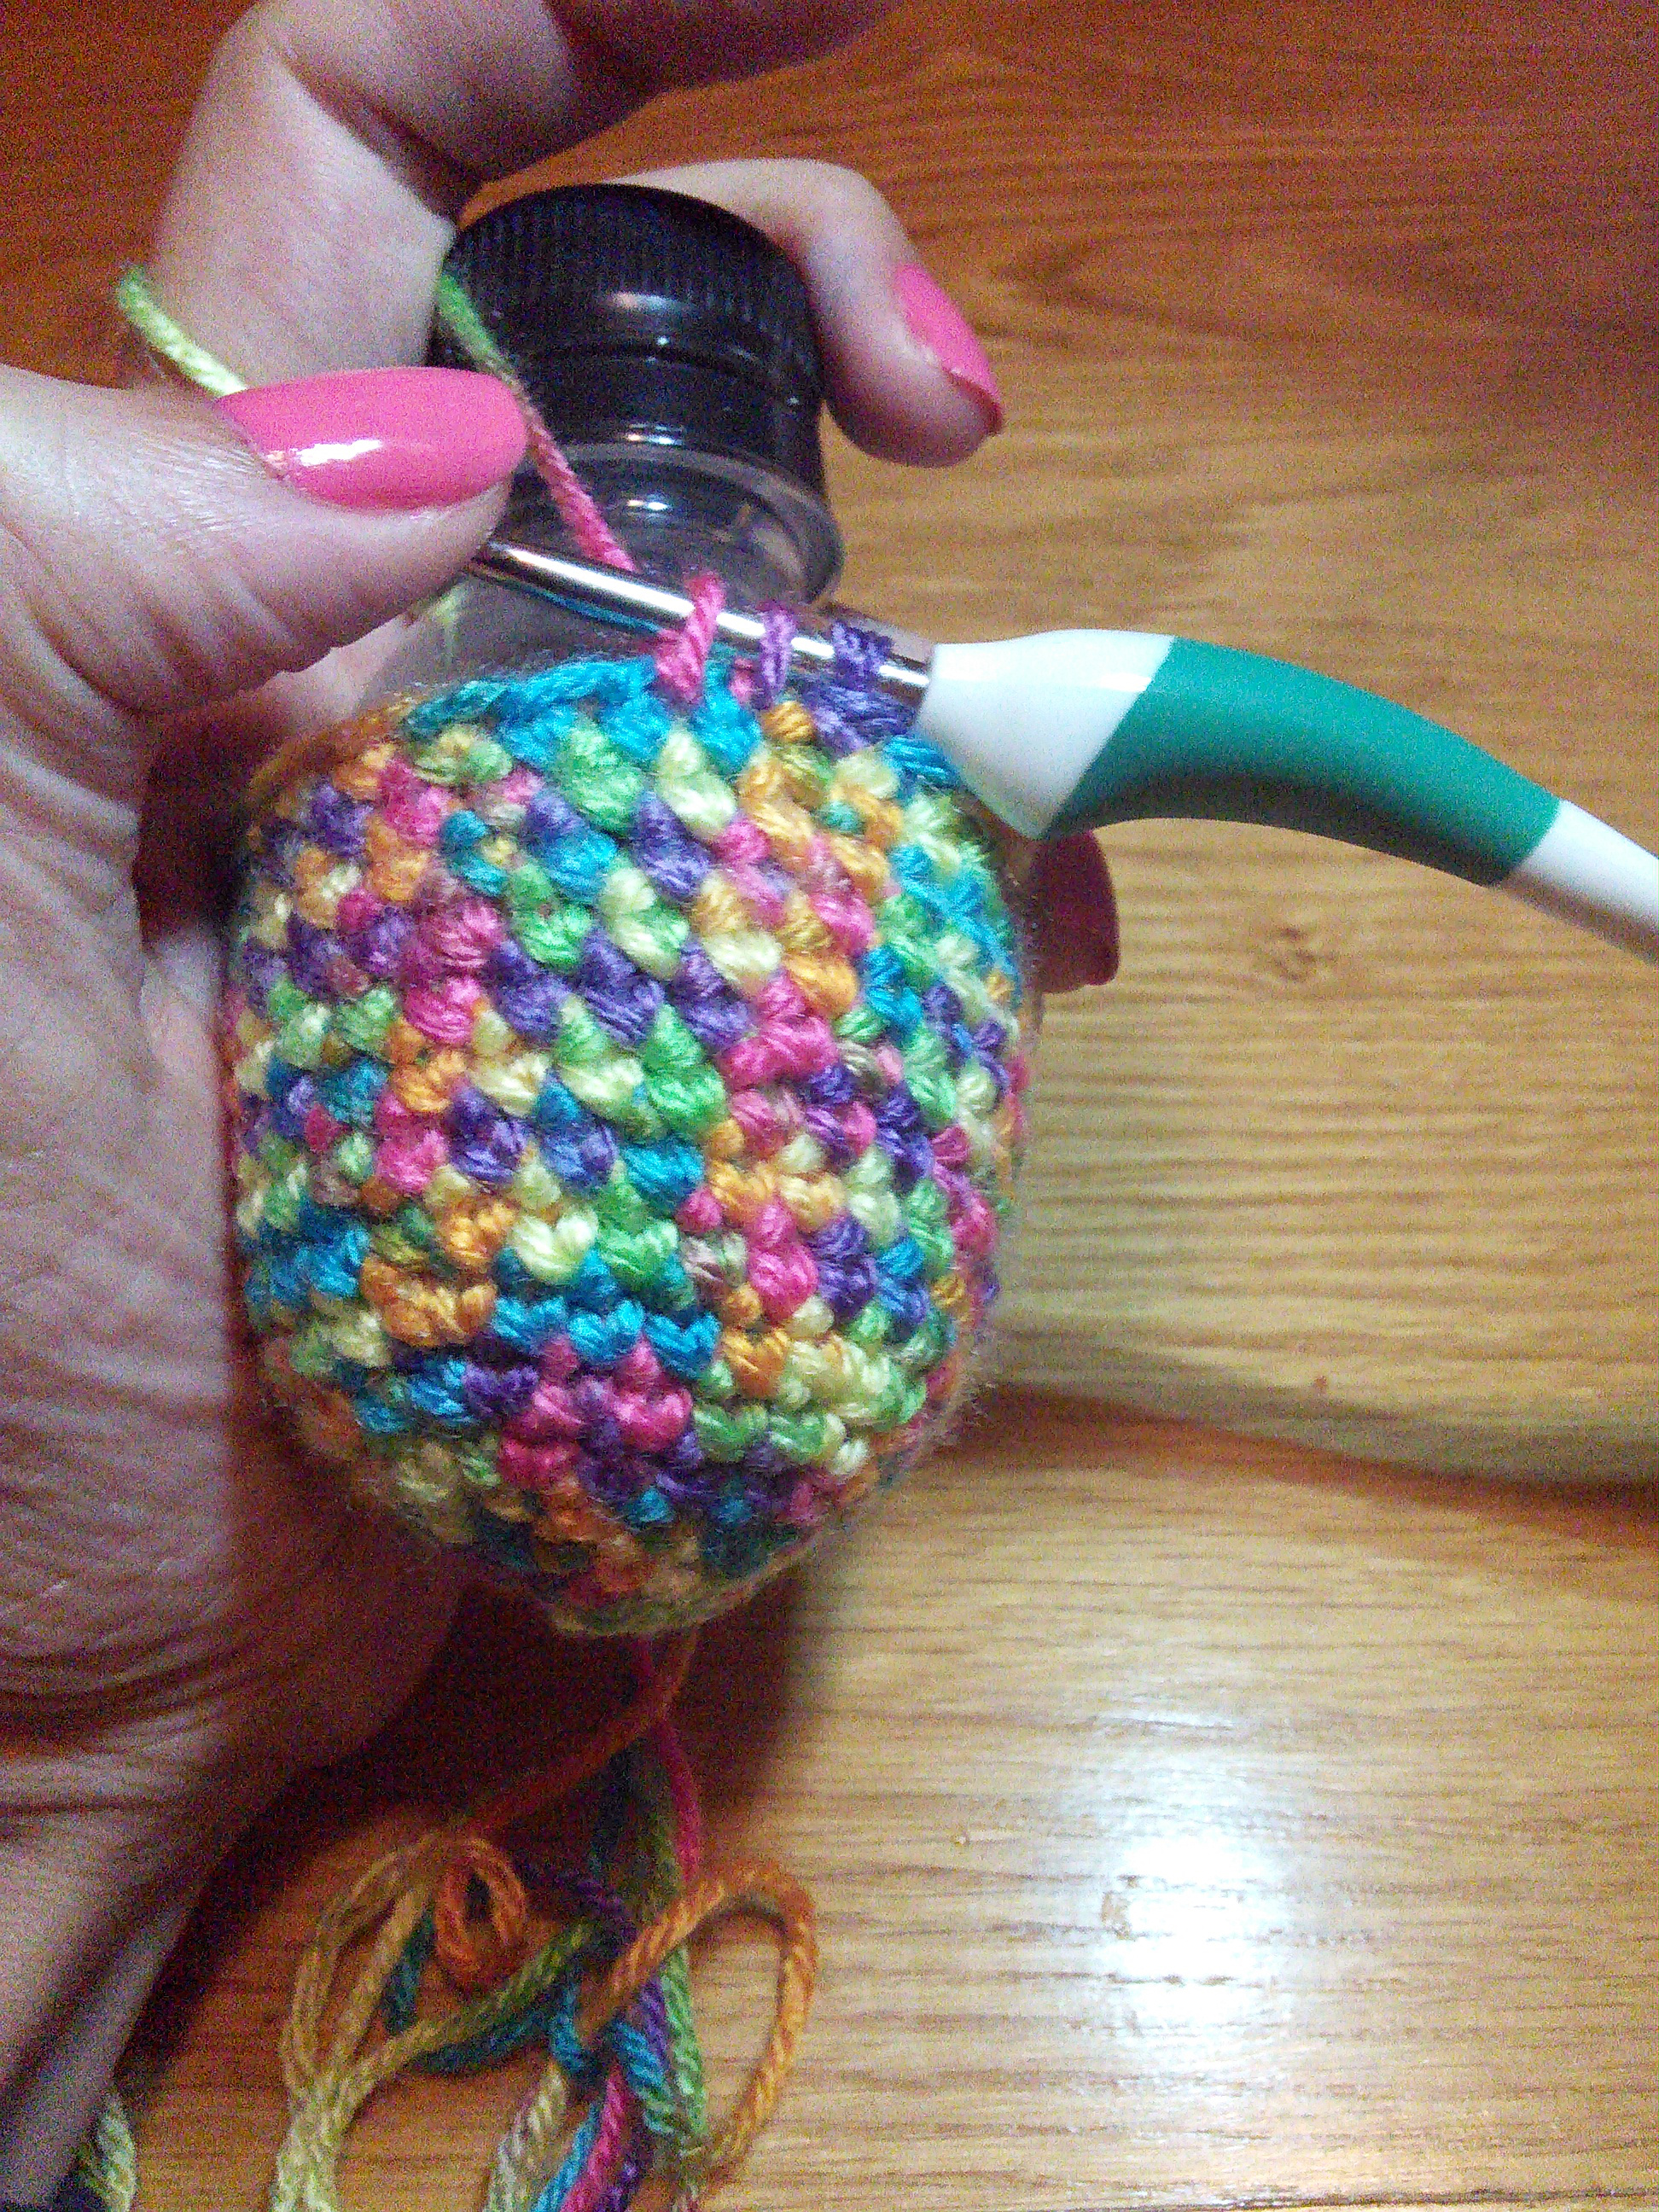
Do 2 sctog in the next 2 stitches, 1 sc 1sc for the first round ( depends if this is your biggist increase. If your last increase was 2 sc, 1 sc 1 sc 1 sc then you would do 1 sctog, 1 sc 1 sc 1 sc ).
Work your way up with decreasing each circle by one more.
If you have a bottle shape like mine its easier to make the handle size, if not, just stop increasing in the diameter you feel the handle should be for my bottle the handle is 12 stitches.
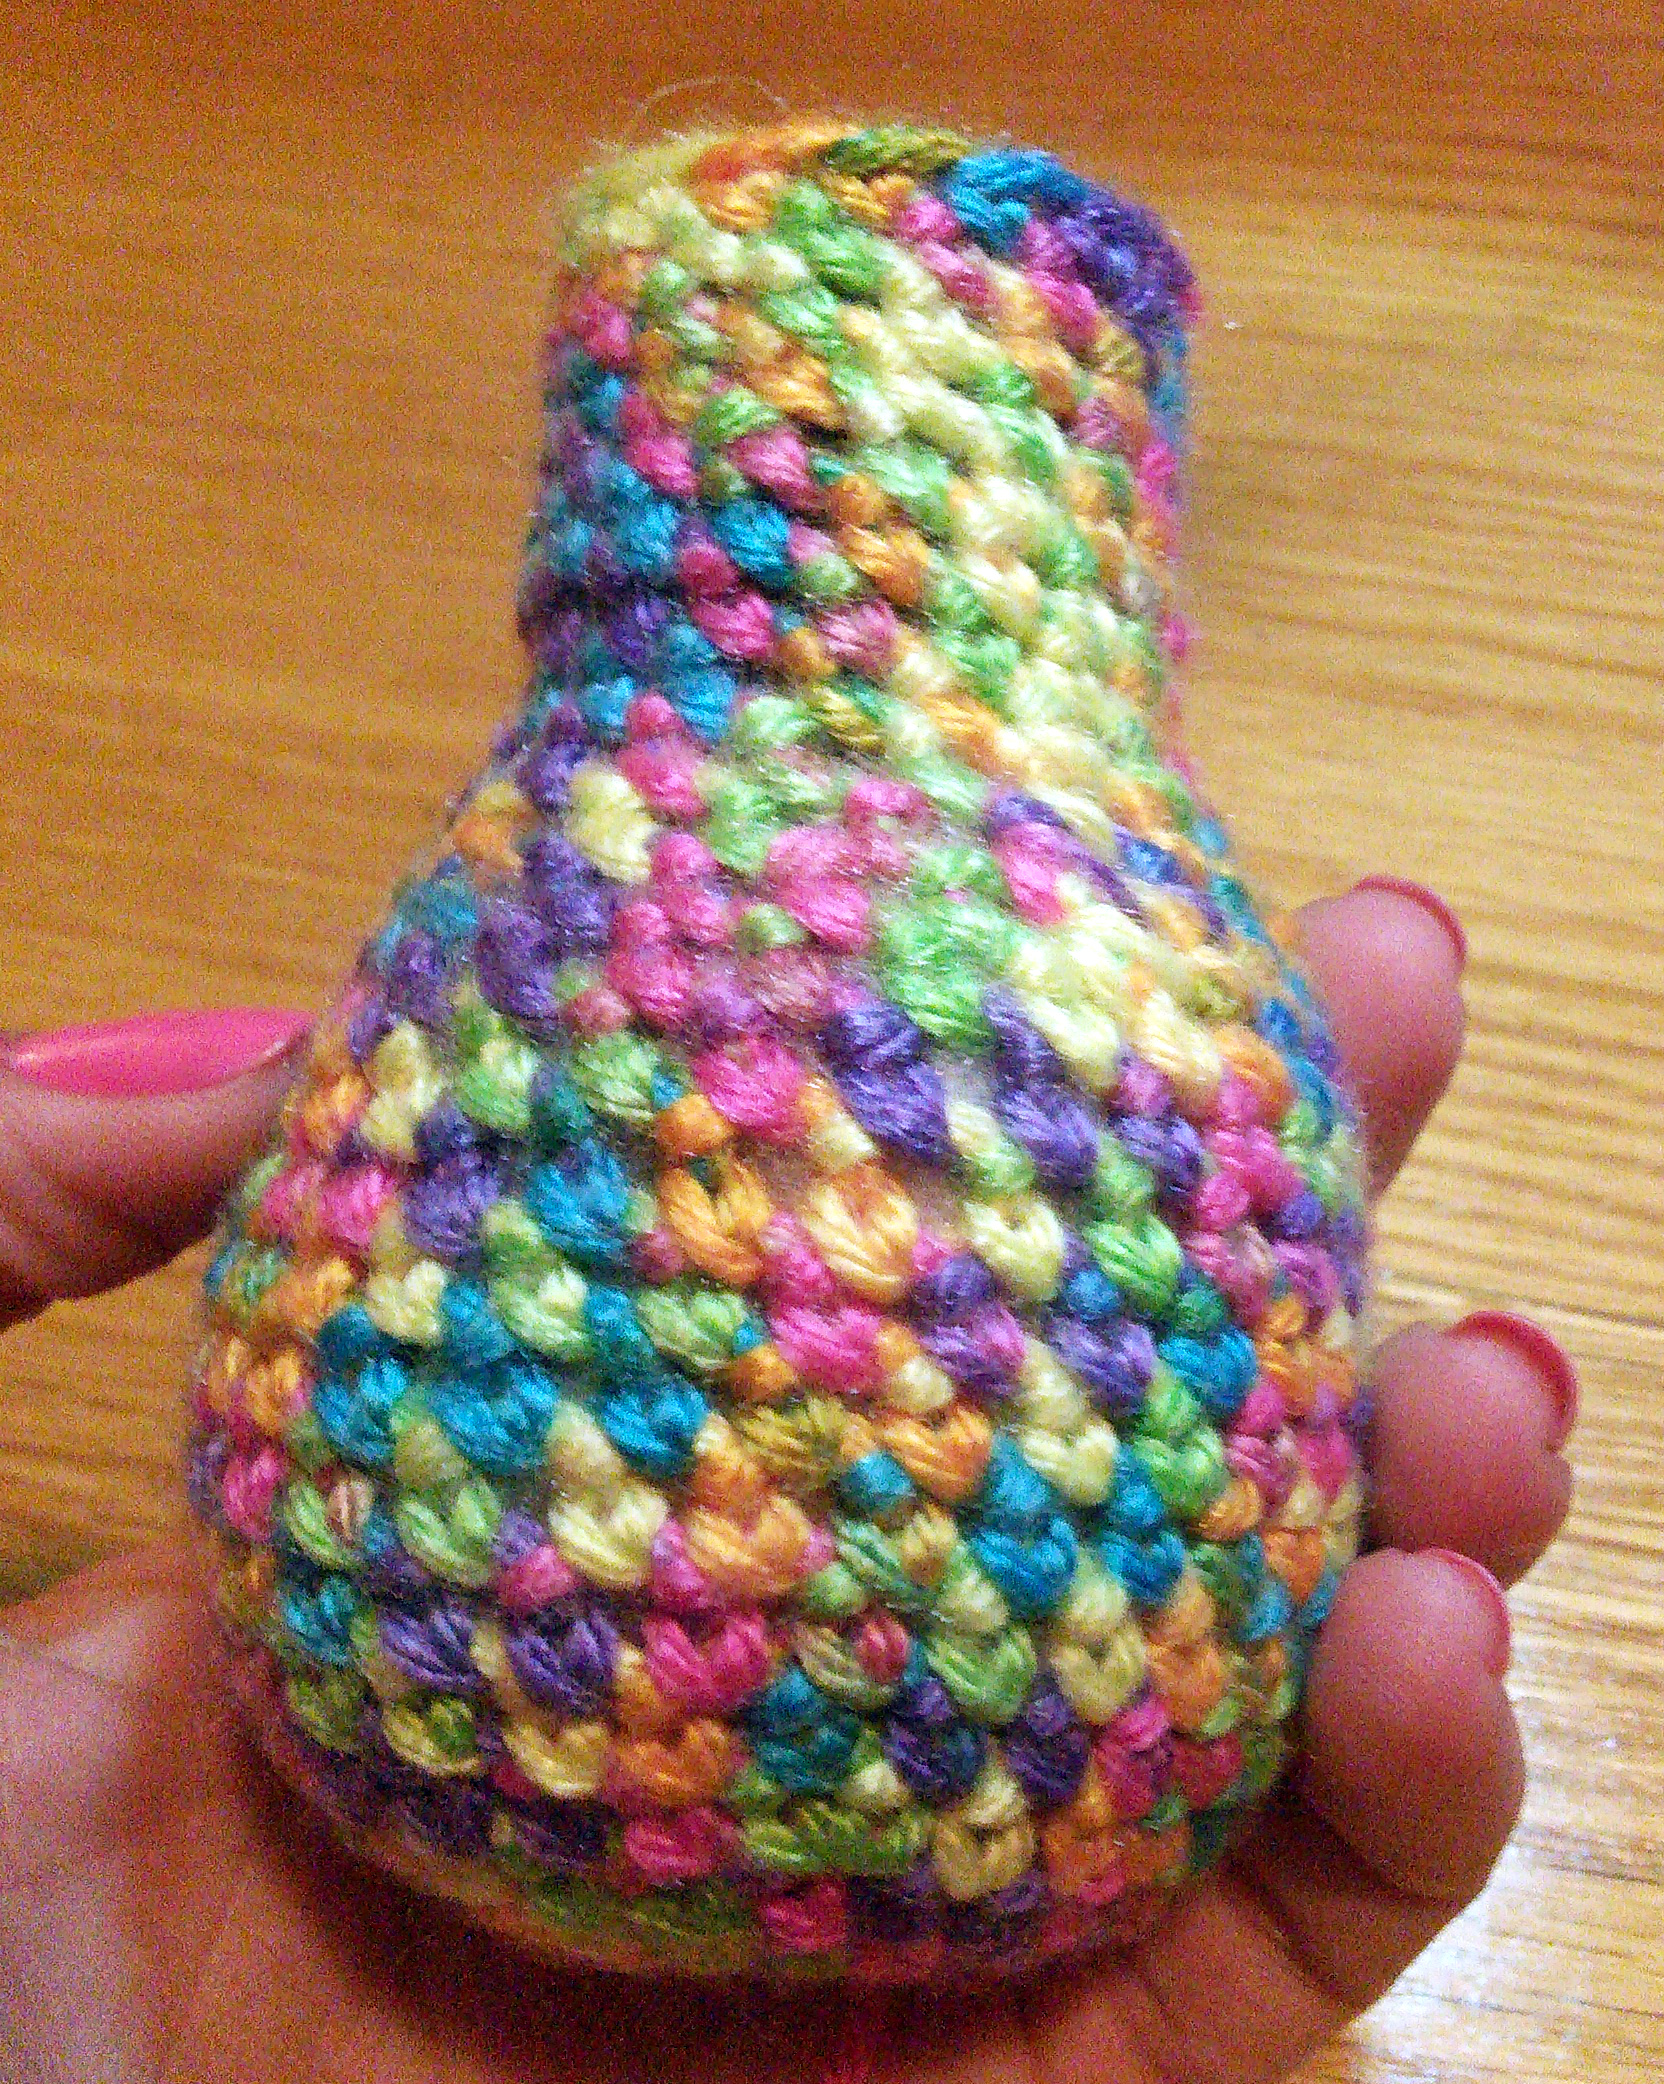
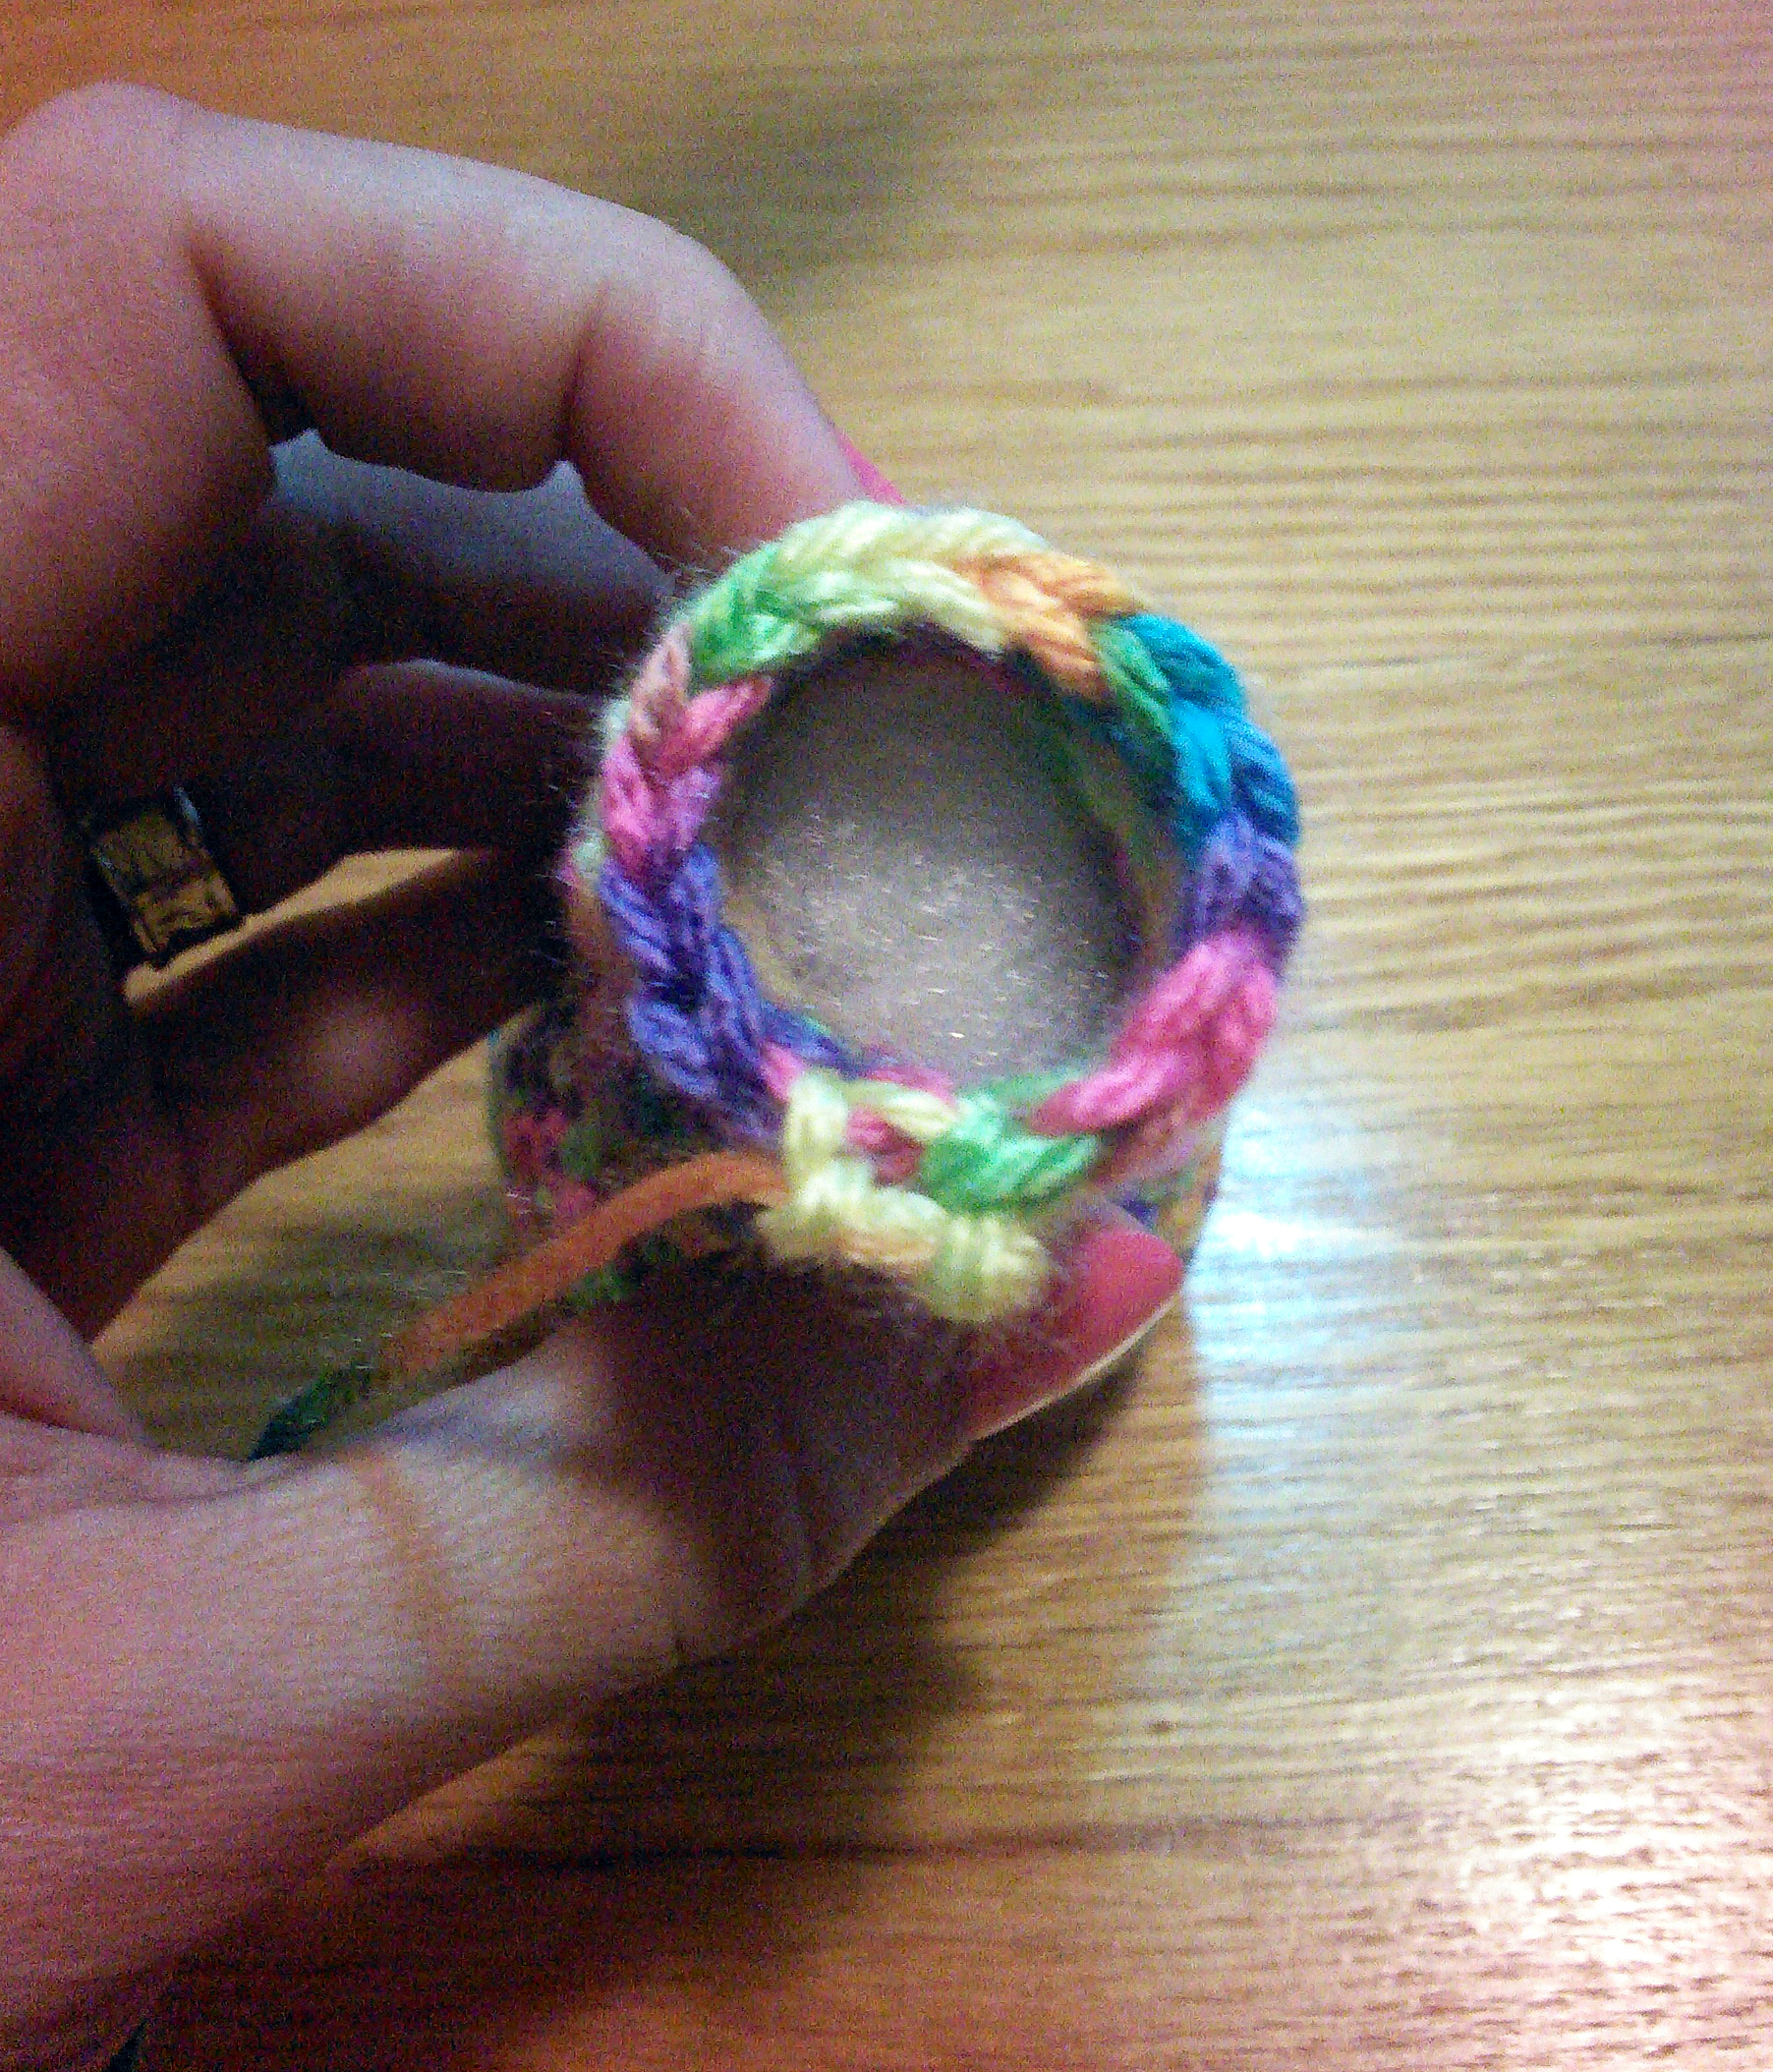
After covering the entire body, crochet sc at each stitch until you get the right handle size. Fill with acrylan so it will be strong and can carry the weight of the rattle head.
Decrease the last 2 rows fasten and weave in the ends. The easiest way is to push all the ends inside the handle.
and that’s it! you have a nice baby Rattle!
you can work with your imagenation and even create little animals with it..
Thanks for visiting! as always you can drop by at my store, and tell me what you think..
send me pictures if you are making this Rattle!











Dorke
You are a queen!!!
thank you shirke!!
This is such a cute idea!
Tnx! Super easy to make as well 😃