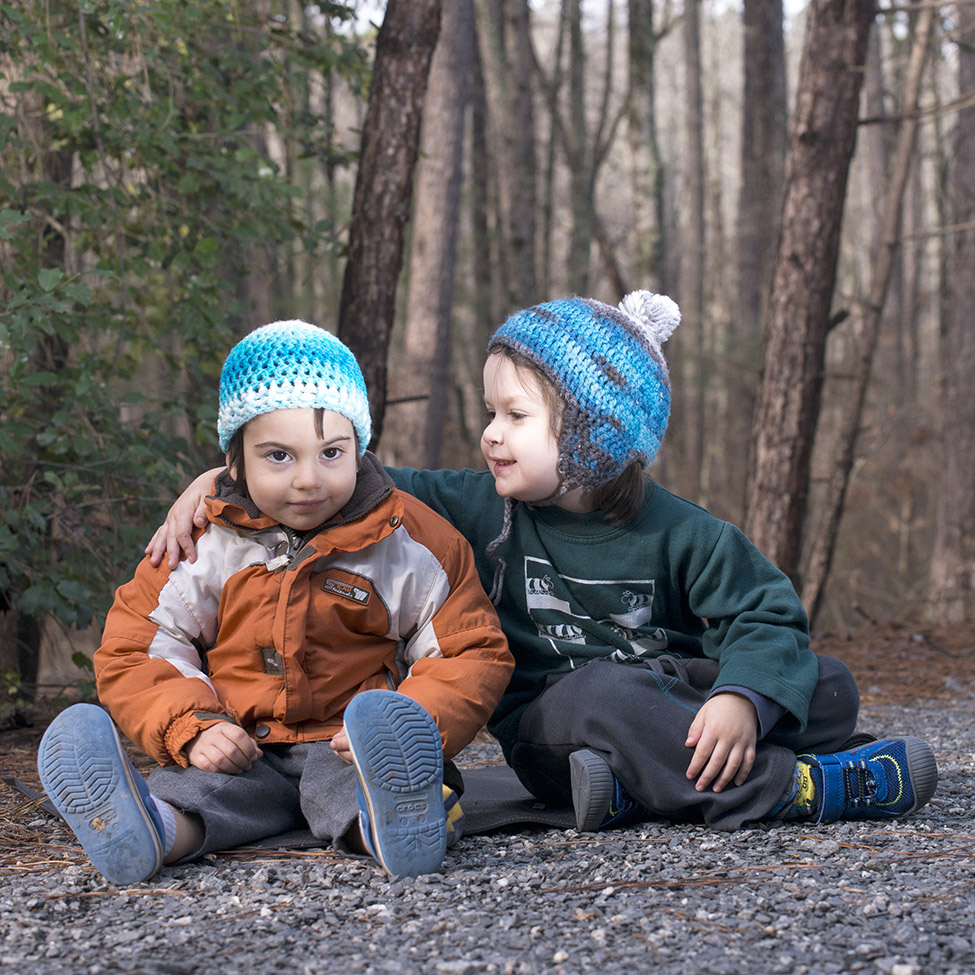
Who doesn’t like a good crocheted yarn filled hat?? The kind that keeps you warm in the cold weather, or just as a fun fashionable item?
I love making hats, they are easy and simple and takes only one hour to make. (with practice).
I made my first hat when I was pregnant with my first child, and since then I think I have crocheted hundreds of them. The first ones were a good practice and now I can honestly say I know everything about them and can even come up with my own designs.
If you are a beginner it’s a really good project to practice on, it’s a basic hat that is very simple. Once you get the hang of it you can play and customize them your own.
all you need is your hook and your yarn, as for the size.. this depends on your crocheting tension and the size of your hook.
Sizing:
Regularly I would have made any pattern with hook of size 5, and the matching yarn for it, but for hats I have a hats hook – the lite 6MM hook which glides on my yarn so smoothly that it takes really no time to have a hat ready. If you don’t know your tension and hook size, start with 5MM and basic acrylic yarn ( I love to use Caron Simply Soft for kids hat, also red heart super saver yarn is good for it). If after the 4th row your circle is too small – don’t start increasing more.. been there done that – i had 100 stitches in one row.. it was hell! just frog it, increase your hook, release your tension and even add one more stitch for the first round.
Pattern:
Abbreviations:
ch-chain
DC – double crochet
2dcto1 – 2 dc in one stitch
slst – slip stitch
Row 0 – start with a magic ring or 4 chains that are closed in a circle (- if you crochet the next line over the tail you can decrease the hole in the middle after it)
Quick chart for magic ring if you dont know how to do it you can find here
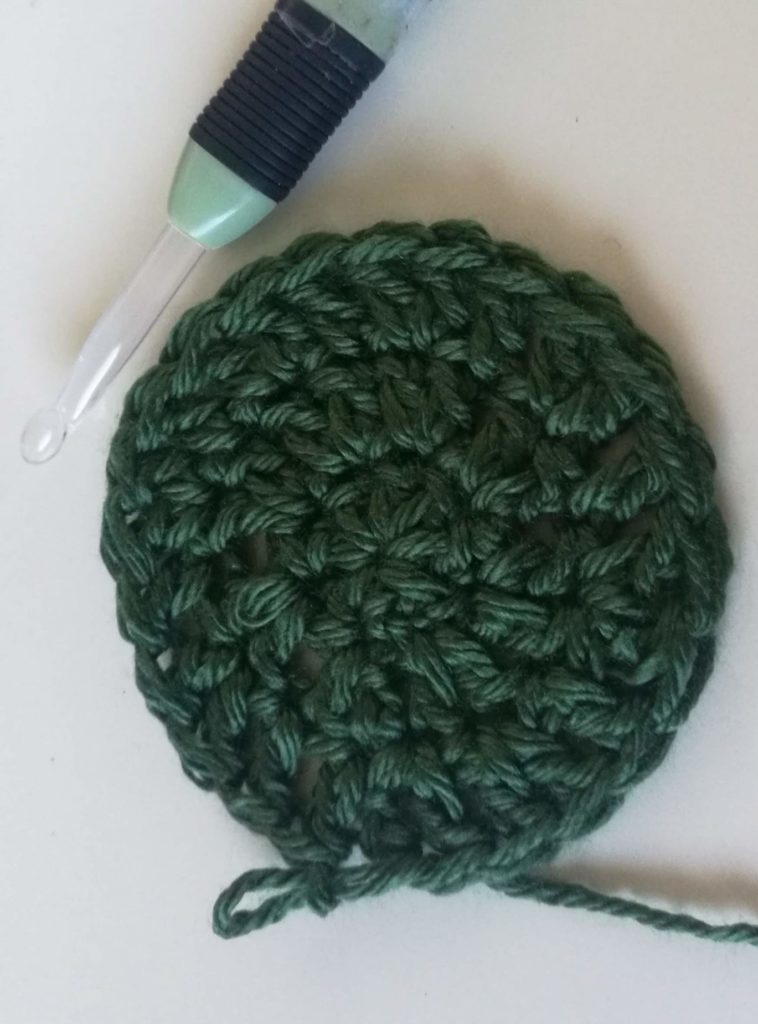
Row 1 – ch3 (counts as first dc) and 7 Dc (or 8, or 9 – depends on the sizes as explained above)
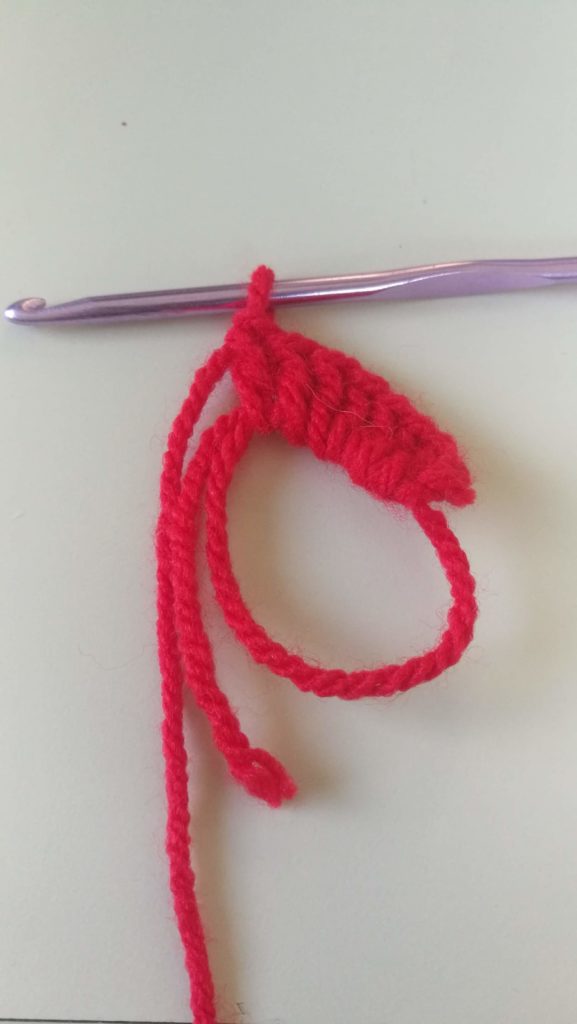
Close the circle with slst from the last DC to the first 3 chains:

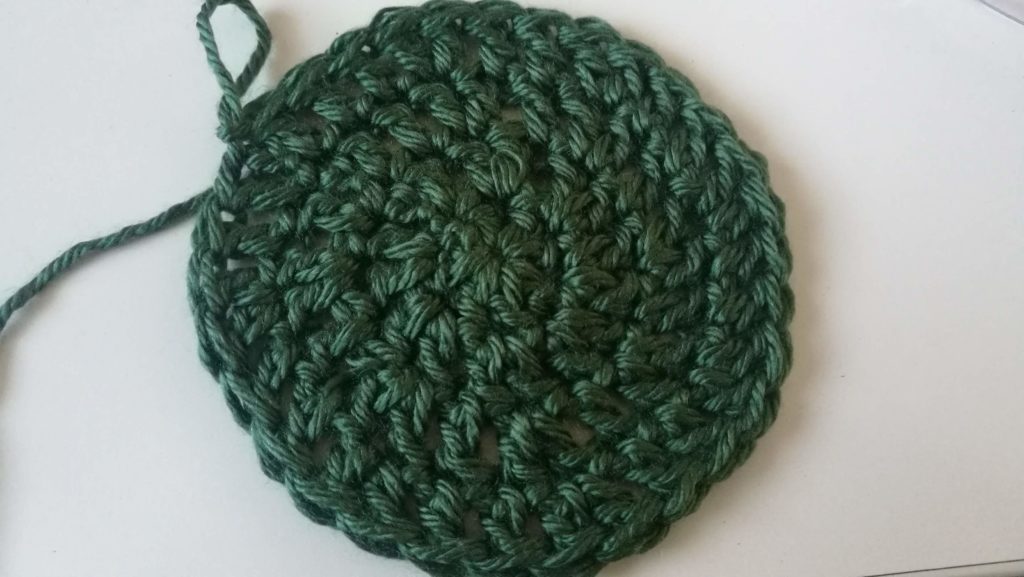
row 2 – increase: ch 3 – counts as last DC, *2dcto1* repeat for 7 times (8,9) the last DC should be the first 3 ch partner for the 2dcto1 close with slst
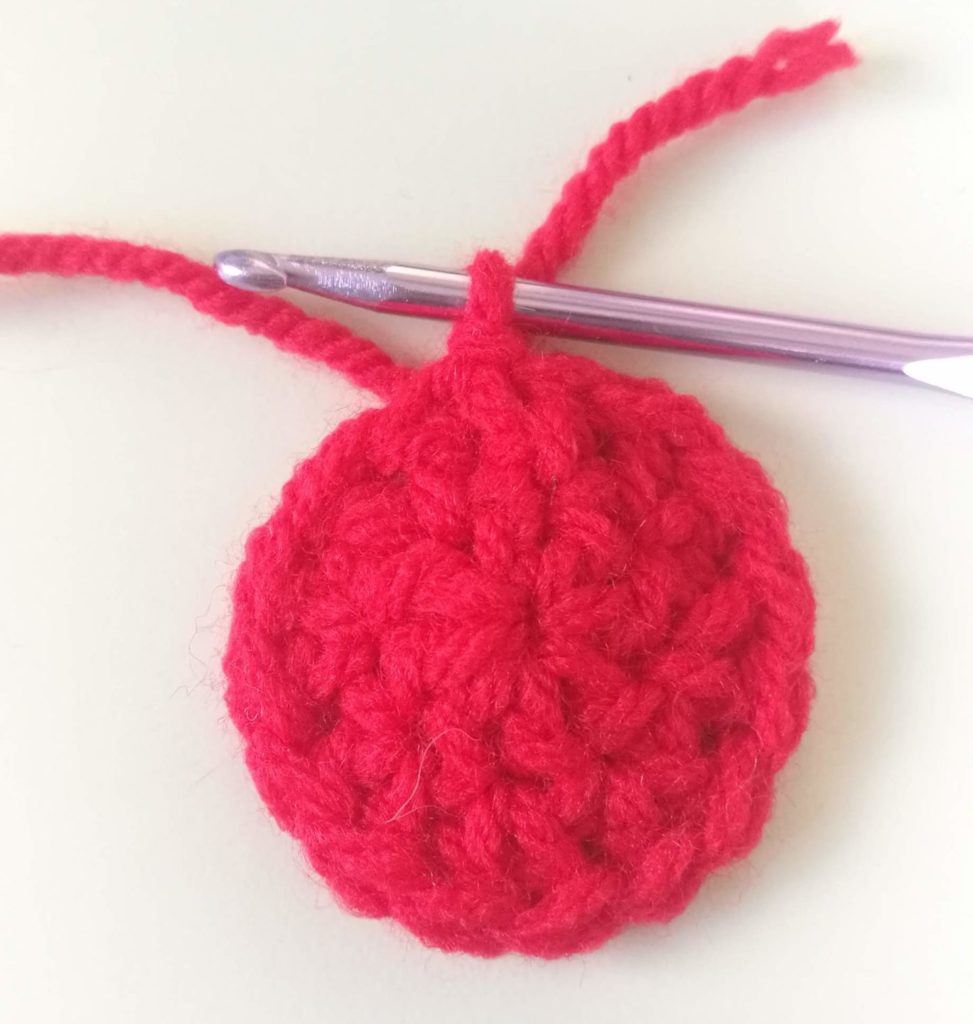
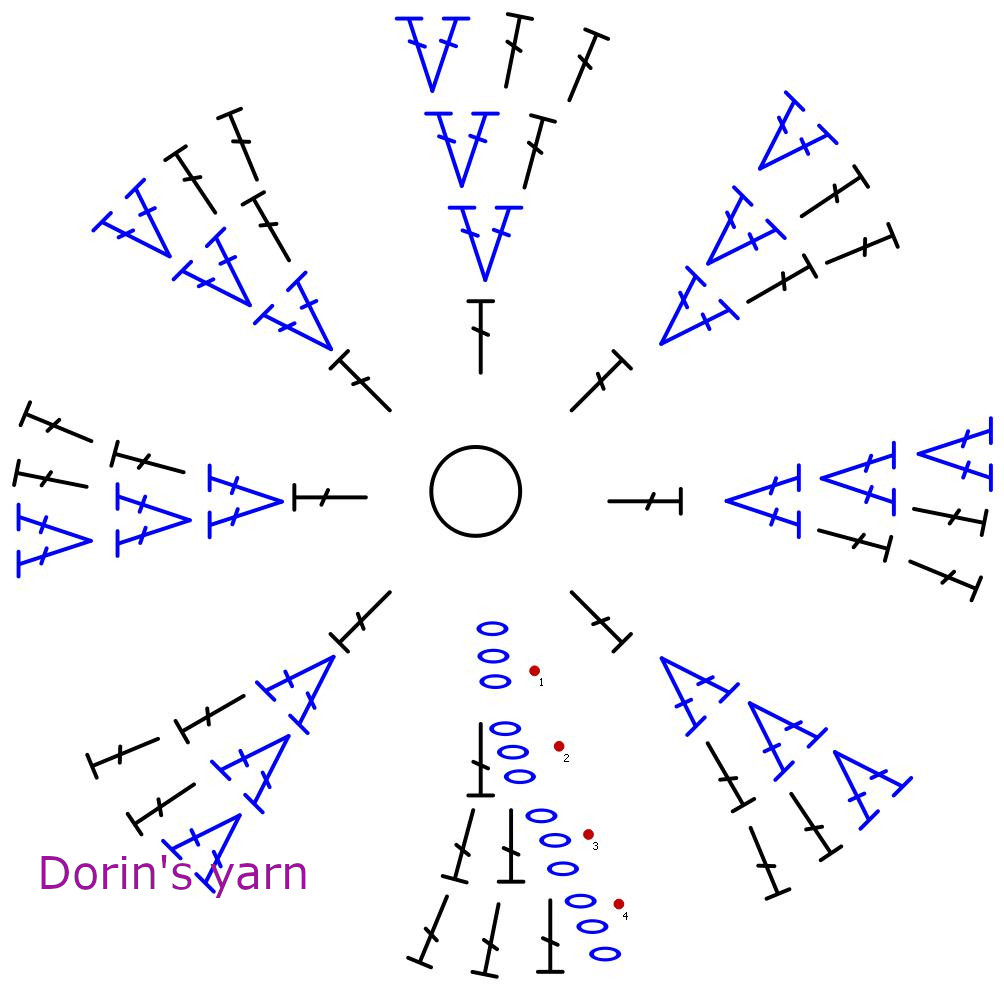
Row 3 – increase: ch 3 – counts as last DC, *DC in next stitch, 2dcto1 in the next stitch* repeat 7 times (8,9) the last 2dcto1 should be the first 3 ch partner for the last DC close with slst
Row 4 – increase: ch 3 – counts as last DC, *DC in next stitch, DC in next stitch, 2dcto1 in the next stitch* repeat 7 times (8,9) the last 2dcto1 should be the first 3 ch partner for the last DC close with slst
I have made a little chart that helps show what I do for the first increase rows
Row 5 – chain 3, DC in the next stitch across close with slst
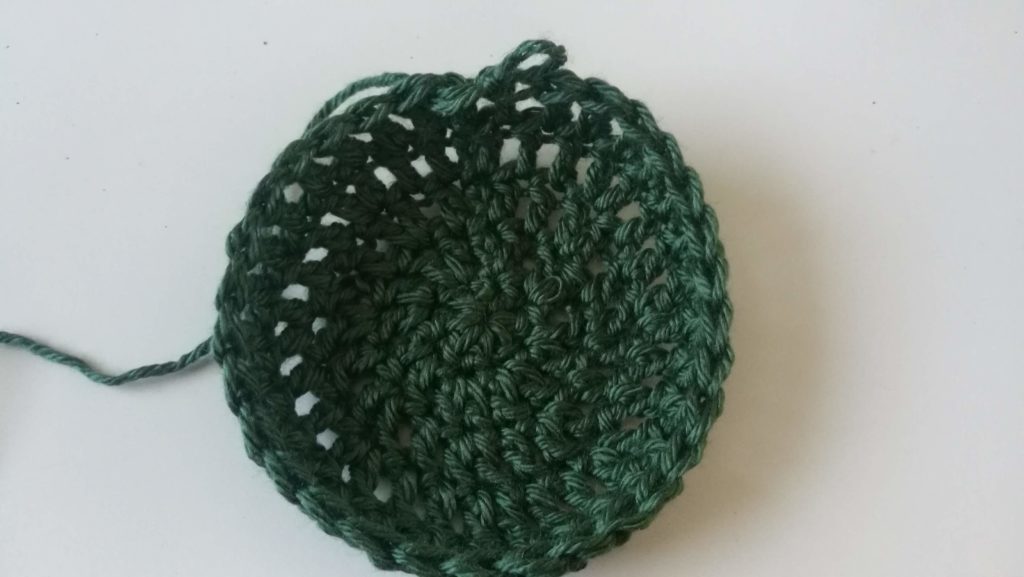
Row 6 – last increase: ch 3 – counts as last DC, *DC in next stitch, DC in next stitch, DC in next stitch, 2dcto1 in the next stitch* repeat 7 times (8,9) the last 2dcto1 should be the first 3 ch partner for the last DC close with slst
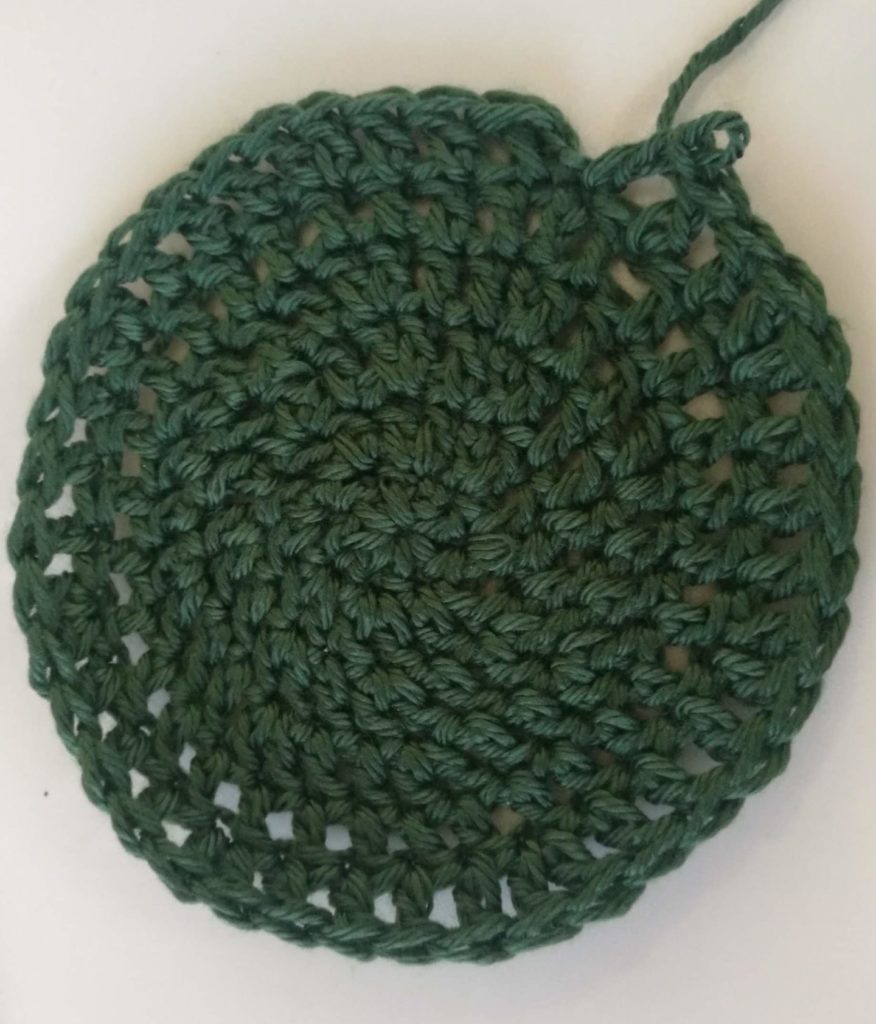
Row 7-13 – chain 3, DC in the next stitch across close with slst
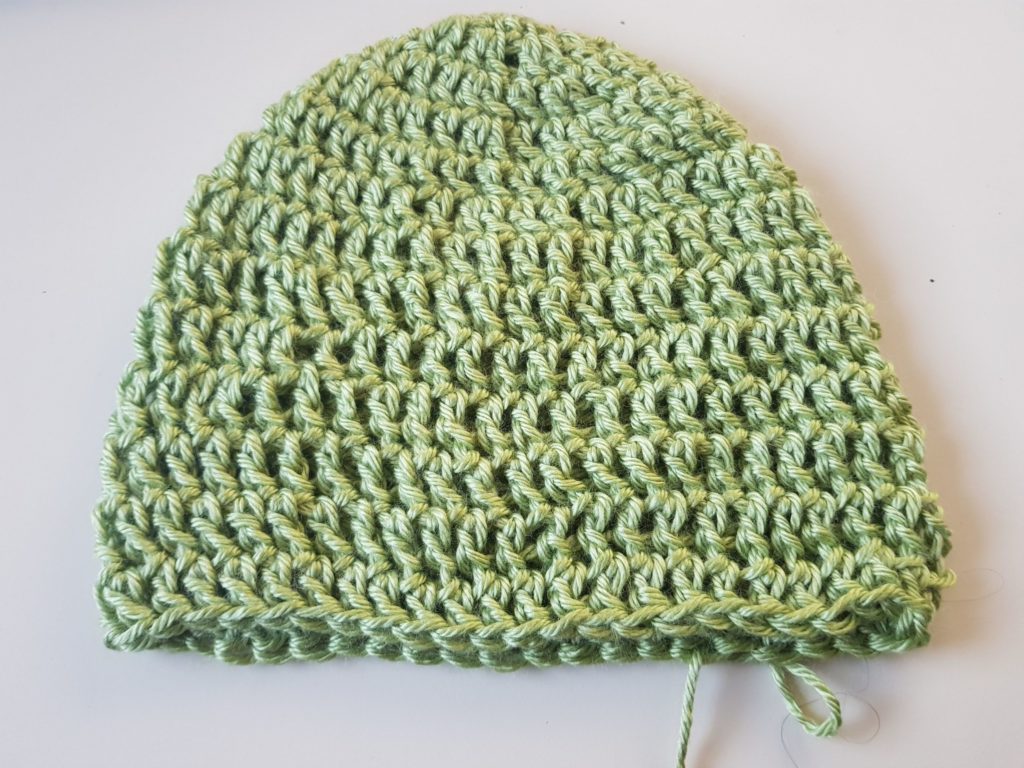
For a finished look you can add a sc line across in the revers side of your crocheting, it will close the edges down.
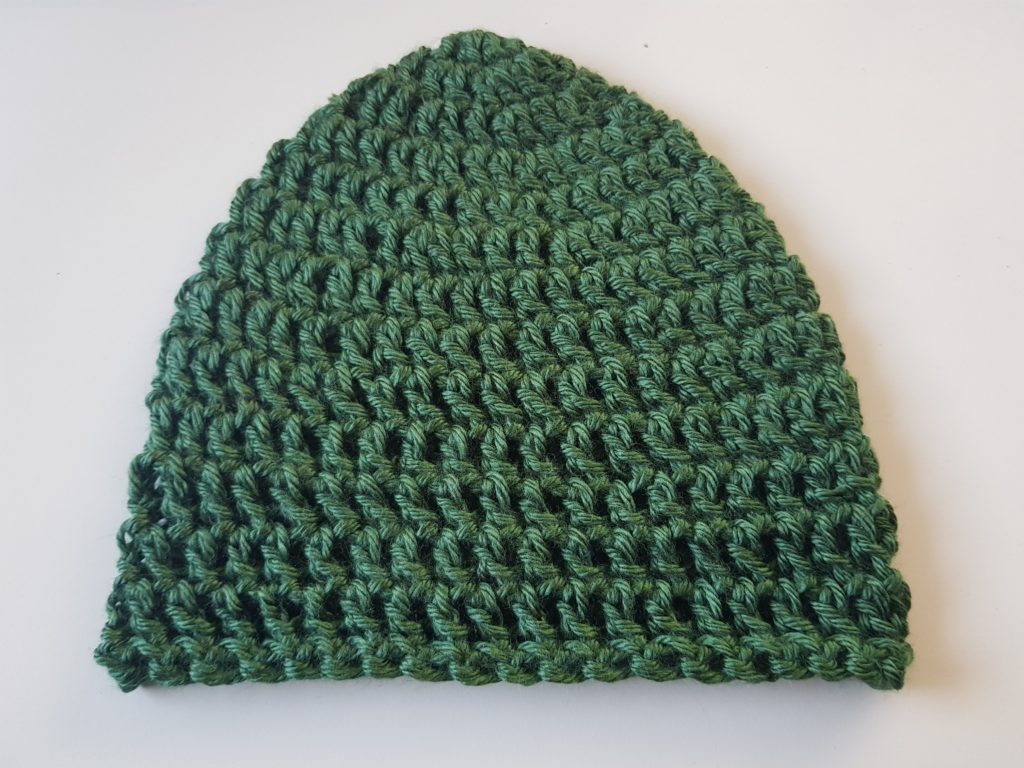
There! you have a ready hat! so if you want, you can wear it now, or you can add some appliques to it, or tassels – I will show you how next in this how to make a hat series.
thank you for being here and as always your comments are welcome, and if you make this hat – let me know!


[…] אז, והיא הבסיס לכל הכובעים שאני עושה עד היום. יש לי פוסט באנגלית שמסביר את השיטה – הנה התרגום שלו לעברית סוף סוף קורה. ואם אתם לא […]
[…] אז, והיא הבסיס לכל הכובעים שאני עושה עד היום. יש לי פוסט באנגלית שמסביר את השיטה – הנה התרגום שלו לעברית סוף סוף קורה. ואם אתם לא […]
[…] אז, והיא הבסיס לכל הכובעים שאני עושה עד היום. יש לי פוסט באנגלית שמסביר את השיטה – הנה התרגום שלו לעברית סוף סוף קורה. ואם אתם לא […]